What is the error Windows Shell Common DLL has stopped working? How to fix this error? This post will demonstrate several ways to fix the error Windows Shell Common DLL has stopped working Windows 10. In addition, you can visit MiniTool to find more Windows solutions and tips.
What Is the Error Windows Shell Common DLL Has Stopped Working?
The DLL files play an essential in running the program in Windows. In other words, the program in Windows work depends on the DLL files. However, if the DLL files are crashed, the program may fail to work and you may encounter the error Windows Shell Common DLL has stopped working.
In the following section, we will show you how to solve the error Windows Shell Common DLL has stopped working. So, just keep on your reading to know more information.
6 Ways to Windows Shell Common DLL Has Stopped Working
In this section, we will walk you through how to solve this DLL crash error with the following methods one by one.
Solution 1. Install Drivers
To begin with, you can try installing appropriate drivers to solve the error Windows Shell Common DLL has stopped working.
Now, here is the tutorial.
Step 1: Press Windows key and R key together to open Run dialog, type devmgmt.msc in the box and click OK to continue.
Step 2: In the Device Manager window, expand the Sound, video and game controller.
Step 3: Select the High Definition Audio Device and right-click it, then choose Update driver to continue.

Step 4: Next, choose Search automatically for updated driver software and follow the instructions to continue.
After that, reboot your computer and check the error Windows Shell Common DLL has stopped working is solved.
Solution 2. Run System File Checker
As we have mentioned in the above section, this issue may be caused by the corrupted DLL files. So, in order to solve the error Windows Shell Common DLL has stopped working Windows 10 recording devices, you can scan and fix the corrupted files.
Now, here is the tutorial.
Step 1: Type Command Prompt in the search box of Windows and choose the best-matched one. They right-click it to choose Run as administrator to continue.
Step 2: In the pop-up window, type the command sfc /scannow and hit Enter to continue.
Then the System File Checker will begin to scan the files. Please do not close the command line window until you see the message verification 100% complete.
After that, reboot your computer and check whether the issue Windows Shell Common DLL has stopped working is solved.
Quickly Fix – SFC Scannow Not Working (Focus on 2 Cases)
Solution 3. Configure Windows to Accept the Certificates
The third solution to fix the issue Windows Shell Common DLL has stopped working is to configure Windows to accept the certificates.
Now, here is the tutorial.
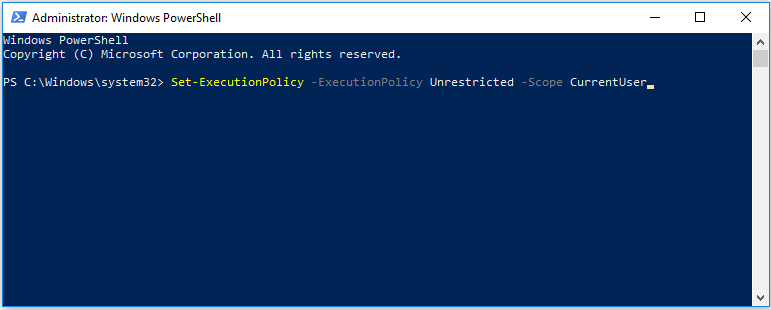
Step 1: Right-click Start button of Windows and choose Windows PowerShell(Admin) to continue.
Step 2: In the pop-up window, type the following command Set-ExecutionPolicy -ExecutionPolicy Unrestricted -Scope CurrentUser and hit Enter to continue.
When the process is finished, reboot your computer and check whether the issue Windows Shell Common DLL has stopped working is solved.

Solution 4: Perform a Clean Boot
To fix the error Windows Shell Common DLL has stopped working, you can try to perform a clean boot since the program may be interfered by certain elements of the operating system. So, running a clean boot may help you to solve this problem.
Now, here is the tutorial.
Step 1: Press Windows key and R key together to open Run dialog, type msconfig in the box and click OK to continue.
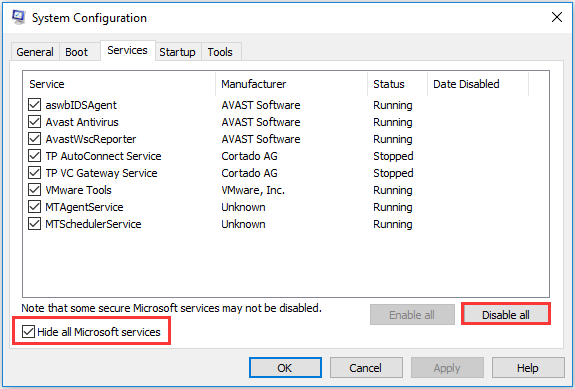
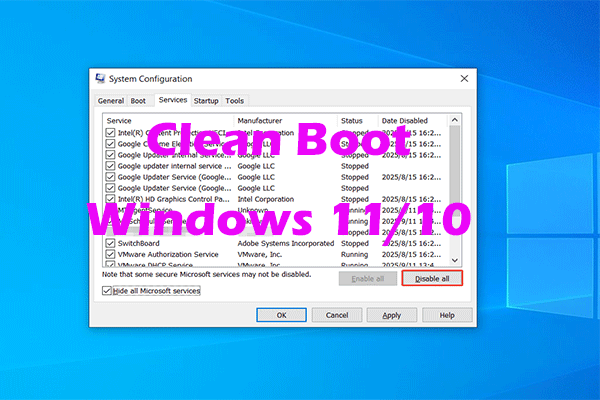
Step 2: In the pop-up window, go to the Services tab and uncheck the option Hide all Microsoft services and click Disable all to continue.
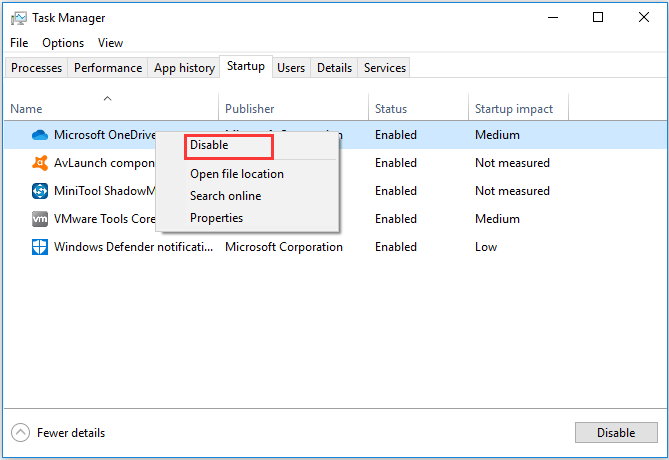
Step 3: Then go to the Startup tab and click Open Task Manager.
Step 4: You can see there are a lot of enabled programs listed here. Select and disable them.
When all steps are finished, check whether the issue Windows Shell Common DLL has stopped working Windows 10 recording devices still occurs.
Solution 5. Reinstall Synaptics Touchpad Driver
In this way, you can try reinstalling the Synaptics Touchpad Driver that sometimes will lead to this DLL crash error.
Now, here is the tutorial.
Step 1: Press Windows key and R key together to open Run dialog, type devmgmt.msc in the box and click OK to continue.
Step 2: In the Device Manager window, expand the Mice and other printing devices and select the Synaptics Touchpad. Then choose Uninstall to continue.
After uninstalling it, you need to download the driver again from the website and reinstall it on your computer.
After that, reboot your computer to take effect to check whether the issue Windows Shell Common DLL has stopped working Windows 10 is solved.
Solution 6. Re-register the Shell32.DLL File
The sixth solution to fix the error Windows Shell Common DLL has stopped working is to re-register the Shell32.DLL file.
Now, here is the tutorial.
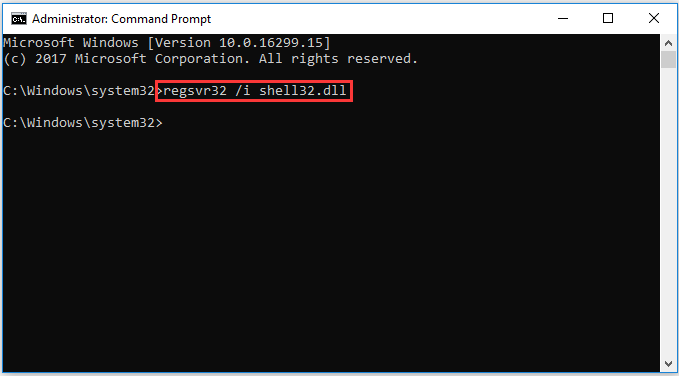
Step 1: Type Command Prompt in the search box of Windows and choose the best-matched one, then right-click it to choose Run as administrator to continue.
Step 2: In the pop-up window, type the command regsvr32 /i shell32.dll and hit Enter to continue.
After that, reboot your computer and check whether the issue Windows Shell Common DLL has stopped working is solved.
If none of the above methods works, you can try to reinstall the operating system, but please back up data before proceeding.
Final Words
To sum up, this post has introduced 6 ways to fix the error Windows Shell Common DLL has stopped working. If you have encountered the same trouble, try these solutions.
User Comments :