This essay reviewed by MiniTool Software Ltd. focuses on the XPS (XML Paper Specification) file format and its viewer – XPS Viewer. It introduces the meaning, function, installation, removal, as well as the conversion of XPS files. Find more details below.
What Is XPS Viewer?
XPS is a file format created by Microsoft to print content to a file similar to PDF. It was originally introduced with Windows Vista. Yet, XPS never really gain popularity. It continued to ship with Windows 7, Windows 8.1, as well as Windows 10.
XPS Viewer is a kind of application that can open .xps files, save documents in XPS format, and print XPS files.
Microsoft XPS Viewer Windows 10
Starting with the April 2018 Update (Windows 10 1803), Microsoft finally retired support for the file format and removed the Windows XPS Viewer app from its later versions. That is to say, if you are doing an in-place upgrade from Windows 10 1709 (Fall Creators Update) or older Windows versions to Win10 1803, you can continue to have support for the format. Otherwise, if you perform a clean installation of versions after Windows 10 1709, XPS Viewer isn’t available.
MS XPS Viewer Download
If currently you don’t have XPS Viewer on your computer but you have to use XPS files, you can get the app back through Windows Settings. Just follow the below instructions to install XPS Viewer Windows 10.
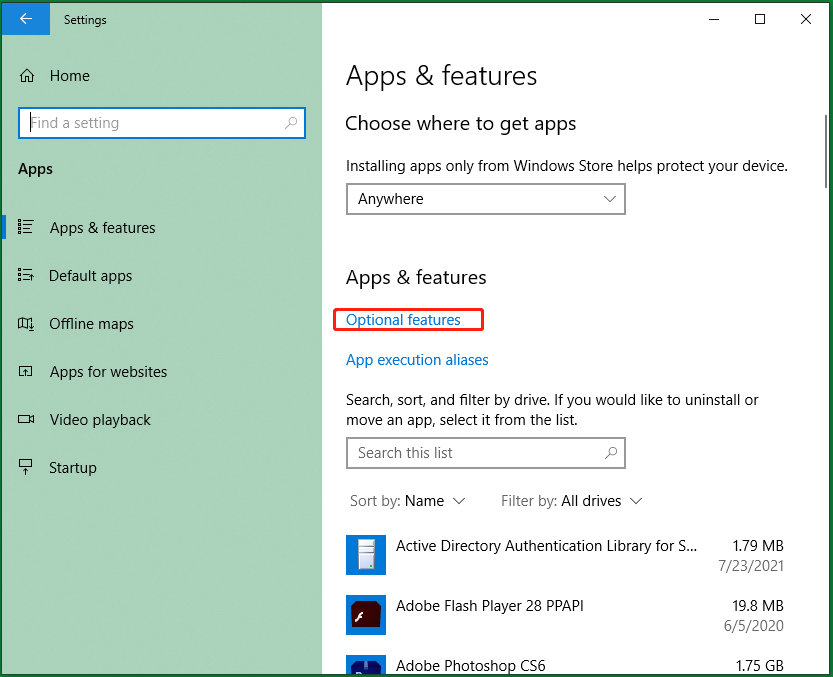
1. Navigate to Start > Settings > Apps > Apps & features.
2. In the right panel, click the Optional features under the Apps & features
3. In the next Optional features page, click the Add a feature
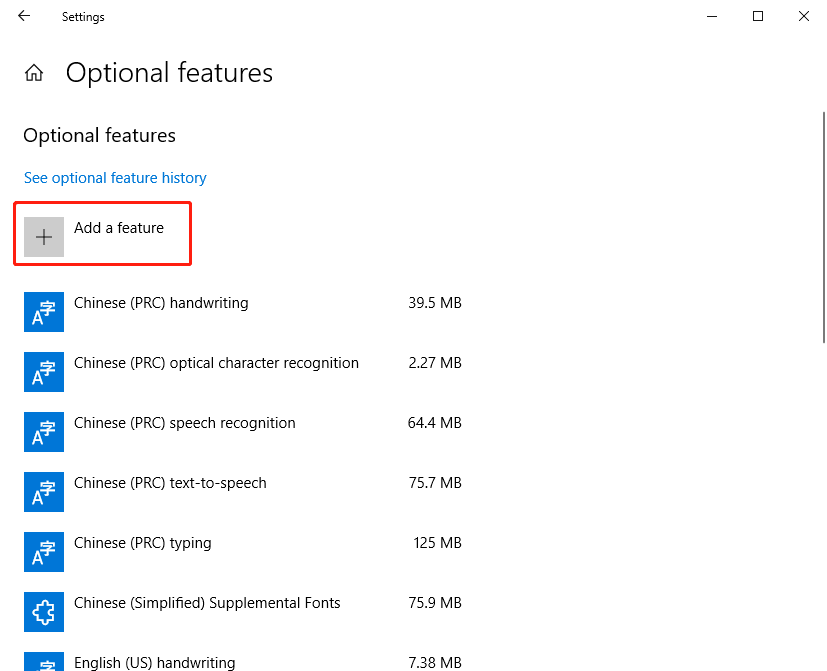
4. In the next window, scroll down to find and click on XPS Viewer. Then, click on the appeared Install.
Finally, you can manage XPS files on your PC.
To remove XPS Viewer from your machine, just click on XPS Viewer in the Optional features page and select the unfolded Uninstall button.
Convert XPS to PDF
Since Microsoft has stopped support for XPS file format, you are recommended to convert your XPS files to other file formats like PDF.
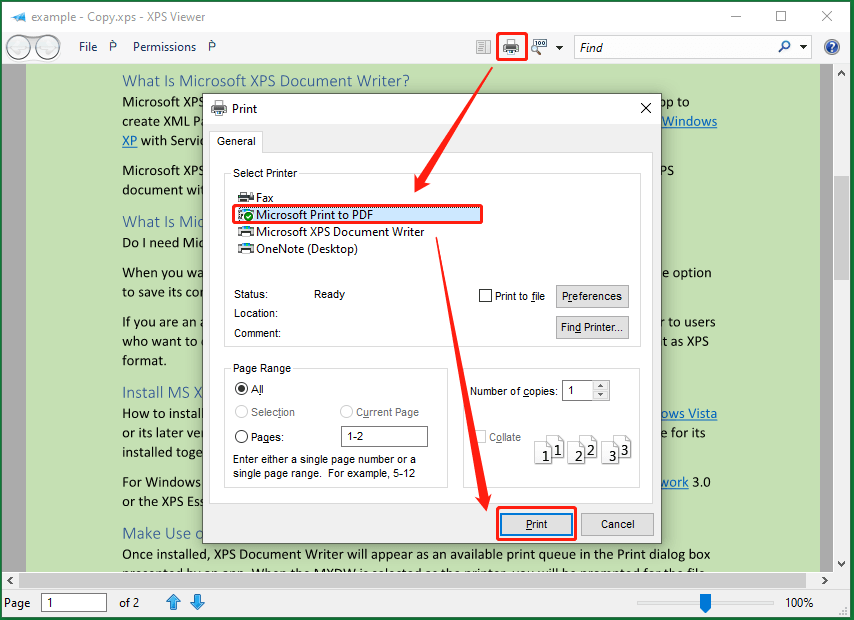
- Open the target XPS file with XPS Viewer.
- Click the Print icon in the upper right menu.
- In the new popup, tick Microsoft Print to PDF option under the Select Printer
- Finally, click the Print
Repeat the above steps to convert your other XPS files to PDF.
About The Author

Position: Columnist
Helen is a tech writer with over 10 years of experience. She specializes in creating easy-to-follow guides for video editing, media file conversion, and computer performance. Helen doesn't just write—she tests every software herself and listens to feedback from users and experts. Her goal is to make complex programs simple so that everyone can solve their tech problems with confidence.
User Comments :