USB shown as bad disk is a common issue with the USB drive, but it still upsets lots of users. If you are also stuck on this issue, this post is what you need. Here, MiniTool summarizes the causes, fixes, and precaution tips for the issue.
With a portable size, fast read & write speeds, and multiple capacity options, USB flash drives are popular among users. USB drives can be used for various purposes, including backing up files, storing files, creating bootable media, etc.
They work well most time, but they sometimes prompt errors. You can receive various USB issues, such as USB drive showing as unallocated, USB drive not showing up, flash drive showing up as 2 drives, files copied to a USB drive disappear, USB showing as bad disk, etc.

Here, I mainly discuss USB shown as bad disk issue. If you are bothered by it, read this post immediately. It summarizes the possible reasons, feasible solutions, and precaution tips for the error.
Causes of USB Shown as Bad Disk
When USB bad disk issue occurs, it means that there’s an issue with the USB drive’s file system or the way it’s being recognized by the PC. What causes “USB showing as bad disk” issue? Well, some possible reasons are summarized as follows. You can take them as a reference when you receive the issue.
- Physical damage on USB drive
- Issues with USB port
- Outdated or incompatible USB drivers
- Corrupt file system
- Incorrect type ID
- Virus or malware infection
- Etc.
Based on the above causes, this post provides you with several troubleshooting methods for USB shown as bad disk Windows 11.
Solutions to USB Shown as Bad Disk
In this section, several solutions for “USB shown as bad disk” issue are provided. These fixes are also available for hard disk labelled as bad disk and SD card shown as bad disk issues.
#1: Connect the USB to Another PC
The first solution to USB bad disk is to connect the USB to another computer. On the one hand, this issue sometimes can disappear after you connect the USB to a different PC. On the other hand, this operation helps you check if the previous USB port fails to work.
If the USB displays and works normally on another computer, it means that the drive itself is fine and the USB port may be faulty. However, if the issue persists, try other solutions immediately.
#2: Change USB Drive Letter
According to user reports, changing USB drive letter works for “USB shown as bad disk” issue. You can have a try! Disk Management, a built-it utility on Windows, enables you to change drive letter easily. The following steps show you the procedure.
Step 1: Connect the USB drive to the computer.
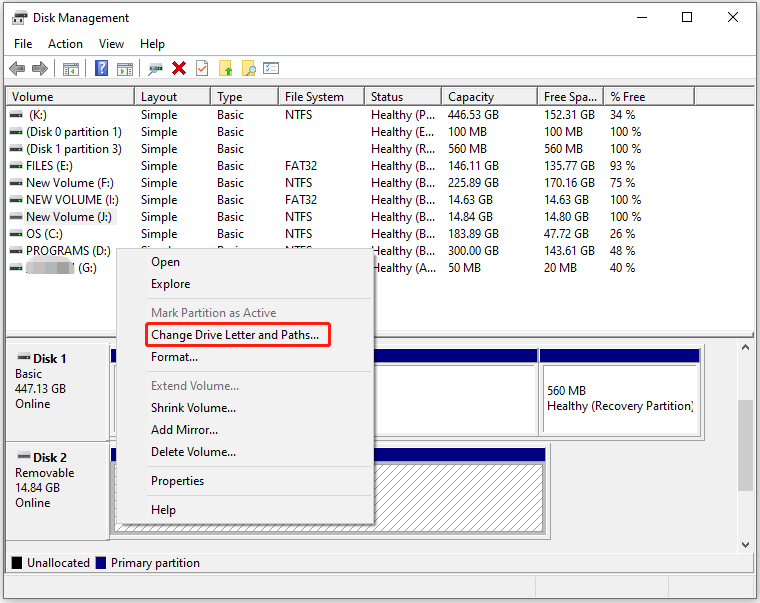
Step 2: Right-click the Start icon to open the Start menu and then click on the Disk Management option.
Step 3: Right-click on the USB partition and choose Change Drive Letter and Paths on the context menu.
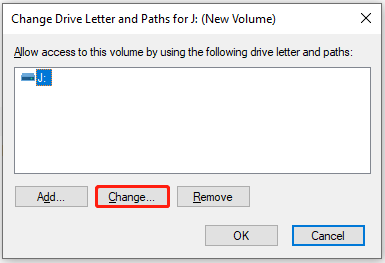
Step 4: In the next window, hit the Change button.
Step 5: From the drop-down menu, select an available drive letter. Then click OK to save changes.
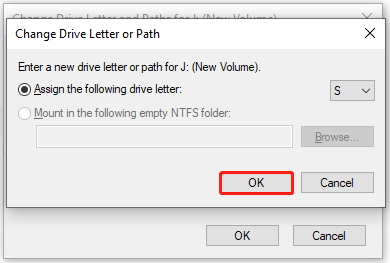
Step 6: In the prompted warning window, click Yes to confirm the operation.
However, sometimes you may encounter Change Drive Letter and Paths greyed out issue. In this case, you can use MiniTool Partition Wizard to do the job. As a free partition manager, it enables you to change drive letter and perform other basic tasks for free.
Download, install, and launch MiniTool Partition Wizard on your computer. Then follow the steps below to complete the operation.
MiniTool Partition Wizard FreeClick to Download100%Clean & Safe
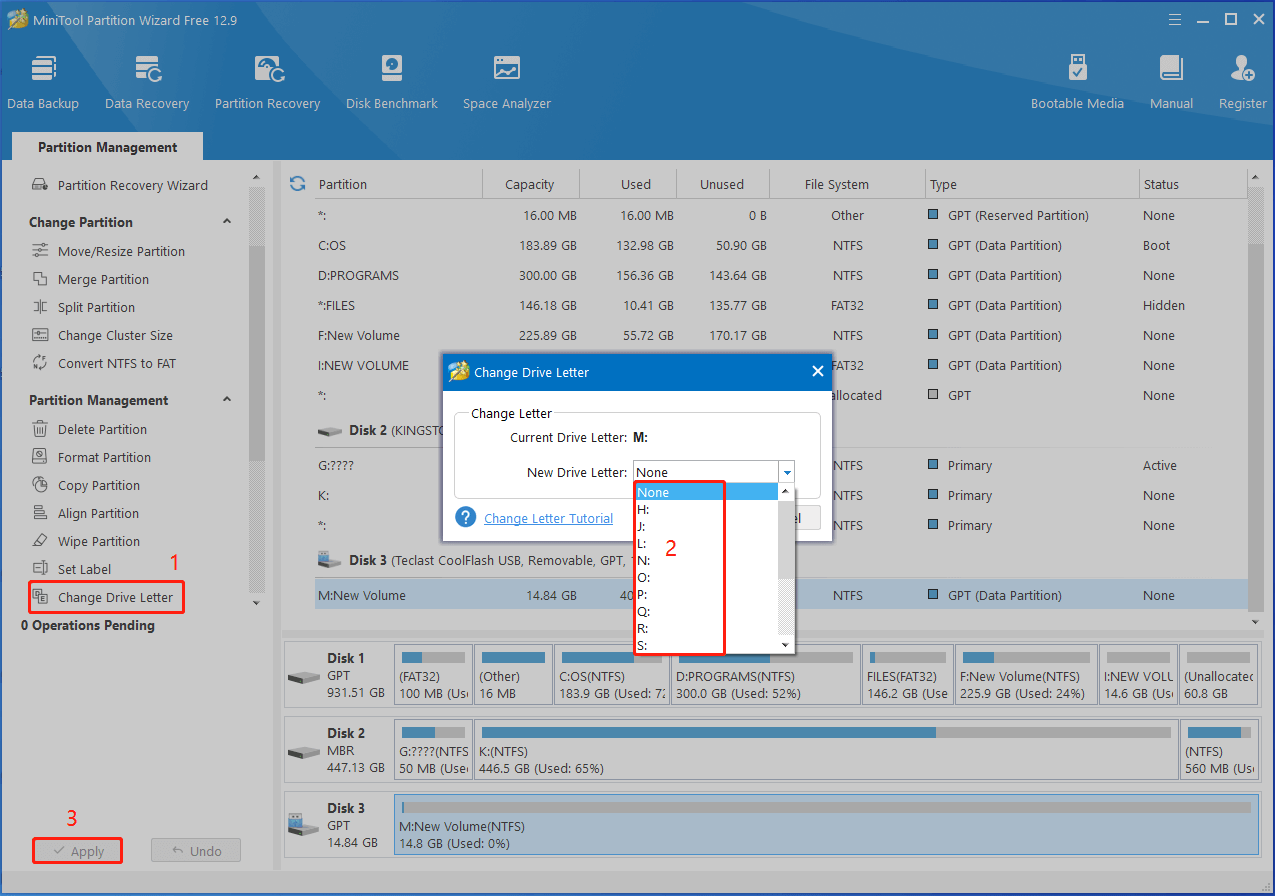
Step 1: In the main interface, click on the USB partition and locate & click Change Drive Letter under the Partition Management section in the left pane.
Step 2: From the New Drive Letter drop-down menu, choose the new drive letter for the USB. Then click OK to save changes.
Step 3: Tap on the Apply > Yes button to carry out the operation.
#3: Update the USB Driver
If the outdated or incompatible USB driver is responsible for the issue, updating it by using the steps below.
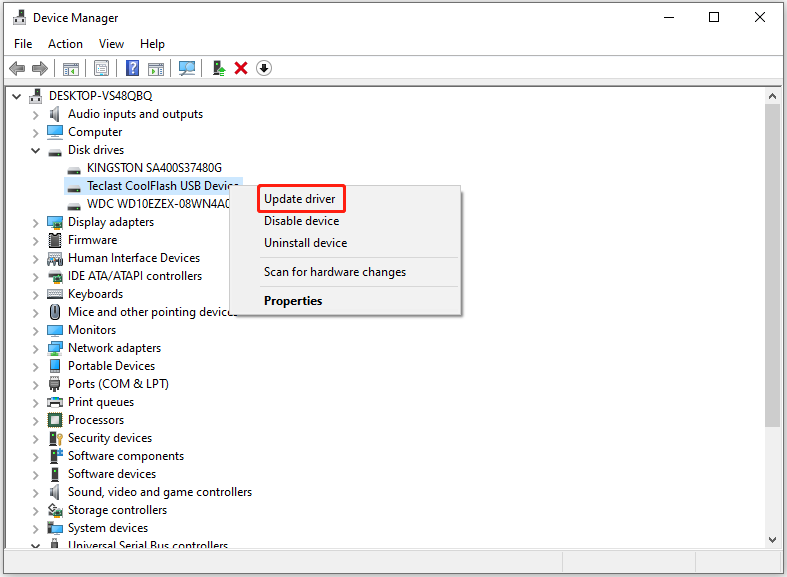
Step 1: Open the Start menu and click Device Manager.
Step 2: Double-click Disk drives to expand it. Right-click the USB drive under the expanded list and choose Update driver.
Step 3: In the pop-up window, select a manner to update the driver. According to your preference, click Search automatically for drivers or Browse my computer for drivers.
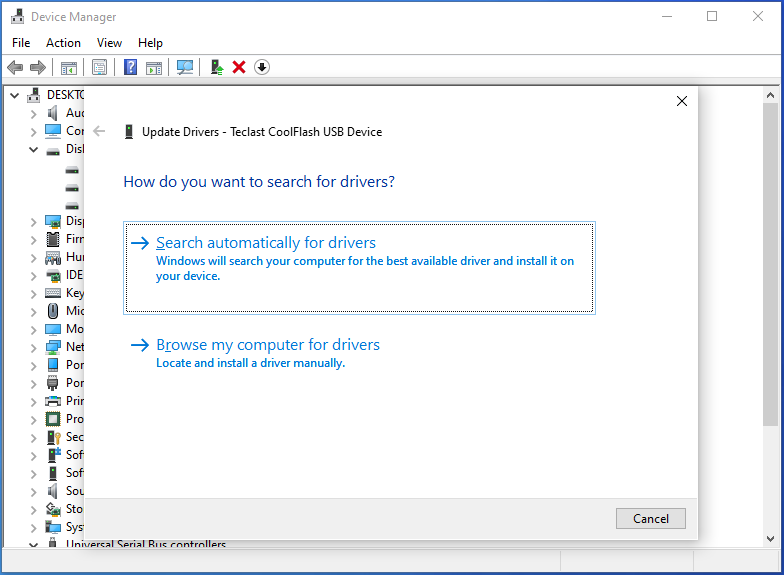
Step 4: Follow the on-screen instructions to finish the update process.
Step 5: Once done, check if USB shown as bad disk issue is solved.
#4: Run CHKDSK
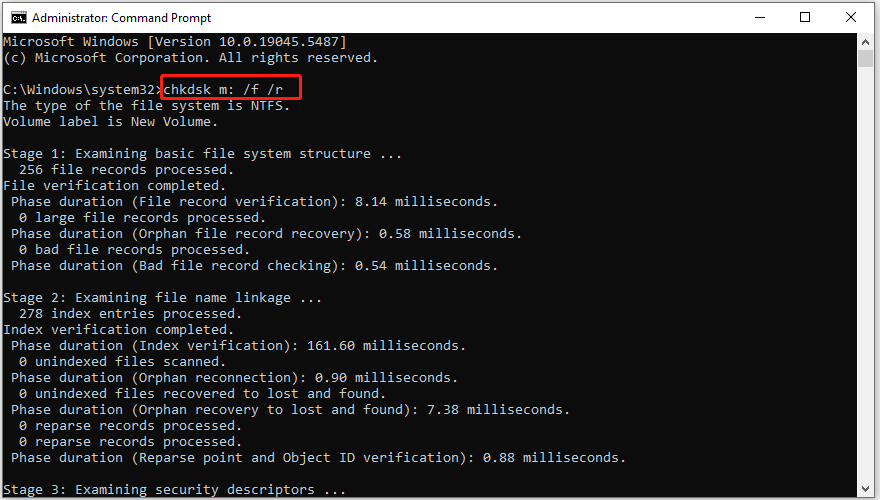
As mentioned earlier, USB showing as bad disk indicates that there are file system issues on the drive. Hence, you’d better run CHKDSK when the issue occurs. CHKDSK is a built-in utility that can scan and fix file system errors on the USB drive.
Step 1: Type cmd in the search box and then click Run as administrator under the searched Command Prompt app.
Step 2: In the User Account Control (UAC) window, click Yes to allow the operation.
Step 3: In Command Prompt, type chkdsk m: /f /r and press the Enter key on the keyboard.
#5: Perform a Virus Scan
Since virus and malware infection is also responsible for USB shown as bad disk Windows 11, you should perform a virus scan on your USB drive. Let Windows Defender scan USB automatically or use a reliable piece of antivirus software to scan your USB drive to see if it contains viruses or malware.
#6: Format the USB Drive
If the above methods don’t work, you should consider formatting the USB drive. Simply perform a quick format. This method works for many USB errors, such as “There’s a problem with this drive”, “files copied to a USB drive disappear”, “unable to format USB drive”, etc.
In this scenario, try formatting the USB drive to resolve USB bad disk issue. To perform the operation, you need to make use of USB formatters like Disk Management, DiskPart, File Explorer, and MiniTool Partition Wizard. Here, I show you how to format the USB via Windows built-in tool (Disk Management) and third-party software (MiniTool Partition Wizard) respectively.
Further reading:
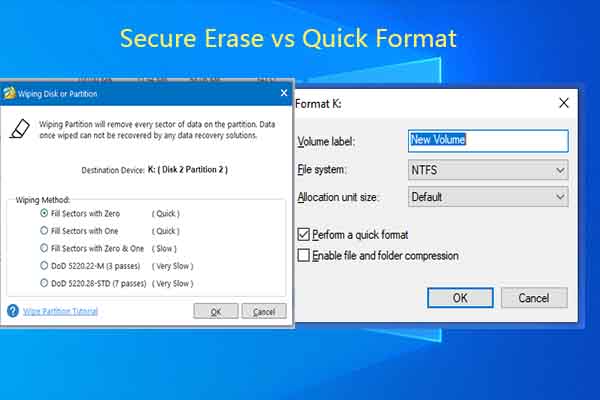
Performing a full format removes viruses on the USB drive and other malware from the USB. Nevertheless, this operation will erase all the data on the USB, making data unrecoverable. Though data can be brought back after you quick format the USB, you’d better back up files on USB drive in advance.
Quick format vs full format: which to choose? Learn the difference between the two formatting methods and pick a suitable one to format your storage device.
Method 1: Use Disk Management
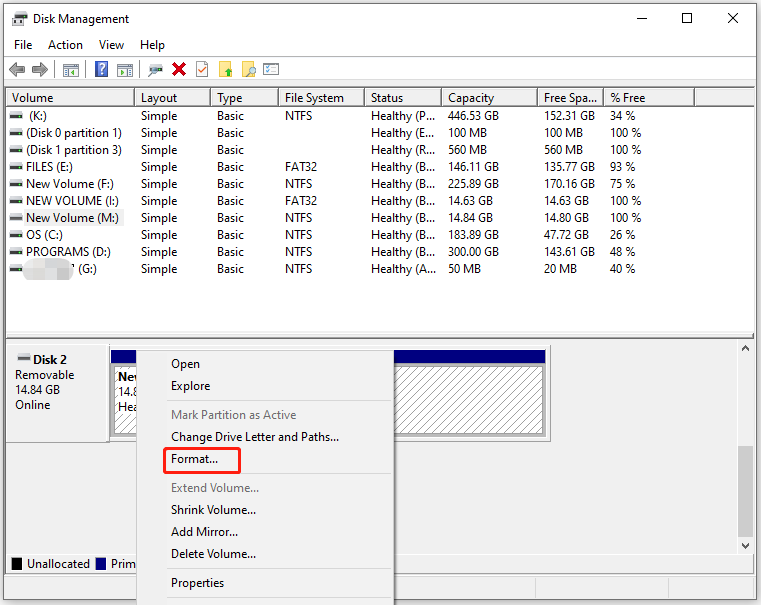
Step 1: Open Disk Management and locate the USB drive.
Step 2: Right-click the USB partition and hit the Format option.
Step 3: According to your needs, configure formatting settings like volume label, file system, and allocation unit size. Tick the Perform a quick format option and click OK.
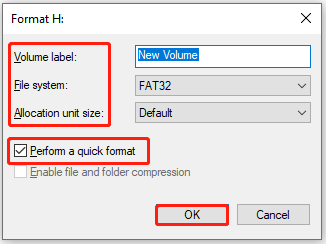
Step 4: In the warning window, click Yes to execute the operation.
Method 2: Use MiniTool Partition Wizard
MiniTool Partition Wizard helps you format the USB within a few clicks. It’s worth noting that it breaks FAT32 partition size limit, allowing you to format USB drive to FAT32 even if the USB is larger than 32GB. Disk Management only allows you to format a USB drive no more than 32GB to FAT32.
Therefore, it’s strongly recommended to use MiniTool Partition Wizard if your USB is larger than 32GB or Disk Management Format option greyed out. Here are the steps to format a USB drive with MiniTool Partition Wizard.
MiniTool Partition Wizard FreeClick to Download100%Clean & Safe
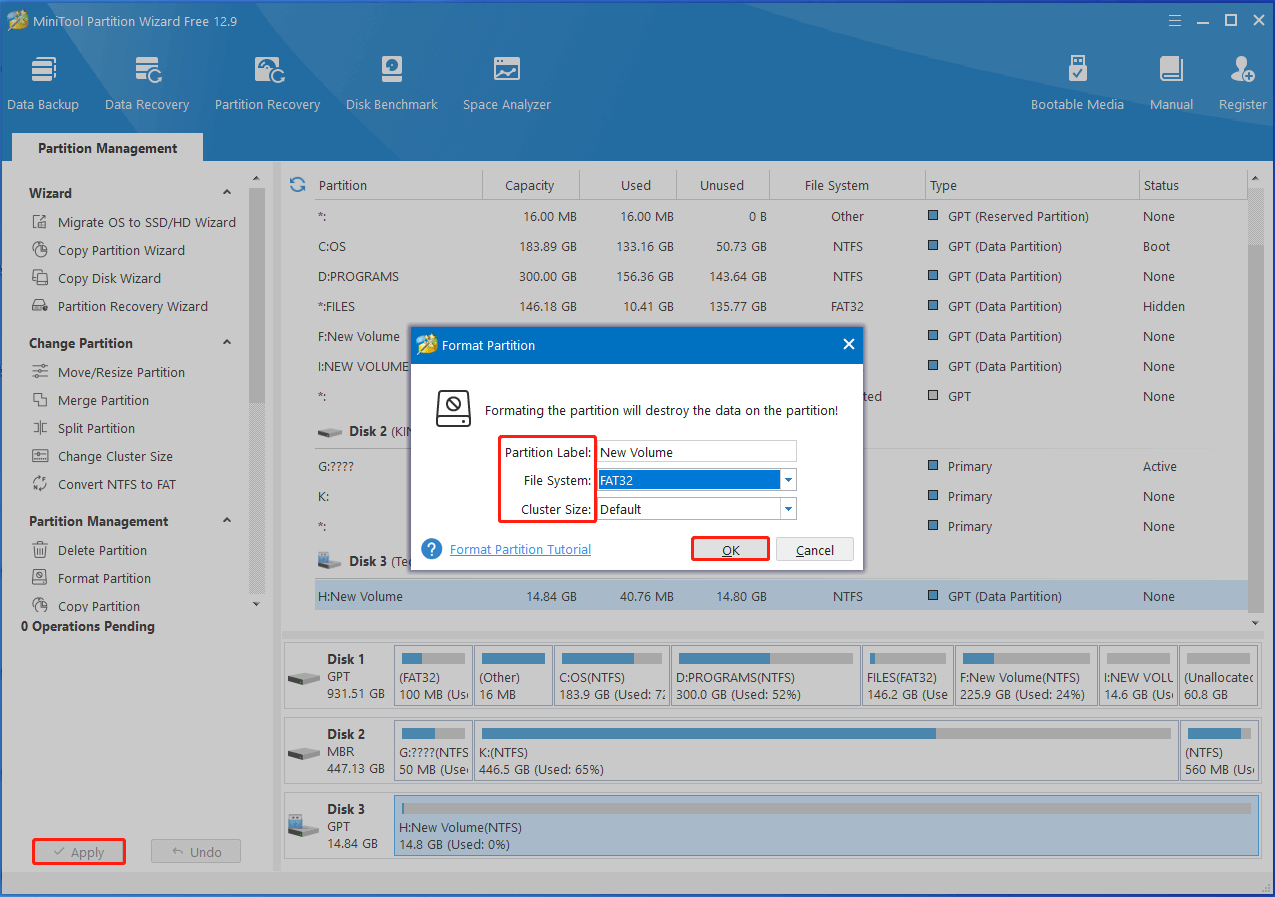
Step 1: After launching MiniTool Partition Wizard, right-click the USB drive and hit the Format option on the context menu.
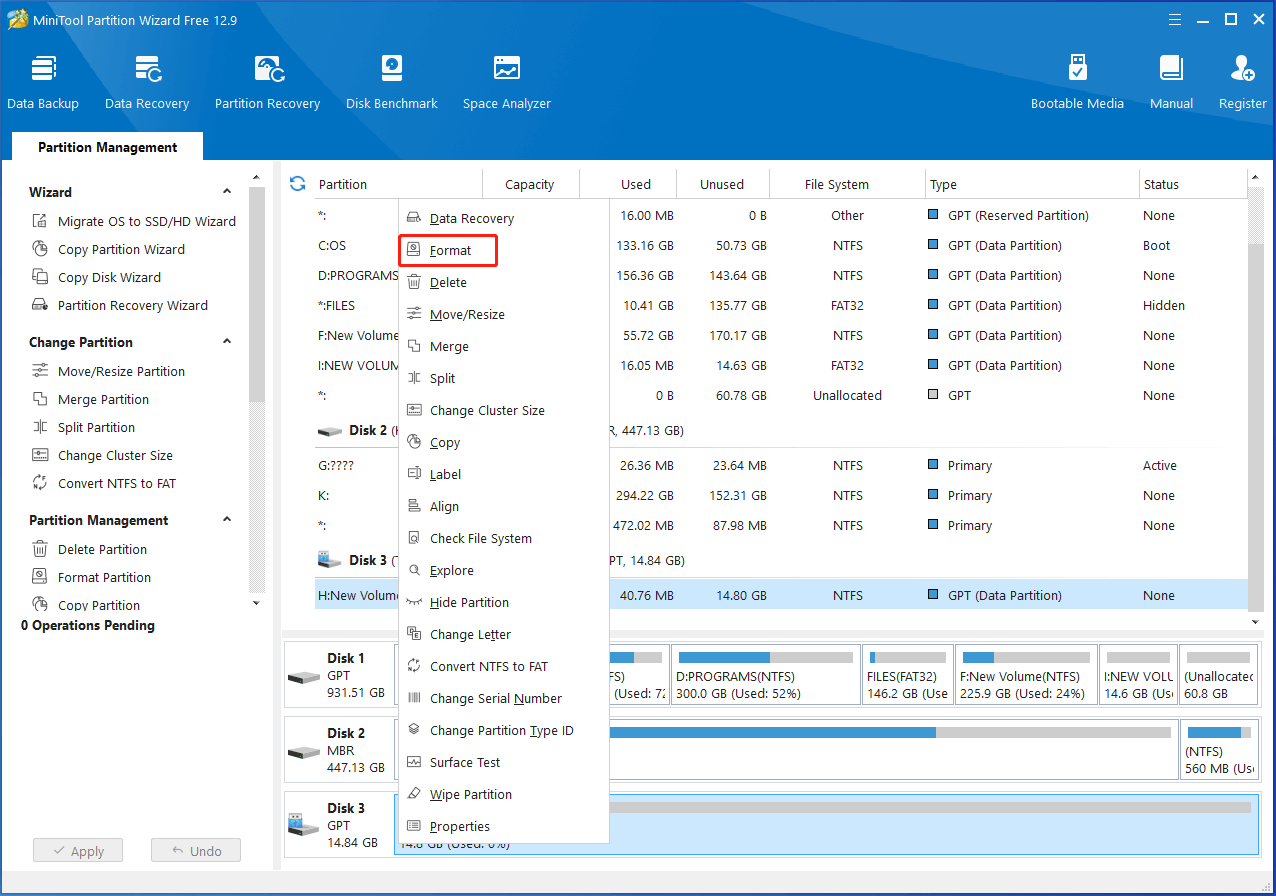
Step 2: In the pop-up window, configure settings like partition label, file system, and cluster size. Then click OK to save changes.
Step 3: Finally, tap on Apply to execute the operation.
Tips to Prevent USB from Showing as Bad Disk
It is terrible to encounter the USB shown as bad disk issue. So, you’d better take some actions to prevent it from happening. Well, some precaution tips are summarized as follows.
- Don’t change the type ID of the USB drive.
- Don’t cancel the formatting process halfway.
- Perform USB health checks regularly by using CHKDSK, Scandisk, or MiniTool Partition Wizard.
- Get Windows USB Troubleshooter installed on your computer. Then use it to detect and fix common USB issues.
The End
This post has summarized the potential causes, feasible solutions, and precaution tips for USB shown as bad disk issue. If it keeps popping up on your computer, try the given methods to troubleshoot it. Hope these methods can help you get rid of the issue.
If you encounter any issue while using MiniTool Partition Wizard, don’t hesitate to contact us. Send an email via [email protected]. We will get back to you as soon as possible.
User Comments :