It is vital to create an image of a USB drive, which can contribute to easily backing up the contents on the USB drive or duplicating that drive for data protection before overwriting it. In this post, MiniTool shows a full guide focusing on how to create an image for your USB drive.
About USB Image
Before introducing how to create an image of a USB drive, let’s first understand what a USB image is.
A USB image refers to a bootable image of an operating system (OS) or other software and the image includes the boot loader, making the OS easily load from the USB. The USB image always runs off the USB device. Compared to a conventional CD/DVD, it is easier to carry and can be stored safely.
Create USB Image, Not Just Copy Files
Sometimes you need to create an image of a USB drive, which is of great significance. By imaging a USB drive, you will have an exact copy of the bootable drive that contains the boot loader. The created image can be copied to another USB flash drive, which makes it simple to duplicate a bootable drive for later use. Then, you can directly use the new USB with the copied data without performing a restoration.
For example, you can copy a Windows 10/11 USB drive and you would get a full copy of the contents of that drive, then load the Windows system from USB to perform some troubleshooting tips or reinstall the system.
When reading here, you know why you can’t just copy the files. Simply copying files via the drag-and-drop method in File Explorer is only applicable when you use a USB flash drive to store personal files, documents, pictures, videos, etc. Once data loss occurs, you can directly copy & paste files to the PC from USB.
But for a bootable USB drive or a USB drive that has multiple partitions and a master boot record, choose to create a USB image that is an exact copy, as stated above. Given this, the best and fastest way to create an image of a USB drive will be cloning since it helps transfer everything from one drive to another drive without any boot issues.
What to Prepare Before You Proceed?
Before you start to create USB images, you should do some preparatory work:
- Prepare a new USB drive to store the image. This USB drive should be big enough to save data on the drive you want to copy. It should be as large as the source drive when running the byte-for-byte copying process.
- Make sure there is no data on the new USB drive since the cloning process will erase all the data.
- Use a USB clone tool to create an image of a USB drive with ease. MiniTool ShadowMaker, a free disk cloning software, offers a feature called Clone Disk to help transfer everything from a disk, SD card, or USB drive to another one.
For cloning HDD to SSD, the target disk can directly load the Windows system once the process completes. Download its Trial Edition by hitting the following button and install it on your Windows 11/10/8.1/8/7 as per the instructions on the screen.
MiniTool ShadowMaker TrialClick to Download100%Clean & Safe
How to Create an Image for Your USB Drive
After getting MiniTool ShadowMaker, now take these steps to create an image of a USB drive via cloning:
Step 1: Connect another USB drive to your computer, launch MiniTool ShadowMaker, and click Keep Trial.
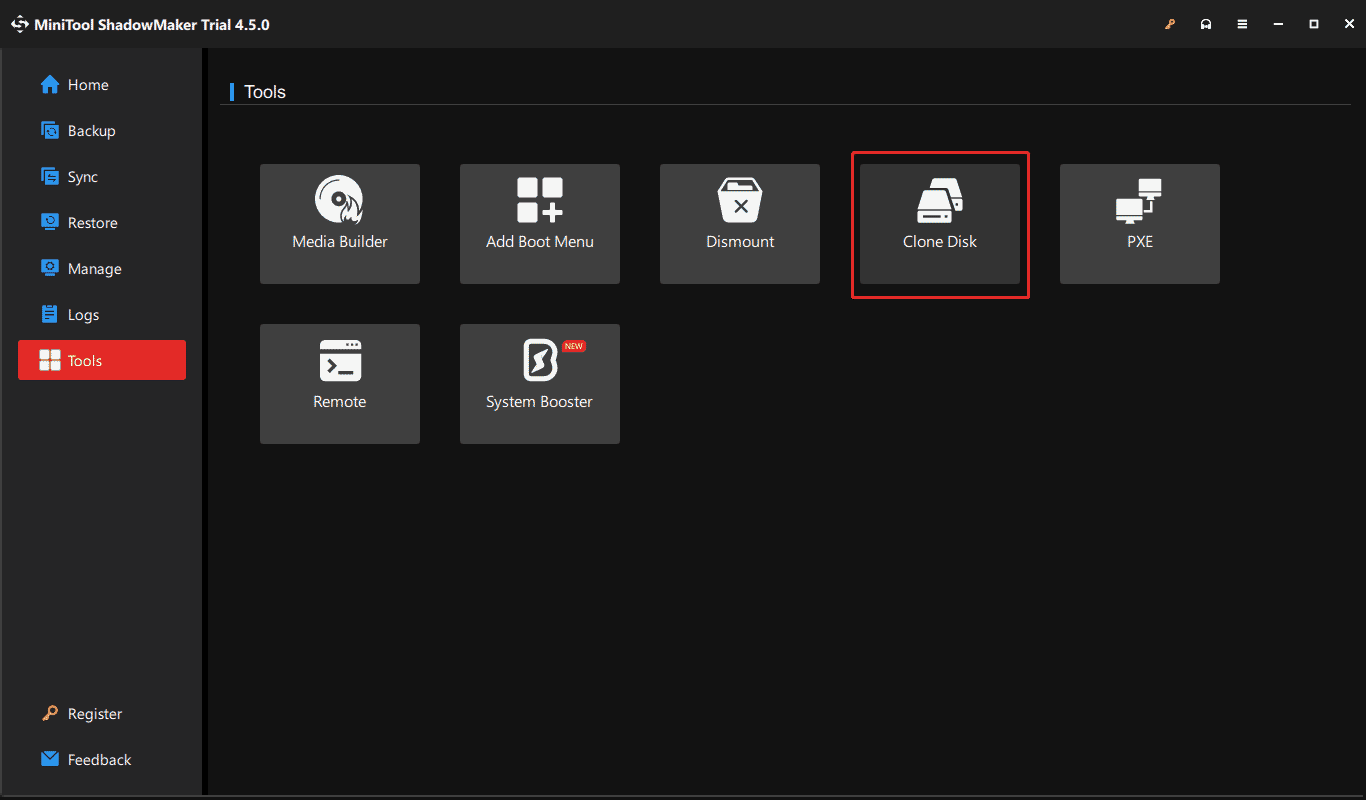
Step 2: Move to the Tools tab and hit the Clone Disk feature to continue.

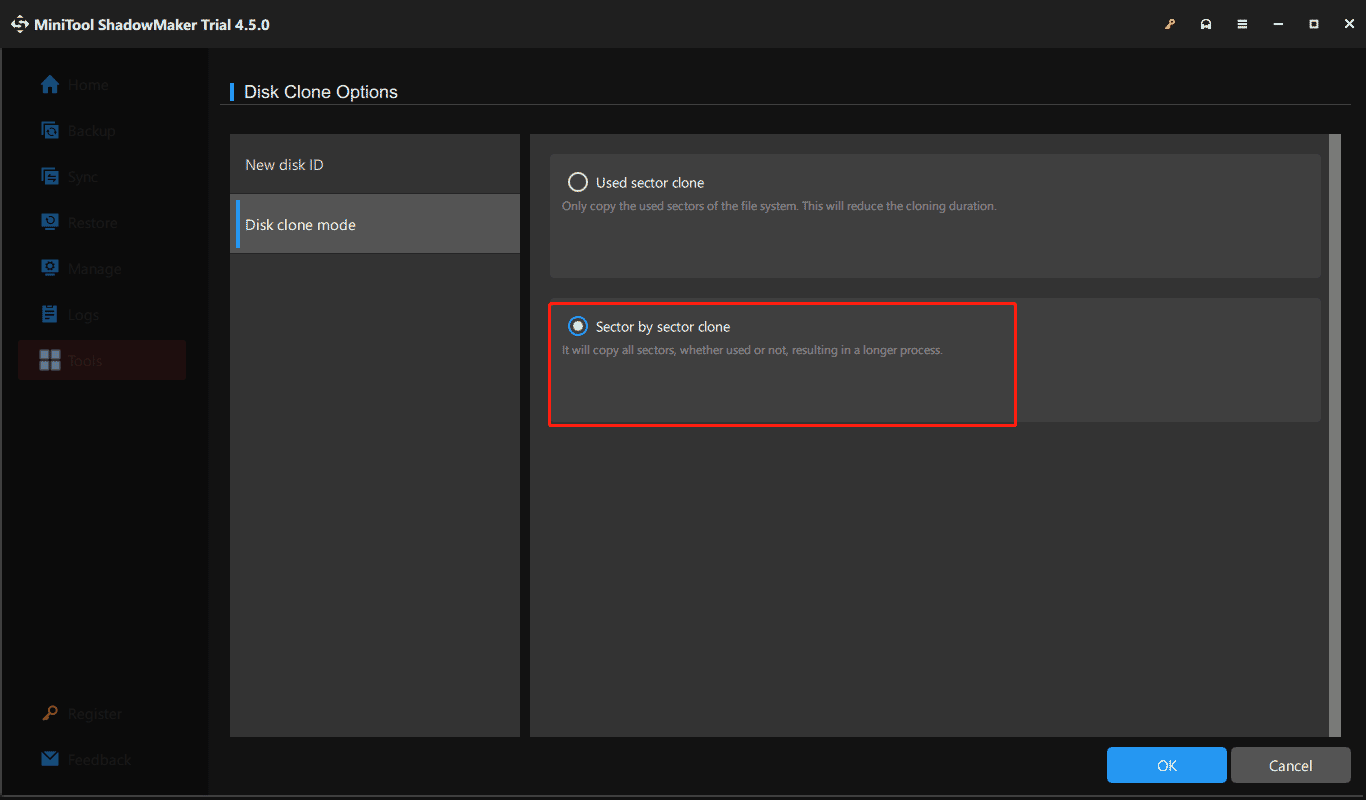
Step 3: If you want to perform sector by sector cloning, click Options > Disk clone mode, choose Sector by sector clone, and hit OK.

Step 4: Choose the bootable USB drive as the source drive and the new USB drive as the target disk. Then, begin cloning USB to USB by hitting the Start button to make a USB image.
Use ImageUSB to Create USB Image
When searching for “how to create an image for your USB drive”, some recommend using ImageUSB which is a free utility to easily create an image from USB and concurrently write an image to multiple USB flash drives. Next, let’s see how to run it for these tasks.
Step 1: Free download ImageUSB from the internet and install it on your PC.
Step 2: Insert a USB drive into the device and launch this USB image tool.
Step 3: Choose the USB drive to be processed and select the action to be performed on the selected USB drive like Create image from USB drive.
Step 4: Specify the location for the .bin image file that will be created from USB and click the Create button to begin.
Using ImageUSB, it is allowed to copy a USB drive image from a .bin file to one or more USB drives at once in order to quickly duplicate a drive. For this work, insert the drive(s) to your computer, launch this tool, select the Write image to USB drive option, browse your PC to find that .bin file, and hit Write.
Final Words
That’s all the information on USB image and how to create an image of a USB drive using MiniTool ShadowMaker and another USB image tool ImageUSB. Try one of them as per your situation for USB image creation if needed.
Comparing these two ways, MiniTool ShadowMaker directly clones USB to USB but ImageUSB requires an extra writing operation, which wastes time and effort.


User Comments :