If you want to transfer files and settings from your old PC to a new PC, Windows Easy Transfer is a good choice. It is a specialized file transfer tool developed by Microsoft. This article also shows you a Windows Easy Transfer alternative: MiniTool ShadowMaker with which you can copy the whole hard drive data.
An Instruction of Windows Easy Transfer
Windows Easy Transfer is a powerful file transfer program in Windows. It enables you to transfer
User accounts, documents, music, pictures, and more from a PC running an earlier Windows version to a PC running a newer version, but it does not support transferring applications.
Besides, it does not support transferring files between Windows 32-bit version and Windows 64-bit version. You have to transfer files with an external storage device manually.
It is included in Windows Vista/7/8/8.1 operating systems. However, it was discontinued in Windows 10.
How to Use Windows Easy Transfer
If you want to transfer files from your old PC to a new PC, just follow the steps shown below.
Save Files and Settings from The Old Computer
Firstly, you need to save an Easy Transfer file from your old PC.
Step 1: Click Start, type transfer in the search bar. Click Windows Easy Transfer and then click Next to open it.
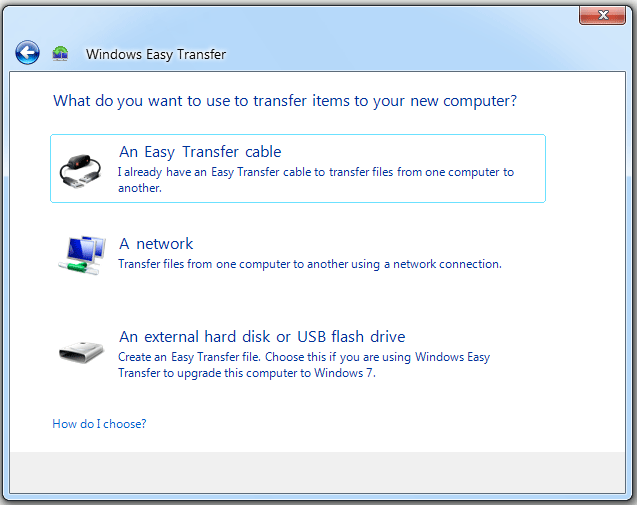
Step 2: Choose a method that you want to use to transfer items to your new PC. The following steps will take the method – An external hard disk or USB flash drive as an example. Now plug in the external storage drive.
Step 3: Select This is my old computer to transfer files and settings from this PC. After that, Windows Easy Transfer will check what you can transfer in this PC.
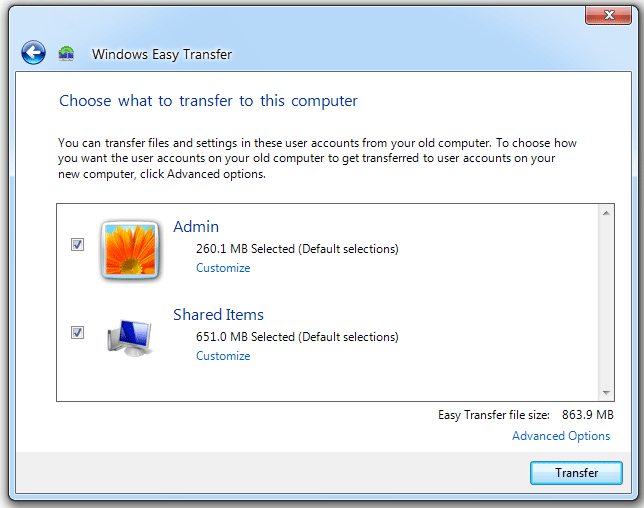
Step 4: Now choose what to transfer from this PC and then click Next.
Step 5: All the files and settings you choose will be saved in an Easy Transfer file. You can choose to enter a password to protect this file or not. Click Save to continue.
Step 6: Choose the destination you want to save Easy Transfer file. After finishing saving the file, click Next two times.
Step 7: Click Close to exit the Windows Easy Transfer wizard. Next, you can continue the transfer process on your new PC.
Import Files and Settings to the New Computer
Now you can transfer the Easy Transfer file from the old PC to the new PC.
Step 1: Click Start, type transfer in the search bar. Click Windows Easy Transfer and then click Next to open it.
Step 2: Choose the method – An external hard disk or USB flash drive that you chose on the old PC.
Step 3: Select This is my new computer.
Step 4: Plug in the external storage drive and click Yes.
Step 5: Find the Easy Transfer file you saved and click Open.
Step 6: If you choose to enter a password on the old PC, now enter the same password and then click Next.
Step 7: Select what you want to transfer and then click Transfer to perform the operation. Wait patiently and do not use your new PC until the transfer is completed.
Step 9: After your transfer is complete, choose to See what was transferred or See a list of programs you might want to install on your new computer. Or just click the Close button to exit the Windows Easy Transfer wizard on the new PC
Step 10: Restart your PC to complete your transfer. Choose to Restart now or Restart later.
The Alternative to Windows Easy Transfer: MiniTool ShadowMaker
Although Windows Easy Transfer is a good file and settings transfer tool, it is troublesome to transfer files. Besides, its functions are not powerful. Now a great Windows Easy Transfer alternative is recommended to you – MiniTool ShadowMaker.
MiniTool ShadowMaker – a piece of free backup software enables you to back up and restore your files, partitions, OS and so on. Even when your computer can’t boot normally, with MiniTool ShadowMaker, you can create bootable media to restore system to its previous state.
To learn more information on system recovery, refer to this post: Easily Restore System Image from External Hard Drive in Windows 10/8/7
With the Clone Disk function of it, you can copy the whole hard drive data from the old PC to the new PC.
Now, you can free get MiniTool ShadowMaker from the following button.
MiniTool ShadowMaker TrialClick to Download100%Clean & Safe
Step 1: Choose the Source Disk
1. Connect an external HDD or SDD to your old PC and run MiniTool ShadowMaker to enter its interface.
2. Click Connect in Local module to continue.
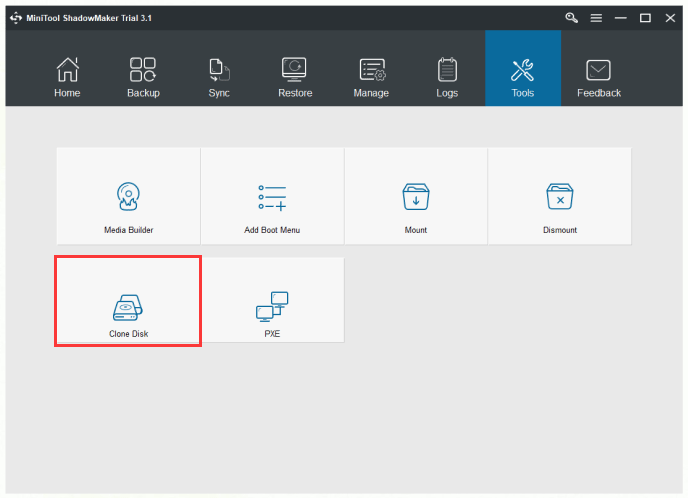
3. After entering the main interface of MiniTool ShadowMaker, click the Tools tab and then click the Clone Disk feature to continue.
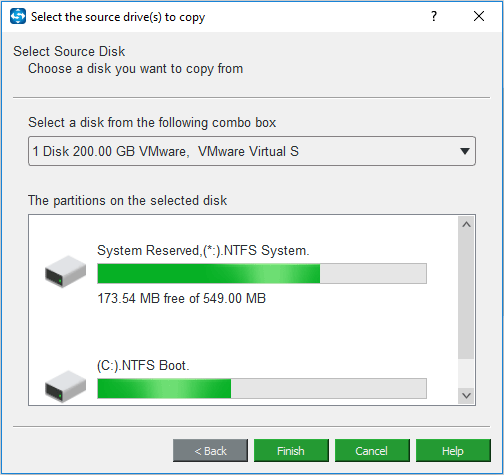
4. Click the Source module to continue and then select the source disk which you want to copy and click Finish.
Step 2: Choose the Target Disk
1. Click the Destination module and then choose the external hard drive as the target disk to save the copy and click Finish.
2. Click OK to continue.
Step 3: Run Disk Cloning
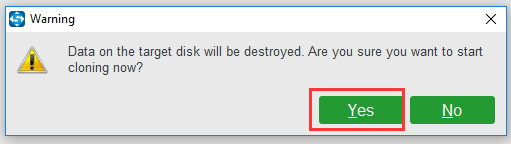
1. You will receive a warning message. This message is telling you all data on the target disk will be destroyed. If you are sure you want to do this, click Yes to continue.
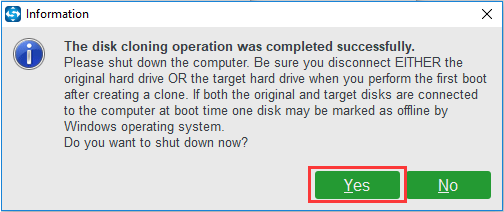
2. When the disk clone process is finished, you will receive a message. This message is telling you to remove one disk. One disk will be marked as offline by Windows if both the original and target disks are connected to your PC. Click Yes and then click Finish.
Just remove the external hard drive and connect it to your new PC. By this way, you can easily transfer data to your new PC.
Conclusion
This article has shown you instruction of Windows Easy Transfer and also taught you how to use this tool. Besides, this article introduces you a great Windows Easy Transfer alternative: MiniTool ShadowMaker. With the function of it, you can easily copy the whole hard drive data to the new PC.
If you encounter any question or have any suggestion, contact us via the email [email protected].
User Comments :