It is common to meet different errors when you use the Windows system. And if you want to find some methods to deal with the error code 0x8024402f when you try to update your Windows system, then this post from MiniTool is what you need. You can find 4 useful methods here.
Microsoft keeps releasing updates to improve its operating system, but sometimes, you may meet some Windows update errors, such as 0x80240017 and 0x800703f1. And this post will tell you how to get rid of Windows update error 0x8024402f.
And there is one thing you need to know: Windows update 0x8024402f error may appear on different Windows system versions such as Windows 7 and Windows 10.
Method 1: Run Windows Update Troubleshooter
When you meet Windows update errors, no matter what the error code is, you can try to run Windows Update Troubleshooter to fix them. Then how to run Windows Update Troubleshooter? Here is a quick guide:
Step 1: Press the Win + I keys at the same time to open Settings.
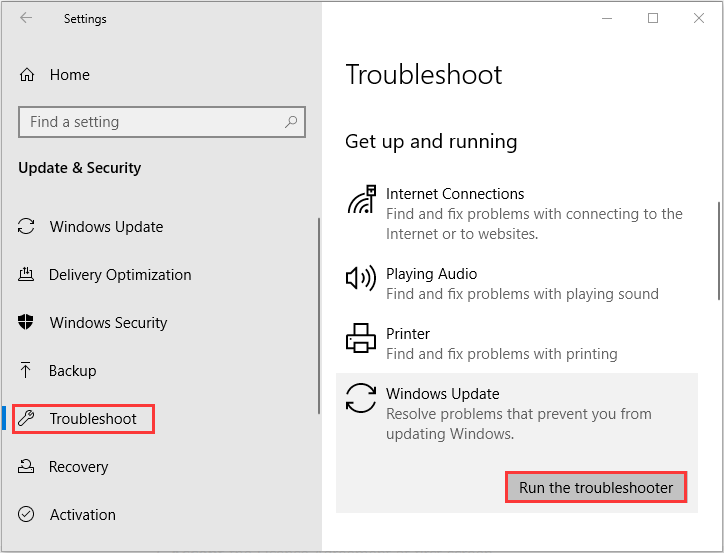
Step 2: Select Update & Security and then go to the Troubleshoot tab.
Step 3: Find Windows Update in the right panel and then click it to select Run the troubleshooter.
Step 4: Wait for the process to complete, and then apply the fix. Check if the Windows update error 0x8024402f is fixed.
Method 2: Uninstall Problematic Updates
If you still keep receiving the 0x8024402f error, then there may be a problematic update. Therefore, in order to fix the error, you can uninstall problematic updates. To do this, follow the instructions below:
Step 1: Open Settings and then choose Update & Security. Go to the Windows Update tab.
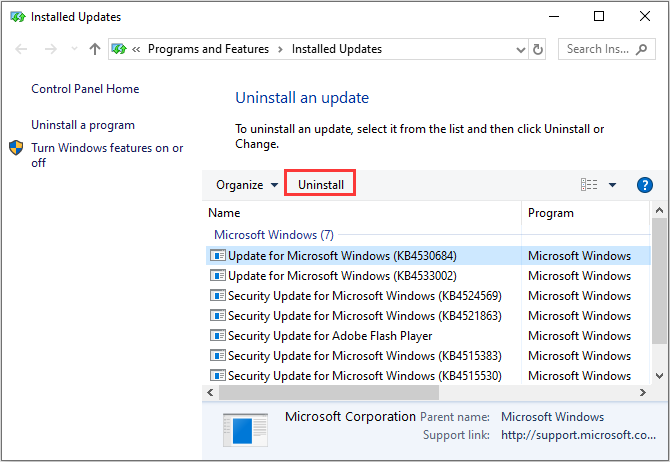
Step 2: Click View update history and then choose Uninstall updates.
Step 3: Find the recent update and then click it to choose Uninstall.
Step 4: After uninstalling the recent updates, you need to restart your computer and then check if the Windows update error 0x8024402f is gone.
Method 3: Change Your DNS
Sometimes, the culprit of the error code 0x8024402f is your DNS. Thus, you need to change your DNS server to fix the error. You can follow the instructions below to do that:
Step 1: Open Settings and then choose Network & Internet.
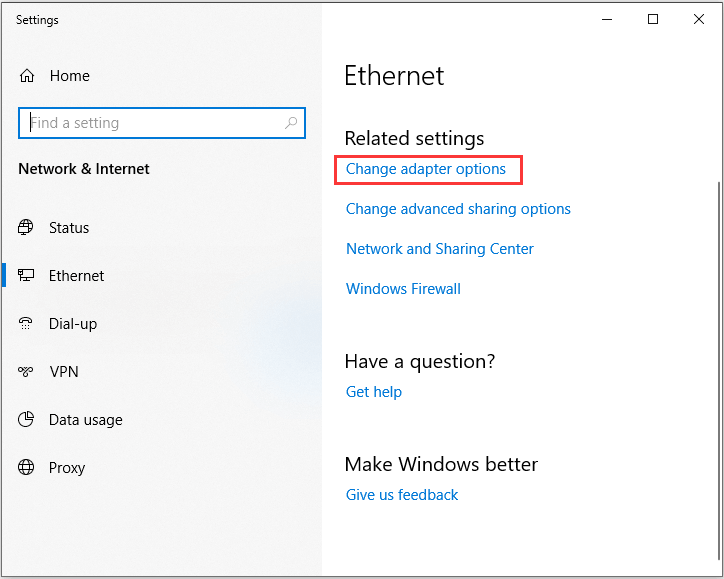
Step 2: Go to the Ethernet tab and then choose Change adapter options in the right panel.
Step 3: Locate your network connection, right-click it to choose Properties.
Step 4: In the Properties window, choose Internet Protocol Version 4 (TCP/IPv4) and then click Properties.
Step 5: A new window will pop out, then choose Use the following DNS server addresses and set the following:
Preferred DNS server: 8.8.8.8
Alternate DNS server: 8.8.4.4
Click OK to save changes.

Step 6: Restart your computer to check if the 0x8024402f error still persists.
Method 4: Delete the SoftwareDistribution Folder
You can also get rid of the 0x8024402f error by deleting the SoftwareDistribution folder. To do this, follow the steps below:
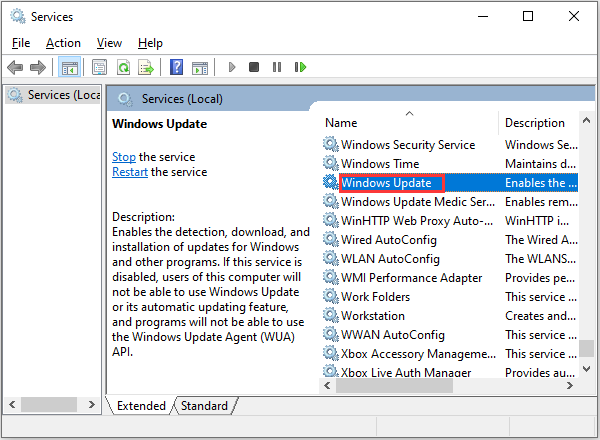
Step 1: Press the Win + R keys at the same time to open the Run box, type services.msc in the box and then click OK.
Step 2: In the Services window, right-click Windows Update on the list to choose Stop.
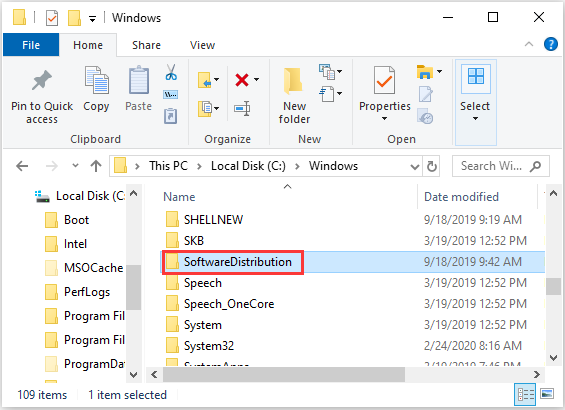
Step 3: Press the Win + E keys at the same time to open File Explorer and then navigate to C:\Windows folder.
Step 4: Right-click the SoftwareDistribution folder to choose Delete.
Step 5: Go back to Services and then right-click the Windows Update service to choose Start.
Step 6: Restart your computer to see if the error is fixed.
Bottom Line
To sum up, this post has gathered 4 efficient methods for you to deal with the 0x8024402f error. So if you still meet the error, try these methods mentioned above.
User Comments :