BlueStacks not working is a common issue that can happen on Windows 10/11 or Mac. What if you run into the BlueStacks issue on your PC? Don’t panic and you can find some effective solutions from the post written by MiniTool. Try them to get out of the trouble.
BlueStacks Not Working Windows 11/10/Mac
BlueStacks is a free Android Emulator that can be used on Windows 11/10 and macOS. This app allows you to download Android apps like Google Play Store, WhatsApp, etc., and play Android games on your PC.
But according to users, BlueStacks doesn’t always work well and some common issues appear, for example, BlueStacks Engine won’t start, BlueStacks not loading, crash, gray screen, and more. So, what should you do if you also run into the issue of BlueStacks not working on Windows 10/11 or Mac? Take it easy and let’s try the solutions below.
How to Fix BlueStacks Not Working Windows 11/10
Check System Specifications
This is the first thing you should do. If your Windows 10/11 PC cannot meet the minimum system requirements, BlueStacks cannot open and work on the machine.
Let’s see the requirements below (take BlueStacks 5 as an example):
- OS: Windows 7 and above
- CPU: Intel or AMD processor
- RAM: At least 4GB
- HDD: 5GB free disk space
- You must be an administrator on the PC.
- The PC has up-to-date graphics drivers from the chipset vendor or Microsoft.
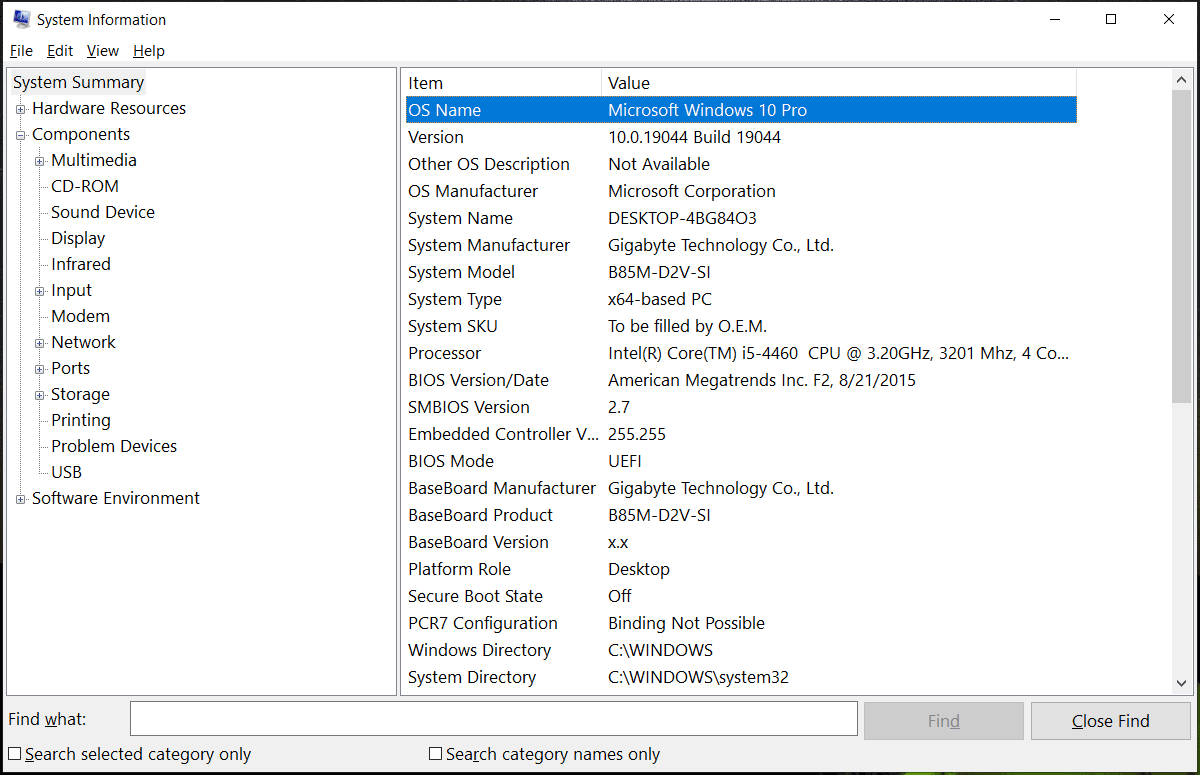
To check your system information, go to type Win + R, type msinfo32, and click OK. If the machine can meet the above requirements, go on troubleshooting BlueStacks not working on Windows 10/11.

Upgrade Graphics Card Driver
If your video card driver is outdated, the issue of BlueStacks not working can happen on Windows 11/10. Thus, upgrade it to the latest version. You can do this thing in multiple ways and here in our previous post, you can see some details – How to Update Graphics Driver Windows 11 (Intel/AMD/NVIDIA).
Run BlueStacks in Compatibility Mode
If BlueStacks is not loading and working in Windows 10/11, you can try to run this app in compatibility mode.
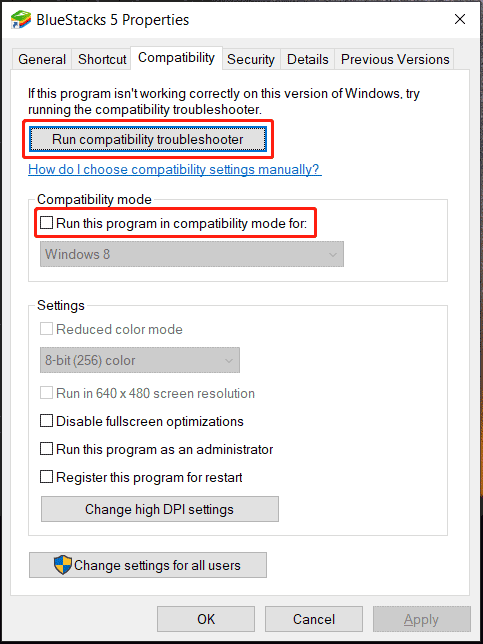
Step 1: Right-click the shortcut of this app and choose Properties.
Step 2: Under the Compatibility tab, click Run compatibility troubleshooter. Then, finish the process by following the on-screen instructions.

Step 3: After that, tick the box of Run this program in compatibility mode for and choose a system.
Uninstall and Reinstall BlueStacks
This is a useful solution that is worth a shot and do these things:
Step 1: Go to open Control Panel in Windows 11/10.
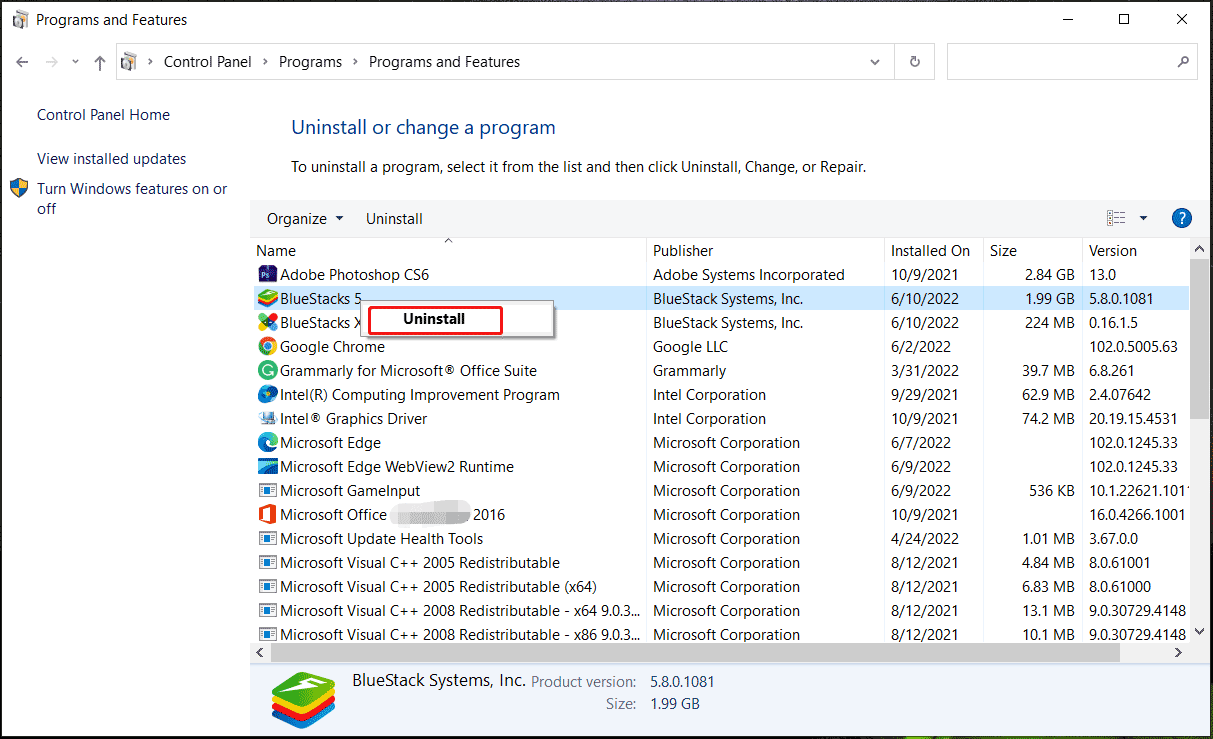
Step 2: View items by Category and click Uninstall a program.
Step 3: Right-click on BlueStacks and choose Uninstall. Then, confirm the operation.

Step 4: Download this app from its official website and then reinstall it on your PC.
Other Ways:
- Turn on virtualization in these ways in the guide – 2 Ways – How to Enable Virtualization in Windows 10.
- Close resource-hungry programs running in parallel.
- Switch the settings of BlueStacks to DirectX.
How to Fix BlueStacks Not Working on Mac
If you run BlueStacks on macOS and find it is not working, the main reason for this is security permissions and you need to give BlueStacks permission to run.
Ste p1: After opening BlueStacks, the System extension blocked popup appears and you can click Open Security & Privacy.
Step 2: Click on the lock icon and confirm the user name & password if asked. Then, click Unlock.
Step 3: Click Allow > Restart. Then, you can use BlueStacks on macOS 11 Big Sur.
In terms of macOS 10.15 Catalina and below, the steps are similar and you can click Open Security & Privacy, then follow the on-screen wizards to finish the operation.
BlueStacks Snapchat Not Working
Sometimes you can run BlueStacks properly but cannot use the Snapchat app correctly. How to fix BlueStacks Snapchat not working on your PC?
- Uninstall the new version of BlueStacks and reinstall the old version.
- Update Snapchat for Android to the latest version.
- Get the latest version of BlueStacks.

User Comments :