Microsoft Clipchamp is a free video editing tool that allows you to import, edit, and export videos on a website or locally. However, Clipchamp video loss happens from time to time. Is there any method to recover lost Clipchamp videos? Keep reading to get answers.
Where to Find Clipchamp Videos
Before carrying out the Clipchamp video recovery process, you should know the save file location of exported Clipchamp videos on your computer. If you are running the Clipchamp application on Windows, the exported video files will be directly saved to the Downloads folder under the following file path: C:\Users\username\Downloads.
When exporting videos, you can also share them to cloud storage, like OneDrive, Google Drive, Dropbox, etc. After saving to the local, you can also find the target video file on the cloud storage.

How to Recover Videos from Clipchamp
As we explained above, you have two ways to handle the Clipchamp video loss situation: by re-downloading the video file from the cloud storage or by running data recovery software to perform local file recovery. The next section will show you how to recover lost Clipchamp videos.
#1. Re-download Clipchamp Video from Cloud Storage
If you have uploaded the video to your preferred cloud storage, you can simply download the required video file from the cloud storage. Here, we take OneDrive as an example.
Step 1. Search for OneDrive online and log in to your account.
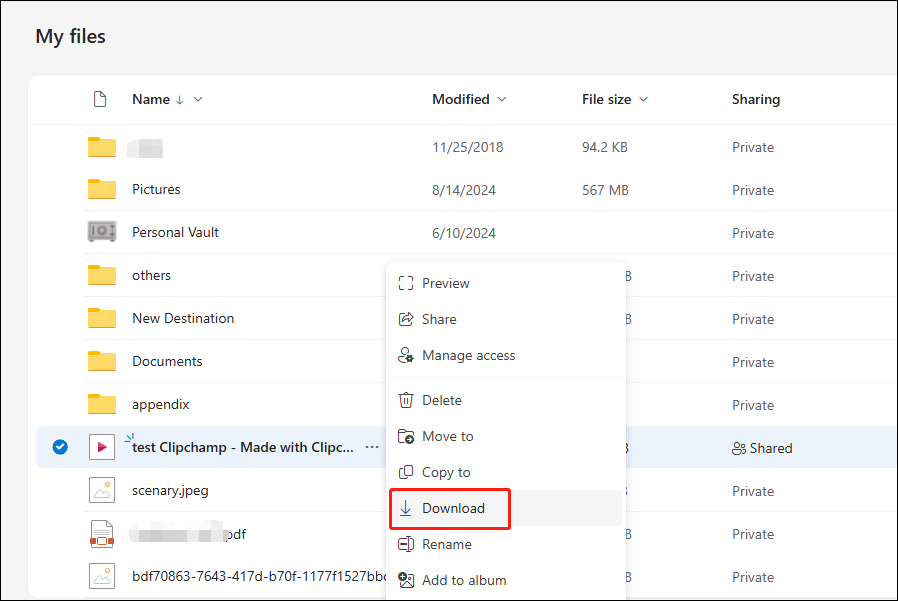
Step 2. Change to the My files tab to find the desired Clipchamp video.
Step 3. Select and click on the three-dot icon. Then, choose Download from the context menu.

#2. Recover Clipchamp Video by Running MiniTool Power Data Recovery
If you haven’t uploaded the video to the cloud storage when exporting it, don’t worry; you still have a chance to get the lost Clipchamp video back. MiniTool Power Data Recovery is free file recovery software that is designed to restore various types of files.
As long as your lost files are not overwritten, this software gives a high chance of recovering files. You can get MiniTool Power Data Recovery Free first by clicking the download button below. Running this tool to deep scan the target folder and recover no more than 1GB of video files for free.
MiniTool Power Data Recovery FreeClick to Download100%Clean & Safe
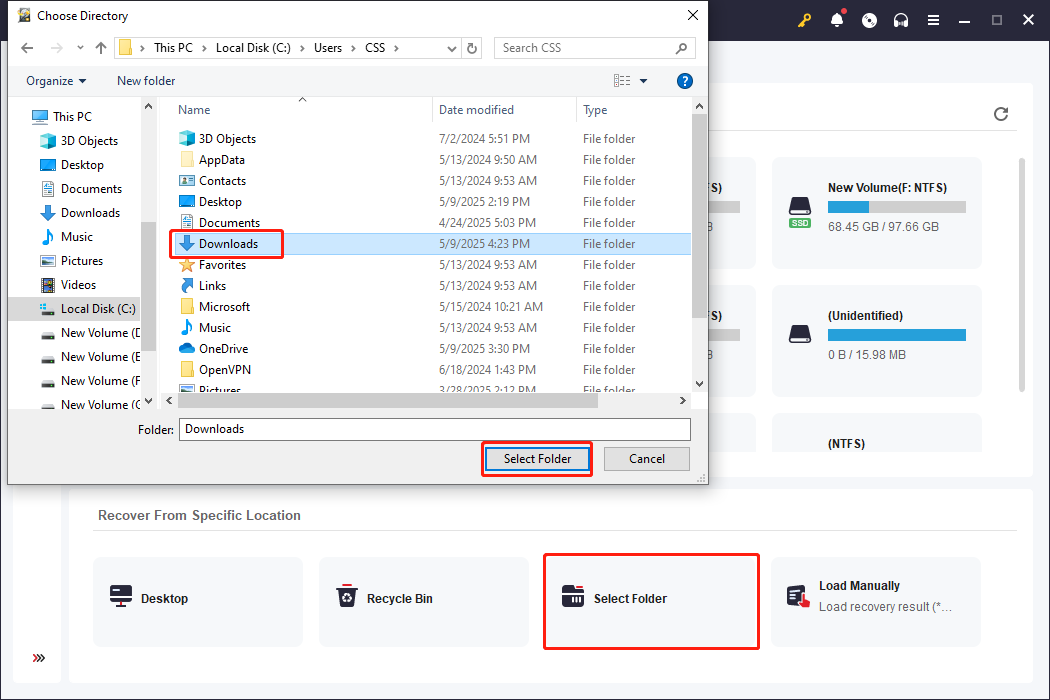
Step 1. After installing this software, launch it to enter the main interface. On the main interface, click Select Folder at the bottom section. Then, find the Clipchamp video save file location on your device, by default, in the Documents folder. Choose the folder and click Select Folder to start the scan process.
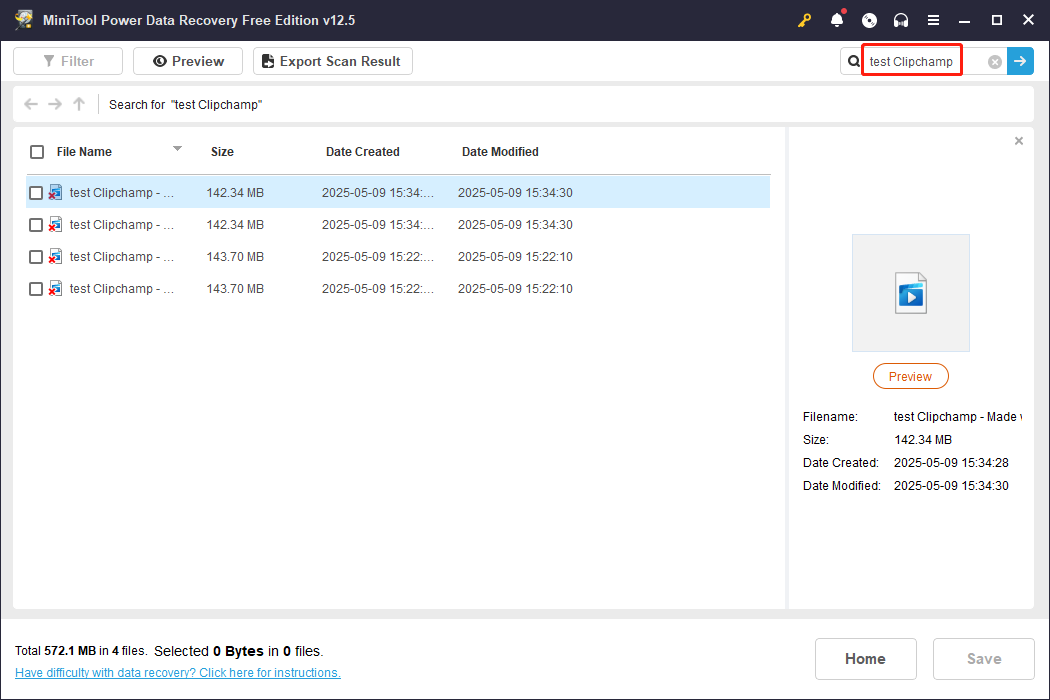
Step 2. Wait for the scan process to complete patiently for the best scan outcome. On the result page, you can utilize several features to narrow down the file list to enhance data recovery efficiency.
For instance, change to the Type tab and expand the Audio & Video option. Choose MP4 to browse the MP4 video files only. Alternatively, you can search the file name to locate a specific file by using the Search feature at the top right corner.
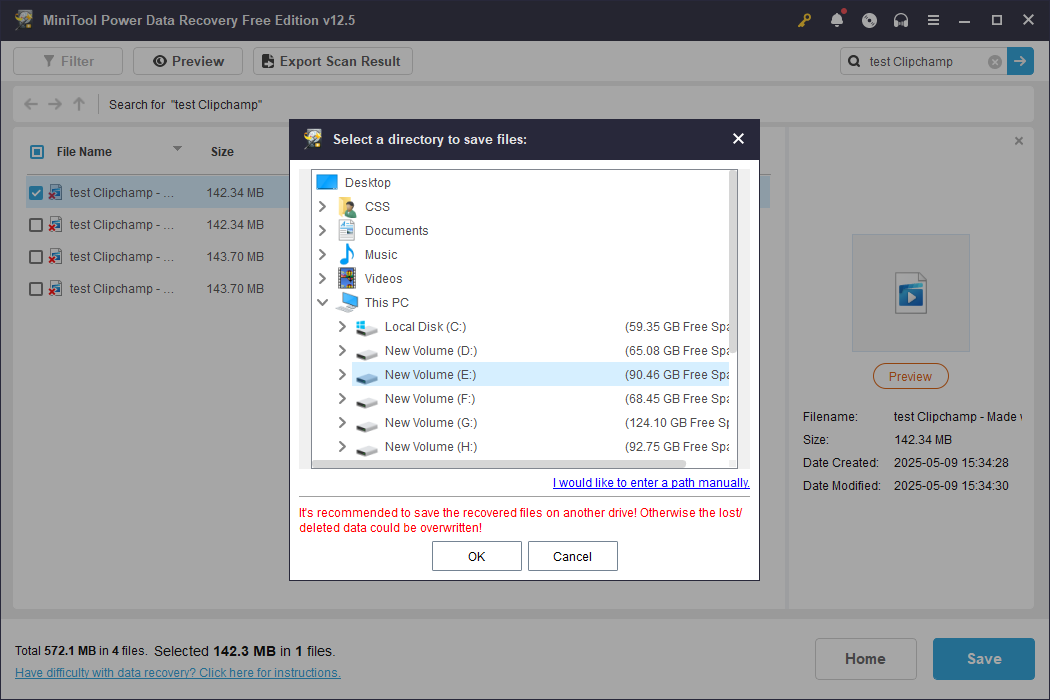
Step 3. Double-click on the file to preview its content instead of saving it directly. After confirming the file is the one you need, tick it and click Save. You should choose a new destination for the recovered file. Saving files to the original file path can lead to data overwriting, resulting in data recovery failure.
Please note that there is a data recovery capacity limit when running with the free edition of MiniTool Power Data Recovery. If you need to restore more than 1GB of files, you should upgrade to an advanced edition.
Final Words
This is all about how to recover Clipchamp videos on Windows. You are advised to take the data recovery action as soon as possible after the Clipchamp video loss happens. Hope here is useful information to you.
User Comments :