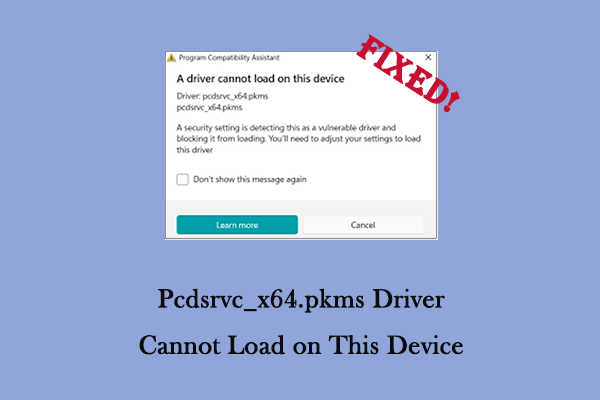
Have you ever encountered this error message, “Gdrv2.sys driver cannot load on this device”? If you are confused about it, you have come to the right place. This post from MiniTool explains to you how to get rid of this problem.
Gdrv2.sys Driver Cannot Load on This Device
Gdrv2.sys is a driver file that is usually associated with GIGABYTE motherboards and graphics cards. It is responsible for enabling GIGABYTE software to run on Windows PCs. However, malware can sometimes disguise itself as a gdrv2.sys file, causing errors on your computer.
“Gdrv2.sys driver cannot load on this device” is an error message usually associated with the driver of the GIGABYTE motherboard or graphics card. This issue may be caused by the following reasons:
- Incompatibility of the driver with the operating system: For example, some versions of Windows (such as Windows 11 24H2) may not support the driver.
- Windows Defender’s kernel isolation feature: This feature may prevent the driver from loading because it may be considered vulnerable.
- Corrupted system files or malware infection: These issues may prevent the driver from functioning properly
After having a better understanding of why the gdrv2.sys driver is not loading on ABS computer, let’s solve it using the following methods.
Method 1: Uninstall GIGABYTE Utilities
This problem may be caused by old drivers that are not compatible with new systems or hardware. As operating systems and hardware are updated, old drivers may not be compatible with newer versions, resulting in reduced performance or limited functionality. To solve this problem, you can uninstall this app according to the following steps.
Step 1: Type Control Panel in the Windows search box and press Enter.
Step 2: Click on Programs > Programs and Features.
Step 3: Right-click each GIGABYTE utility and select Uninstall.
Step 4: After completely uninstalling the software, you can restart your computer and check if the problem is solved.
Exclusive 50% OFF Revo Uninstaller Pro
Method 2: Update the Driver
An outdated or unsigned GIGABYTE Utility driver may cause this problem. If you cannot load gdrv2.sys driver, you can try updating the driver to improve system stability and reliability, and solve this issue. Here is how you can update it.
Step 1: Right-click on the Start button and choose Device Manager.
Step 2: Click on the small arrow in front of System Devices to expand it.
Step 3: Locate any GIGABYTE-related drivers and right-click on each of them to choose Update driver.
Step 4: In the new window, select Search automatically for drivers.
When the new update shows up, follow the wizards to complete the whole process.
Method 3: Disable Memory Integrity Setting
Some older or unsigned drivers may be incompatible with the Memory Integrity feature and prevent the device from functioning properly. In this case, you can temporarily disable the Memory Integrity feature and re-enable it after completing the necessary tasks. Here are the steps.
Step 1: Press the Win + I keys to open the Settings app.
Step 2: Click on Update & Security > Windows Security.
Step 3: In the right pane, click on Device security under the Protection areas.
Step 4: Under Core isolation, click on Core isolation details.
Step 5: Toggle the button to Off in the Memory integrity section.
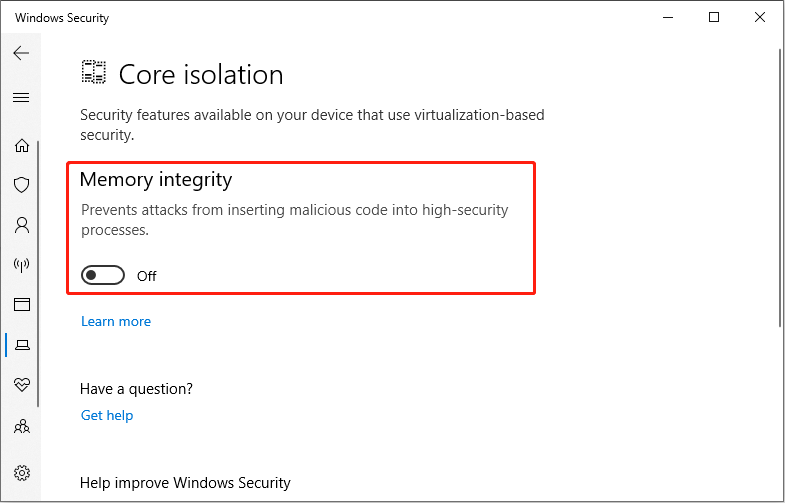
Once you have completed these steps, you can go check if this problem still exists.
Method 4: Repair Damaged System Files
Corrupted system files may cause some functions to not work properly, such as not being able to start programs or the operating system. You can try repairing the corrupted system files using DISM and SFC to solve this problem. Follow the operations below to complete the repair.
Step 1: Type Command Prompt in the Windows search box, right-click on the best match, and choose Run as administrator.
Step 2: When asked by the UAC window, click on Yes to continue.
Step 3: Type DISM.exe /Online /Cleanup-Image /Restorehealth and press Enter.
Step 4: Wait patiently for the process to complete, and then type sfc /scannow and press Enter.
When the whole process is over, close the windows and go check if the problem still exists.
MiniTool Power Data Recovery FreeClick to Download100%Clean & Safe
Final Thoughts
Several methods, such as uninstalling the software, updating the driver, repairing corrupted system files, etc., are listed in this article. You can try them one by one until this problem is fixed. Hope these methods can help you.
About The Author

Position: Columnist
Chelsea graduated from university with a major in English. She has a strong interest in English writing. It is this passion for writing that led her to become an English editor. Her articles mainly focus on data recovery and other computer industry news. As an energetic and outgoing girl, Chelsea enjoys listening to music, singing, riding bikes, and eating in her spare time.
User Comments :