To solve some issues, you may need to clear caches and cookies for your web browser and modify some settings. But this may lead to another issue: network connection becomes unavailable. In a situation like this, you can flush DNS to reset IP to make everything back to normal.
In this post, we will show you how to flush DNS on Windows and Mac.
However, if you are using a public or shared computer, you will need to ask the network administrator to do the job.
How to Flush DNS on Windows 10, Windows 8.1, and Windows 8?
If you are using Windows 10, 8.1, 8, you can follow these steps to reset IP/flush DNS:
1. Search for cmd using Windows Search and select Run as administrator.
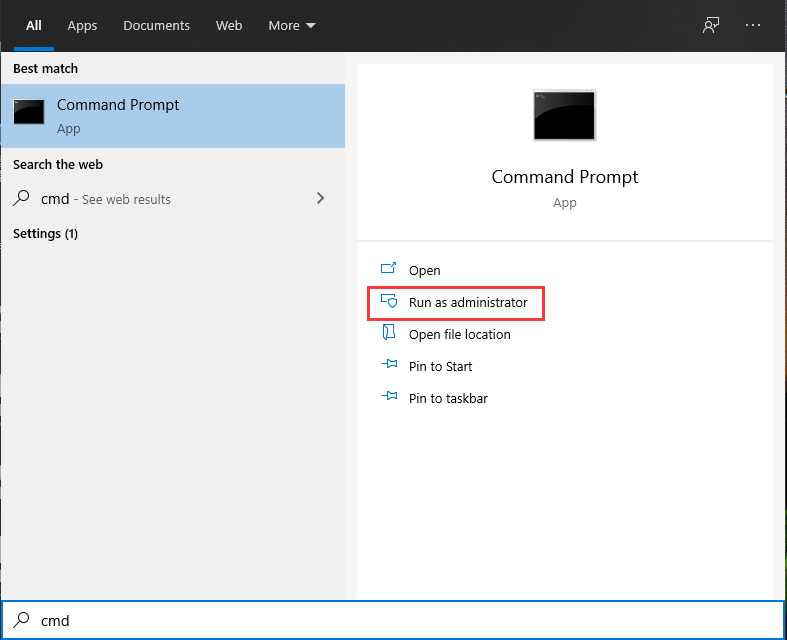
2. Click Yes if you see the User Account Control
3. Type the following flush DNS command one by one and press Enter after each input.
ipconfig /flushdns
ipconfig /registerdns
ipconfig /release
ipconfig /renew
netsh winsock reset
4. Reboot your PC.
How to Flush DNS on Windows 7?
If you are using Windows 7, you can follow this guide to flush DNS on your computer:
1. Click Start.
2. Go to All Programs > Accessories.
3. Find Command Prompt and right-click on it. Then, select Run as administrator.
4. If you receive an interface that asks whether to allow this program to make changes to your computer, you need to click Yes to continue.
5. Type the following flush DNS command one by one and press Enter after each input.
ipconfig /flushdns
ipconfig /registerdns
ipconfig /release
ipconfig /renew
6. Reboot your PC.

How to Flush DNS on Windows XP and Vista?
If your computer is still running Windows XP or Windows Vista, you need to follow these steps to flush DNS:
- Close all the opened web browsers on your computer.
- Click Start and then go to All Programs > Accessories > Command Prompt.
- Type the flush DNS command ipconfig /flushdns and press Enter.
If the command is executed successfully, you will receive a message saying DNS Resolver Cache Successfully Flushed. But if see Action Requires Elevation, you will need to contact the administrator of your computer to ask for help.
How to Flush DNS on Mac OS X?
If you are using a Mac computer, you need to follow this guide to flush DNS to reset IP:
1. Close all web browsers on your computer.
2. Click Application and then go to Utilities > Terminal.
3. When the Terminal window is opened, you need to type the correct flush DNS command in different Mac OS X versions:
- If you are using OS X 10.11 – 11.0 (Catalina, Sierra, High Sierra, Mojave, Catalina, and Big Sur), you need to type sudo killall -HUP mDNSResponder.
- If you are using OS X 10.10 (Yosemite), you need to type sudo discoveryutil mdnsflushcache.
- If you are using OS X 10.7 – 10.9 (Mavericks, Mountain Lion, and Lion), you need to type sudo killall -HUP mDNSResponder.
- If you are using OS X 10.6 and older, you need to type sudo dscacheutil –flushcache.
4. Press Enter.
After these steps, the DNS cache should be flushed.

Other Things You May Need to Do
However, if the network connection issue is not solved after you lush DNS, you may need to run a power cycle for your modem and router.
- Shut down your computer.
- Turn off your modem and router and wait for about 15 seconds.
- Plugin your modem and then wait for about 2 minutes.
- Plugin your router and then wait for about 2 minutes.
After these steps, you can open your computer to check whether the network connection issue is solved.
About The Author

Position: Columnist
Stella has been working in MiniTool Software as an English Editor for more than 8 years. Her articles mainly cover the fields of data recovery including storage media data recovery, phone data recovery, and photo recovery, videos download, partition management, and video & audio format conversions.
User Comments :