Do you want to install Windows 10 21H2 using the ISO file? If yes, do you know how to do this? In this MiniTool post, we will show you a full guide on how to install 10 21H2 using ISO. You can also use this guide to upgrade to Windows 10 21H2 or install other Windows versions.
MiniTool Power Data Recovery FreeClick to Download100%Clean & Safe
You Can Install Windows 21H2 Using ISO
There are many ways to install Windows 10 21H2 on your computer. You can go to Settings > Update & security > Windows Update to update to this latest version of Windows 10. You can also download the Windows 10 Media Creation Tool and use it to perform a Windows 10 in-place upgrade. Additionally, if you have a Windows 10 21H2 ISO file at hand, you can install Windows 10 21H2 using ISO. Of course, you can use the same steps to upgrade to Windows 10 21H2 with ISO.
How to Install Windows 10 21H2 Using the ISO File on Your Computer?
In this part, we will show you a graphic guide on how to install Windows 10 21H2 using the ISO file. You can also follow this guide to upgrade your system to Windows 10 21H2. Of course, this instruction applies to all versions of Windows.
Step 1: Download a Windows 10 21H2 ISO File
If you want to install Windows 10 21H2 from the ISO file, the first thing you need to do is to get a Windows 10 21H2 ISO file. Where to find and download such an ISO file? Here are two reliable ways.
1. Use Windows 10 21H2 Media Creation Tool to create a Windows 10 21H2 ISO file.

2. Join the Windows Insider Program and go to the Windows Insider Preview Downloads page to download a Windows 10 21H2 Insider preview ISO file.
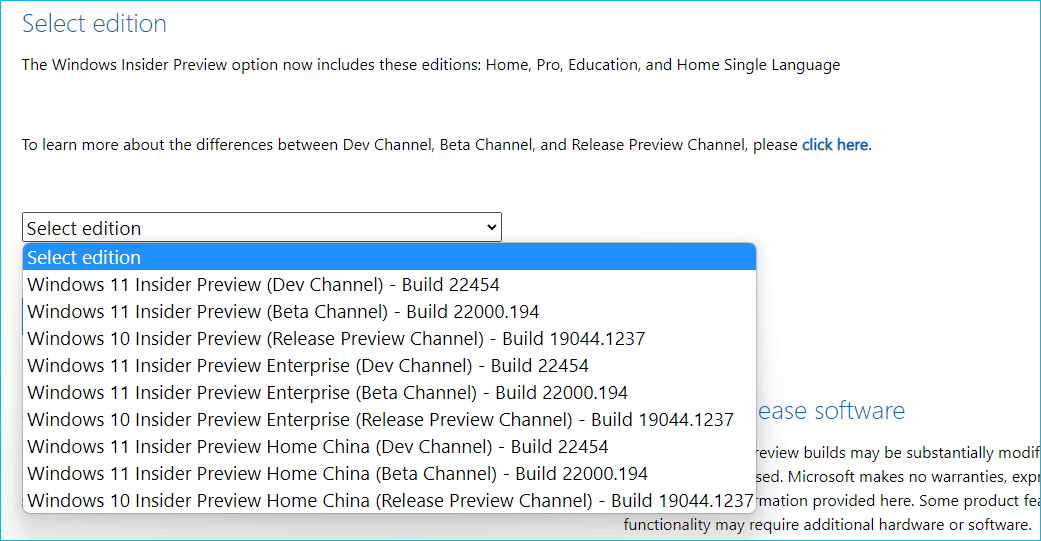
Now, Windows 10 21H2 ISO file is prepared.
Step 2: Install Windows 10 21H2 Using the ISO File
1. Double-click the downloaded Windows 10 21H2 ISO file to mount it. You can right-click the ISO file and select mount to mount it.
2. Select the setup.exe file to open it.
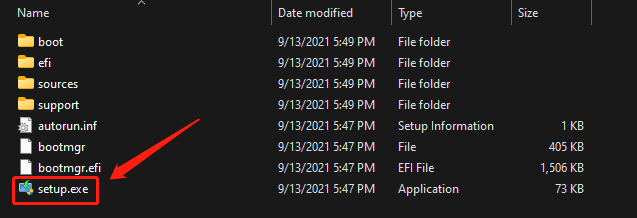
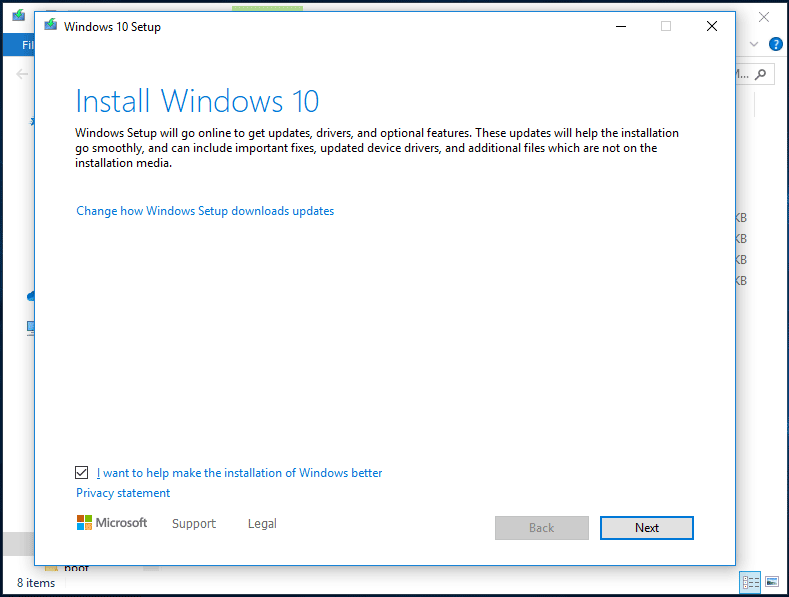
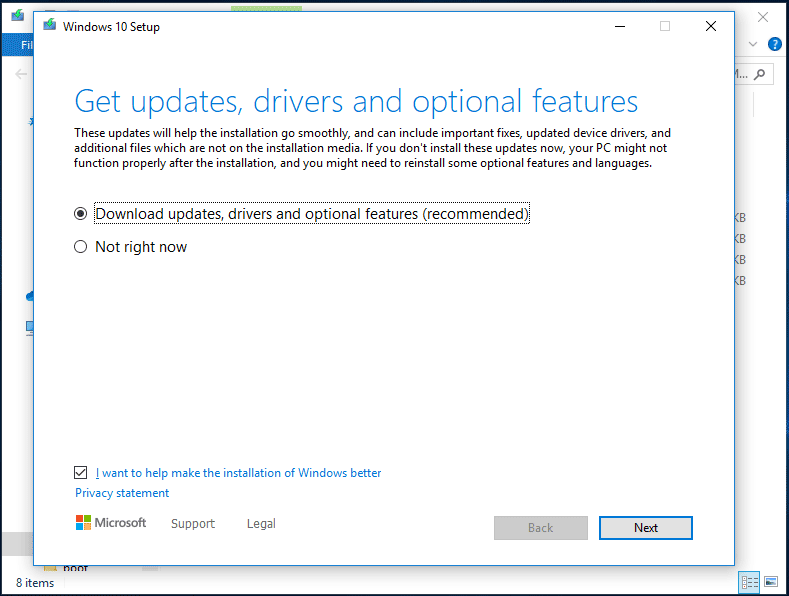
3. The tool will start the installation-preparing process. Then, you will enter the following Windows 10 Setup interface. By default, Windows 10 setup will get updates, drivers, and optional features. If you don’t want to do this, you can click the Change how Windows Setup downloads updates link to select Not right now.
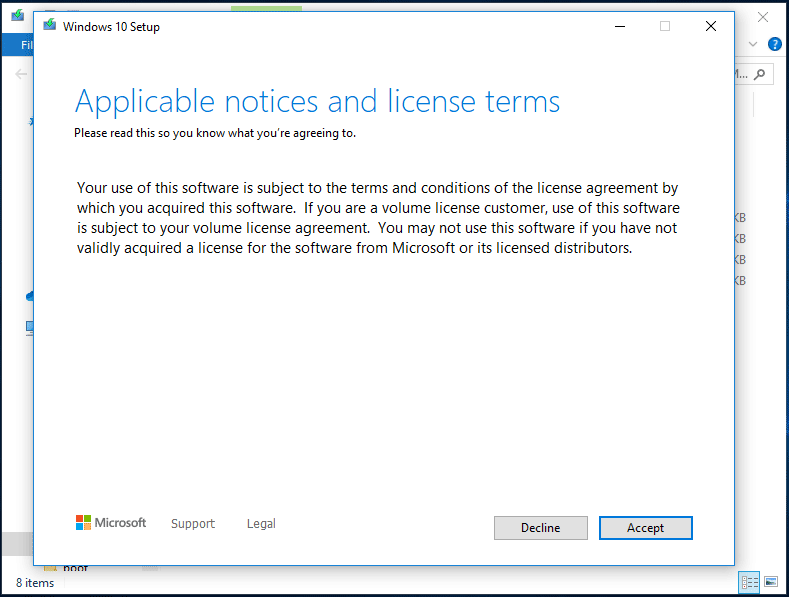
4. The next page is the Applicable notices and license terms. Click Accept to continue.
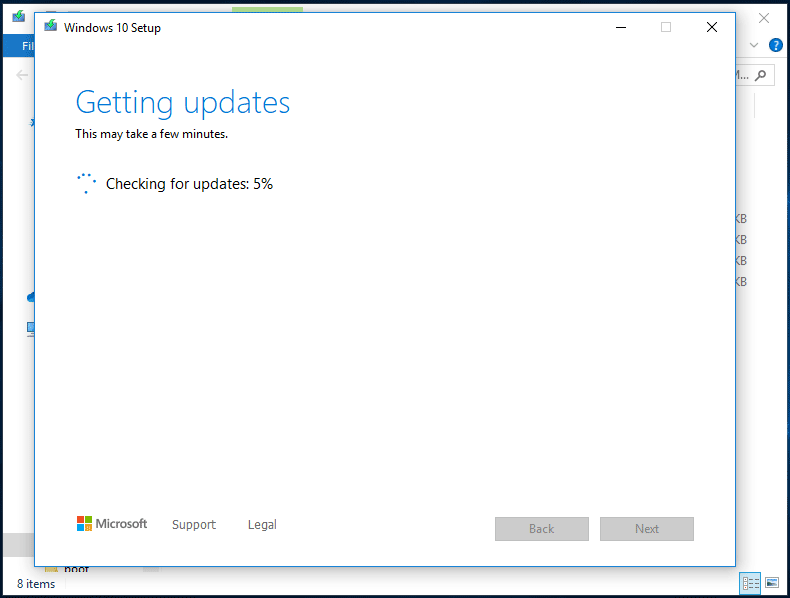
5. Windows 10 setup begins checking for updates. When the process ends, click Next to continue.
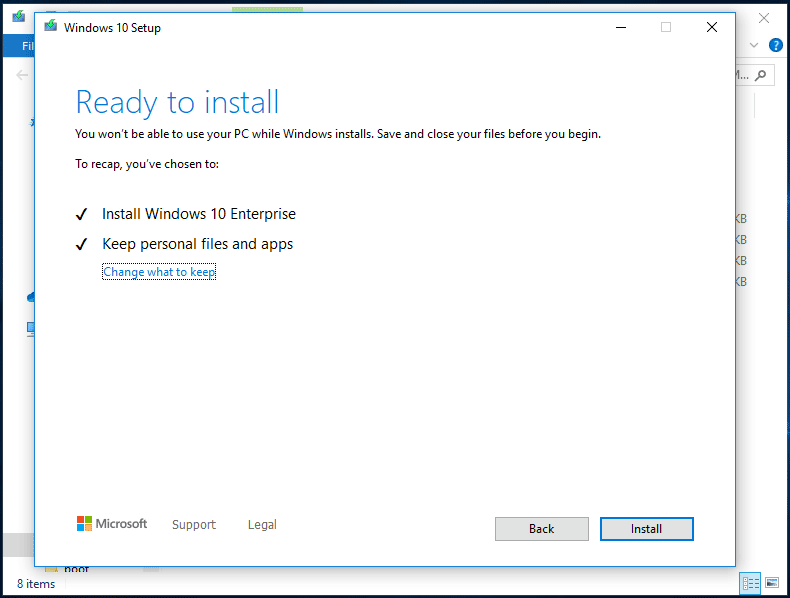
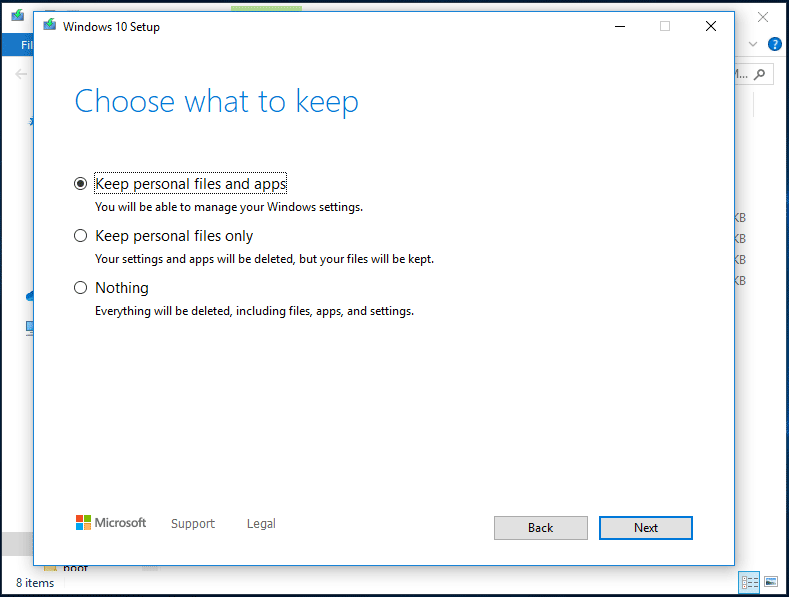
6. Now, the tool is ready to install Windows 10 21H2. By default, it is set to keep personal files and apps. If you keep personal files only or remove everything, you can click the Change what to keep link and select the option you want to use.
If you choose the keep nothing, you should back up your Windows data in advance to keep them safe.
7. Click Next.
8. The Windows 10 installing process starts. During the process, your computer might restart several times. The whole process will last for a while. You should wait patiently.
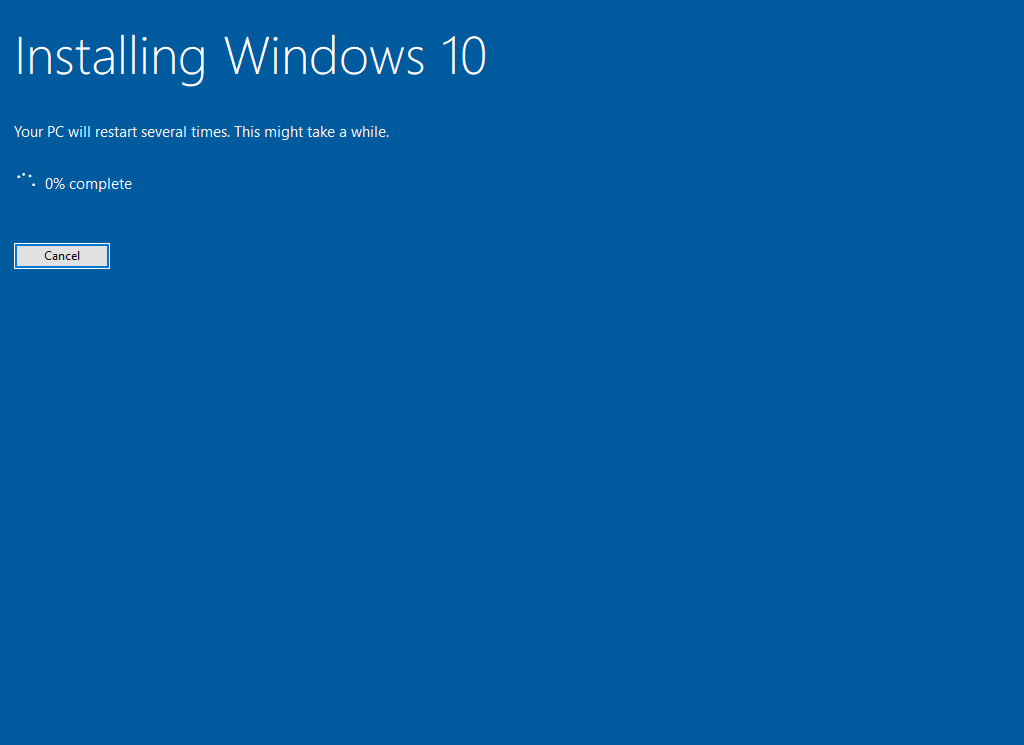
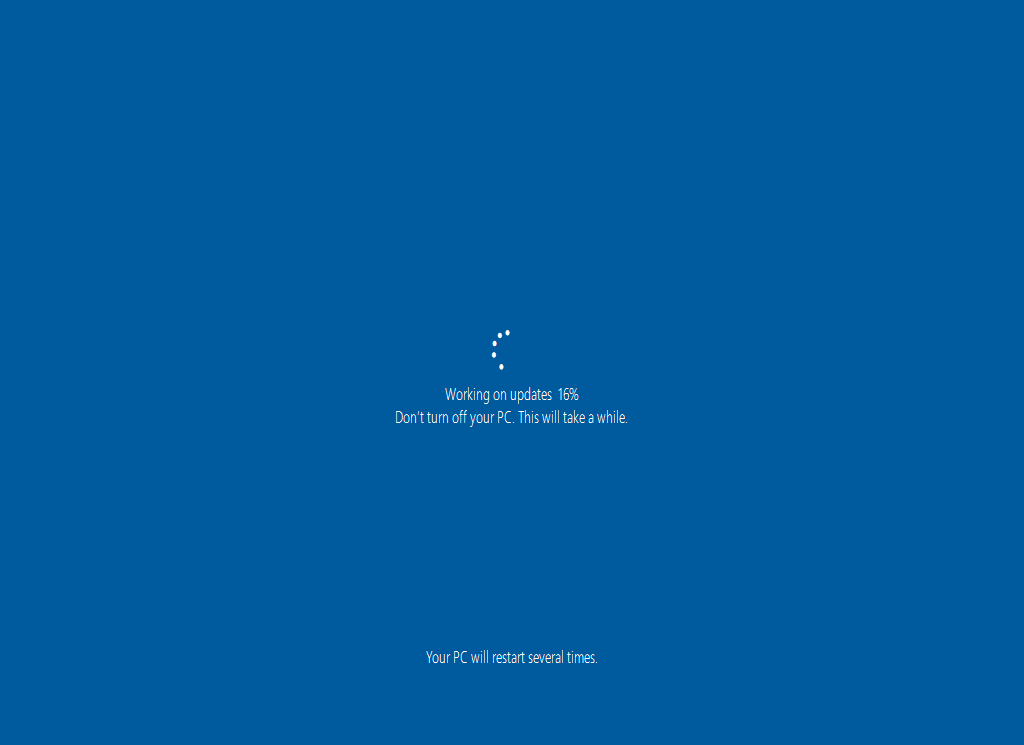
9. If you choose to get the updates, you will see the following screen after Windows 10 21H2 installation.
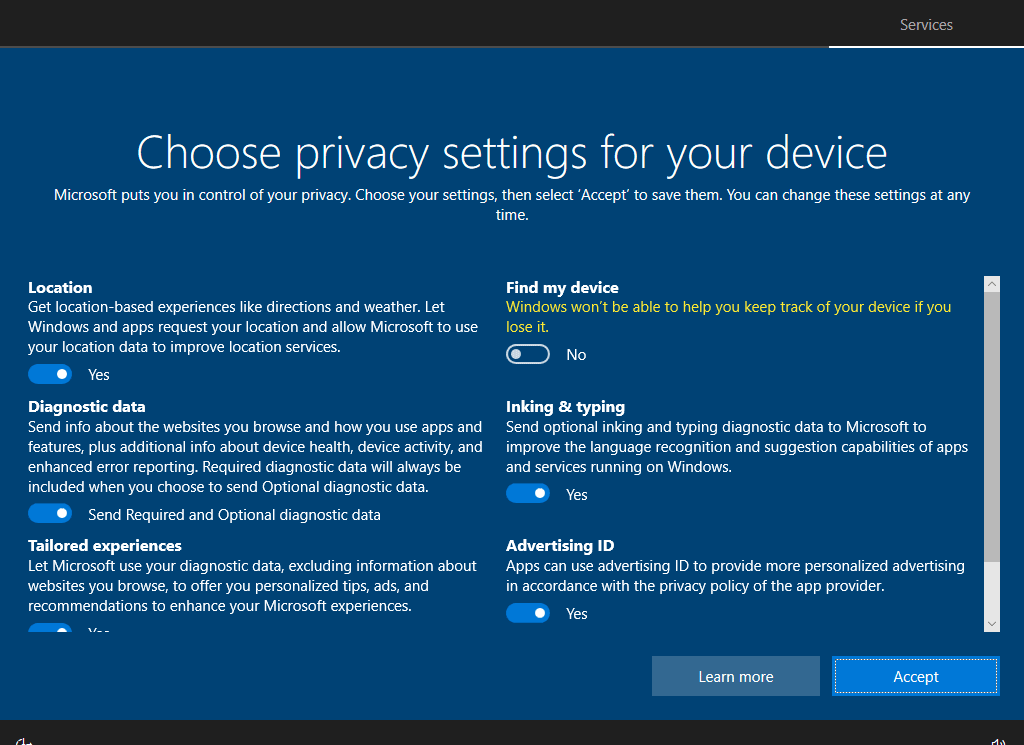
10. Before entering the desktop, you still need to choose privacy settings for your device. Then, click Accept. After that, you can see the desktop.
You see it is simple to install Windows 10 21H2 using ISO. You just need to follow the on-screen wizards and select the installation options you want to use. Try this way if you want to install Windows 10 using ISO. Should you have other issues or suggestions, you can let us know in the comments.
![Updated ISOs for Windows 11 and 10 Users [DOWNLOAD]](https://images.minitool.com/minitool.com/images/uploads/2023/05/latest-windows-11-10-isos-thumbnail.png)
User Comments :