Is NordVPN not connecting to a server in Windows 10? How do you fix the issue? It is easy to troubleshoot the issue as long as you follow these methods below. MiniTool offers you 8 ways that are proved to be effective and just try them.
NordVPN Won’t Connect
NordVPN is a highly rated VPN (virtual private network) provider. Its desktop version is compatible with Linux, macOS, and Windows. Its mobile version can be used on Android and iOS devices.
It is easy to connect to that VPN server; however, many NordVPN users reported some connectivity issues. It may stop connecting after a potential update or the requests to DNS servers return a response saying “timed out”.
The main reasons for this can be conflict software, misconfigured network configurations, corrupted adapters, and more. Fortunately, if NordVPN won’t connect, you can follow these solutions below to fix it and now let’s see them.
Fixes for NordVPN Not Connecting
Connect to Another Server
You can try connecting NordVPN to a few different servers. If it cannot connect to any, use this app on a different device like your phone. If it works fine, perhaps it is a problem with your computer.
If this app still cannot connect on your phone, perhaps the network or your NordVPN account goes wrong. Try other ways to fix NordVPN not connecting in Windows 10.
Check Your NordVPN Account
You can check if you have an active NordVPN account by clicking My Account on the website from NordVPN. Enter the login details to launch the account dashboard that includes an expired date for the VPN subscription. If the account is inactive, contact NordVPN to renew the subscription.
Restart Network or TAP Adapter
When using NordVPN on your computer, this app creates a virtual network adapter to communicate information. But sometimes the TAP adapter goes wrong leading to NordVPN not connecting to a server in Windows 10. Restarting the adapter is useful to fix the connection issue.
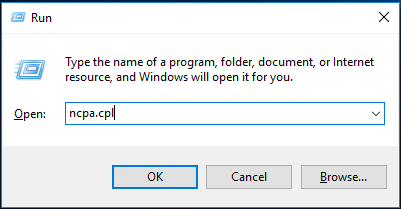
Step 1: Press Win + R, input ncpa.cpl and click OK.
Step 2: All the adapters are displayed here and you should right-click your TAP adapter to choose Disable.
Step 3: Next, enable the adapter. Then, re-connect the NordVPN client to see if the issue is fixed.
Reinstall NordVPN
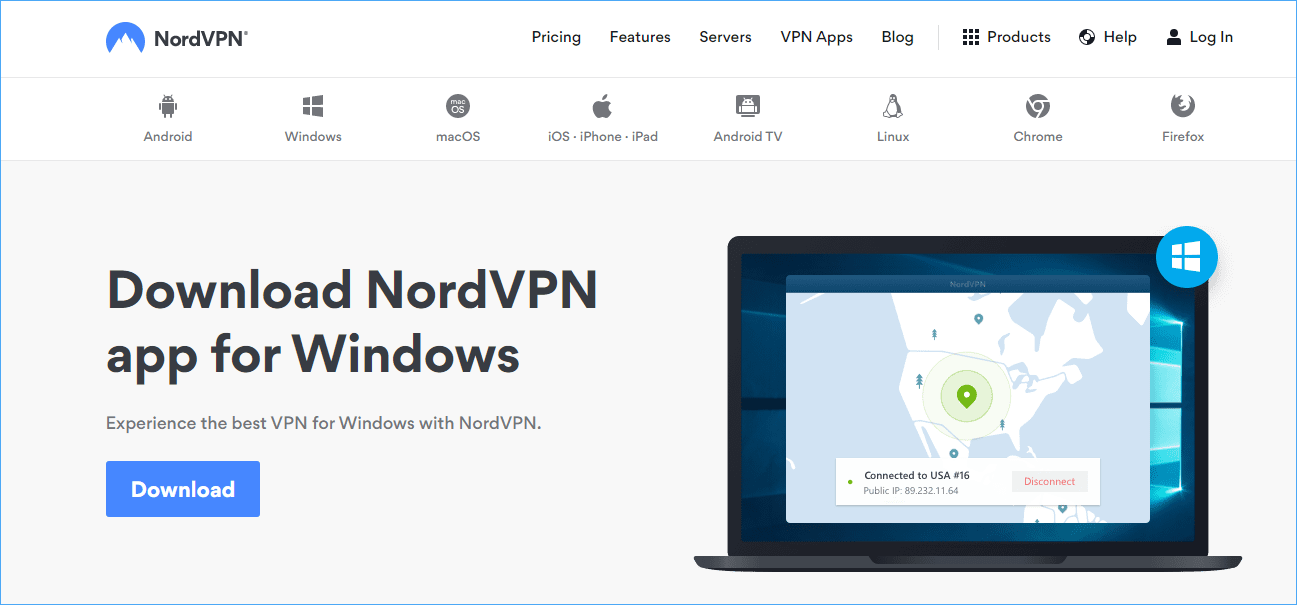
Reinstalling NordVPN will reinstall the TAP adapter. If the adapter is corrupted, NordVPN can’t connect, and you can fix it via the reinstallation. And this way also ensures you have the latest version. After fully uninstalling the app, go to download the app and install it on your Windows 10 PC.
If NordVPN does not connect after this way, perhaps the connection is blocked by antivirus software. Go to the next solution.

Disable Windows Defender Firewall
How to disable Windows Defender Firewall to fix NordVPN not connecting in Windows 10? These are instructions.
Step 1: Input firewall.cpl to the search box and click the result.
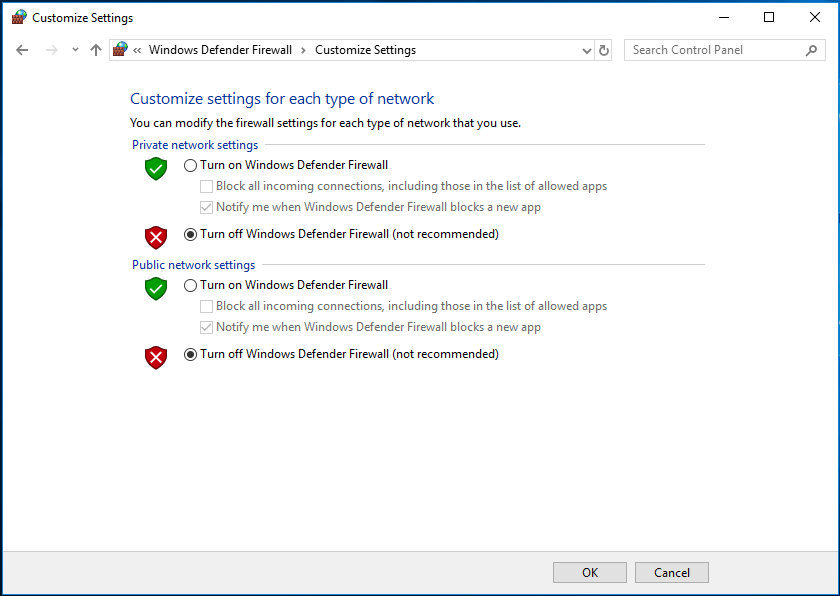
Step 2: Click Turn Windows Defender Firewall on or off and ensure the box of Turn off Windows Defender Firewall (not recommended) is checked.
Step 3: Click OK.
Switch the IP Protocol from UDP to TCP
If NordVPN won’t connect, it is helpful to switch the IP protocol from UDP to TCP. Just click Settings in NordVPN and go to Advanced Settings. If UDP is chosen, select the TCP protocol.
Flush the Network Stack
Flushing the network stack on your computer can fix many VPN problems including NordVPN not connecting. The process can flush your DNS and IP settings and ensure no improper settings are conflicting with the app.
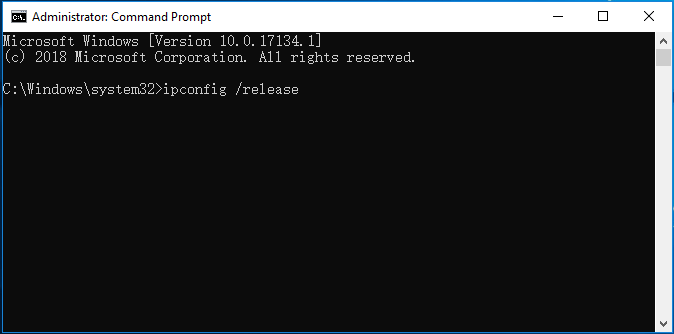
Step 1: In Windows 10, run Command Prompt as administrator.
Step 2: Input each of these commands to the CMD window and press Enter after each one.
ipconfig /release
ipconfig /flushdns
ipconfig /renew
netsh winsock reset
netsh interface ipv4 reset
netsh interface ipv6 reset
netsh winsock reset catalog
netsh int ipv4 reset reset.log
netsh int ipv6 reset reset.log
Disable IPv6
IPv6 is the latest version of IP on a computer. By default, IPv4 is used usually but some of you may use IPv6. It seems that IPv6 cannot work with NordVPN, leading to NordVPN not connecting. Thus, you need to disable it to fix this issue.
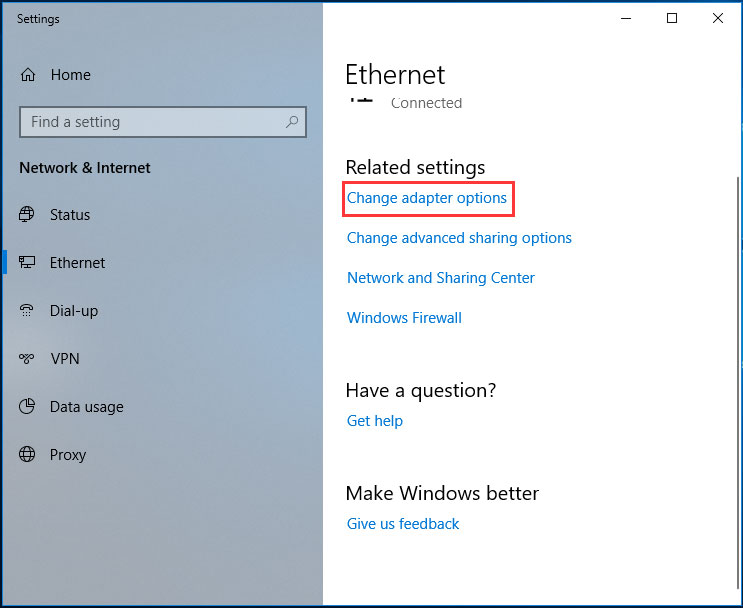
Step 1: Right-click the network icon on the taskbar and choose Open Network & Internet settings.
Step 2: In Ethernet, click Change adapter options.
Step 3: Right-click your adapter and choose Properties.
Step 4: Uncheck Internet Protocol Version (TCP/IPv6).
The End
If NordVPN won’t connect to servers in Windows 10, now try these solutions mentioned in this post and you can easily get rid of it. Just have a try!
About The Author

Position: Columnist
Vera has been working at the MiniTool Team for over 10 years as a technical editor and content writer. She mainly focuses on disk and partition management, data recovery, Windows backup and restore, and PC troubleshooting. Through in-depth software testing and hands-on experience, she has helped users solve a wide range of computer problems and better protect their data on Windows devices.
User Comments :