What is Power Automate? Can I download Power Automate Desktop? To find answers to these questions, you come to the right place. This guide from MiniTool will focus on this tool and Power Automate Desktop download for Windows 10 & install.
Overview Power Automate
Microsoft Power Automate, formerly called Microsoft Flow, is designed to help you create automated workflows between your favorite apps and services to collect data, get notifications, synchronize files, and more. This tool can reduce repetitive tasks and automate your way.
Power Automate is a part of Microsoft Power Platform products together with Power Apps, Power BI, Power Stages, and Power Virtual Agents.
Microsoft Power Automate can simply the routine tasks you perform every day like data entry, reporting, and scheduling, automate business processes, and start quickly to bring more productivity. This tool supports the connection to more than 500 data sources or any publicly available API.
It is a no-code/low-code platform and everyone from a basic business user to an IT professional can use Power Automate to build automated flows. To know more details about this product, refer to our document library – Better Understanding of Microsoft Power Automate – What Is It.
If you want to get started with desktop flows, get Power Automate for Windows 10/11 to use.
Power Automate Install Windows 10
If you are a user of Windows 10 and 11, you have access to free build desktop flows in Power Automate for desktop. For Windows 10, you need to download Power Automate and install it on your PC. For Windows 11, you don’t need to install it since this app is built into this operating system and you can launch it from the Start Menu.
Power Automate Desktop Download for Windows 10 & Install via MSI Installer
Microsoft offers an official download link for this app and let’s see the guide on Power Automate Desktop download & install:
Step 1: Go to download Power Automate via the given link to get the Setup.Microsoft.PowerAutomate.exe file.
Step 2: Run this installer by double-clicking on this .exe file in Windows 10 and click Next to go on.
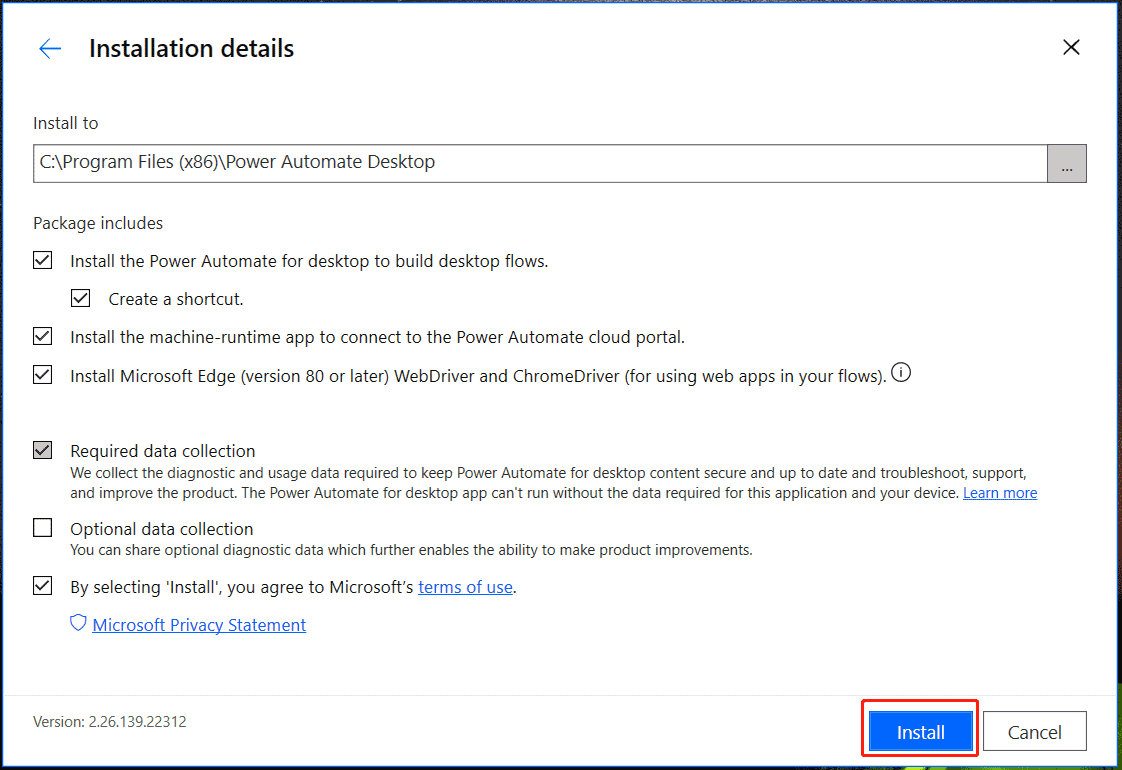
Step 3: Decide the installation directory – by default, it is C:\Programs Files (x86)\Power Automate Desktop. You can click the three-dots menu to choose another one.
Make some settings for the installation when seeing the following screenshot and then check the box – By selecting “Install”, you agree to Microsoft’s terms of use. Next, click the Install button to start the installation process. After a while, the installation is completed. You can click the Launch app button to open this tool.
To use Power Automate, you need to be a user of Microsoft via https://account.microsoft.com/. After launching Power Automate in Windows 10, sign in to this app with a Microsoft account.
Power Automate Download & Install via Microsoft Store
Power Automate is available in Microsoft Store and let’s see the guide on Power Automate Desktop download & install via this built-in tool in Windows 10.
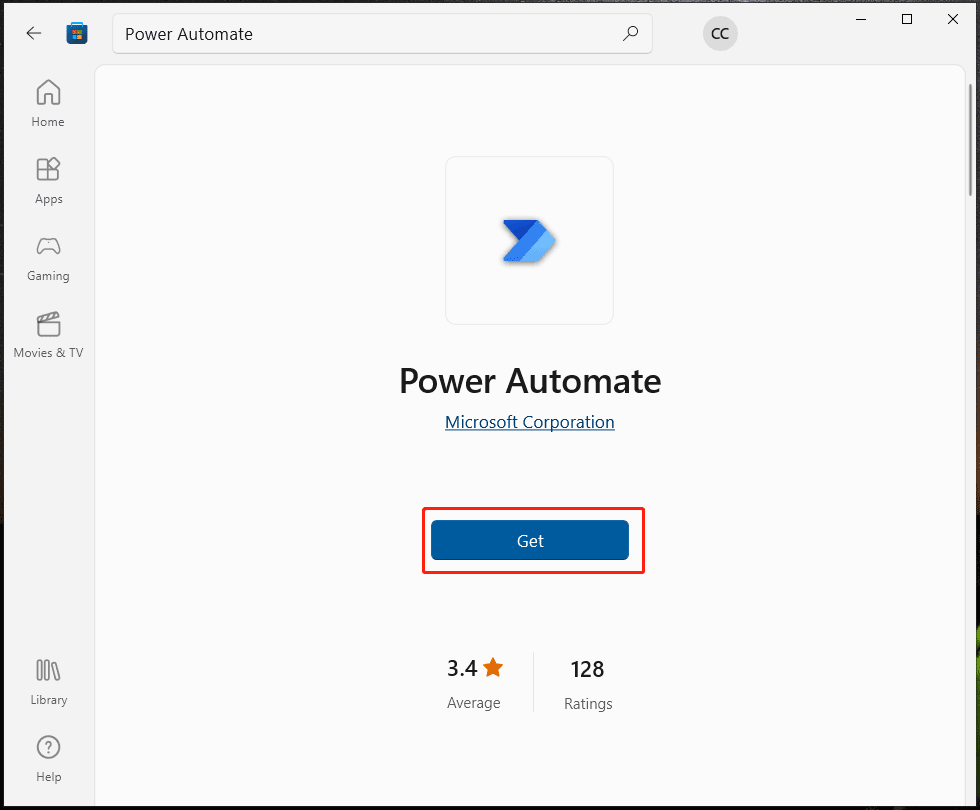
Step 1: Open Microsoft Store via the Start Menu.
Step 2: Search for Power Automate via the search bar, choose this app and click the Get button to download and install the tool.
Power Automate is also available on Android devices (via Google Play) and iPhone (via App Store).
It is easy to download Power Automate Desktop and install it on Windows 10. If you need, just follow the given methods to install Power Automate for desktop and then use it to build your flows. If you don’t know how to use this tool, refer to Microsoft’s help document – Get started with Power Automate.
About The Author

Position: Columnist
Vera has been working at the MiniTool Team for over 10 years as a technical editor and content writer. She mainly focuses on disk and partition management, data recovery, Windows backup and restore, and PC troubleshooting. Through in-depth software testing and hands-on experience, she has helped users solve a wide range of computer problems and better protect their data on Windows devices.
User Comments :