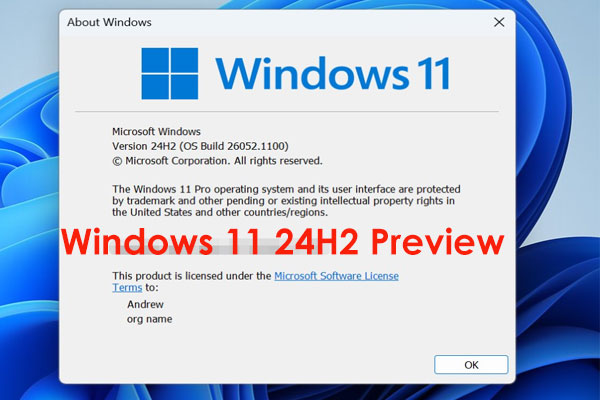
Windows 11 24H2 Enables BitLocker Encryption
According to German news outlet Deskmodder, the next Windows 11 major version, 24H2 will enable BitLocker encryption for everyone during installation. This affects Windows 11 24H2 Pro and above, as well as the Home Edition.
The new installation doesn’t start with “a blue window” but it seems to be similar to an in-place installation. It will automatically encrypt your drives (system drive C and all the connected drives) in the background using BitLocker. This move mainly ensures data security and privacy.
However, you don’t notice that drive encryption has been enabled by default during installation, which could lead to issues. After installing something but failing and then being stuck, you try to reinstall Windows 11 again, then the worst case happens – you don’t save the BitLocker recovery key, then all the drives are encrypted and you cannot access them, and all the data could be lost.
Besides, Windows 11 24H2 automatic BitLocker encryption could impact system performance, particularly SSD performance.
Fortunately, you can find some ways to prevent Windows 11 from encrypting drives during installation.
Also read: BitLocker Recovery Key Bypass: Can It Be & How to Do
MiniTool ShadowMaker TrialClick to Download100%Clean & Safe
Way 1: Block Windows 11 from Enabling Automatic Encryption in Registry
To disable BitLocker automatic device encryption when reinstalling Windows 11, use these steps:
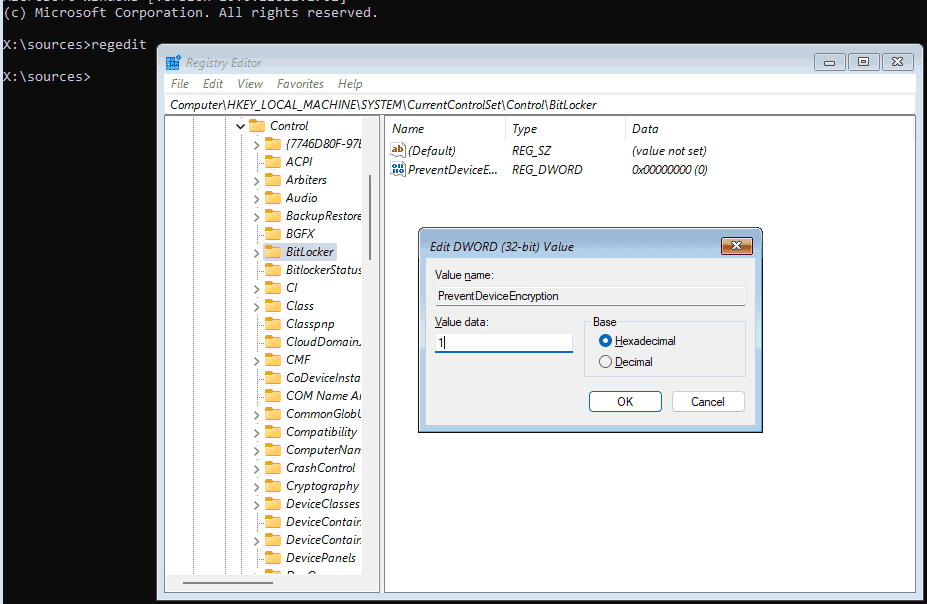
Step 1: After booting Windows from your installation USB drive, you will get a prompt to ask you to choose a country or region. At the moment, open Registry Editor by pressing Shift + F10 to open Command Prompt, typing regedit, and hitting Enter.
Step 2: Navigate to HKEY_LOCAL_MACHINE\SYSTEM\CurrentControlSet\Control\BitLocker.
Step 3: Right-click on BitLocker and click New > DWORD (32-bit) Value, then name it PreventDeviceEncryption.
Step 4: Set the value data to 1.
Step 5: Close Registry Editor and Command Prompt, then proceed with the installation as usual.
Way 2: Prevent Windows 11 from Encrypting Drives During Installation by Modifying ISO
Another simple method to disable Windows 11 24H2 automatic BitLocker encryption is to modify your ISO image. For this, the Rufus app can help you. Follow the steps below to create a bootable Windows 11 drive which has the ability to disable BitLocker automatic device encryption.
Step 1: Download Rufus from its official website and double-click on the .exe file to run it.
Step 2: Download a Windows 11 24H2 ISO file.
Step 3: Connect a USB drive to your PC, select the ISO image and click START.
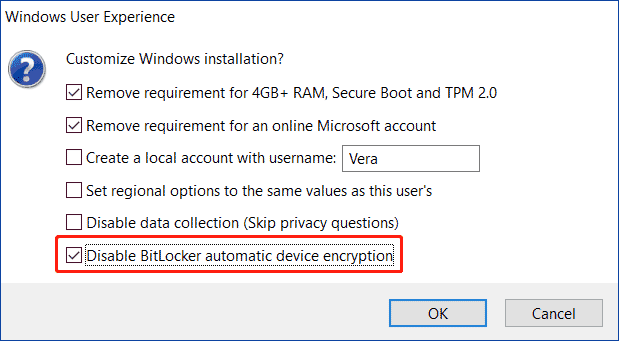
Step 4: Rufus will show you the Windows User Experience window where you can customize Windows installation as per your needs. Make sure to check the Disable BitLocker automatic device encryption option, which can prevent Windows 11 from encrypting drives during installation. Besides this, you can bypass RAM, Secure Boot, TPM, and Microsoft account checks by selecting the first two options.
After getting the bootable drive, boot the PC from it and then start installing Windows 11 on your computer.
Final Words
What if Windows 11 24H2 enables BitLocker encryption while reinstalling the operating system? You can take action to prevent Windows 11 from encrypting drives during installation – tweak the Windows registry or modify Windows ISO. Do it by following the given steps now.
About The Author

Position: Columnist
Vera has been working at the MiniTool Team for over 10 years as a technical editor and content writer. She mainly focuses on disk and partition management, data recovery, Windows backup and restore, and PC troubleshooting. Through in-depth software testing and hands-on experience, she has helped users solve a wide range of computer problems and better protect their data on Windows devices.
User Comments :