Step-by-step guide for how to run CHKDSK on external hard drive or USB drive in Windows 10. MiniTool software also provides a free data recovery application to help you recover any deleted/lost files fro external hard drive or USB drive.
If you want to run CHKDSK on external hard drive or USB drive in Windows 10 to check errors on the external drive, you can follow the 3 simple steps below.
Step 1. Connect External Hard Drive or USB to Your Windows Computer
At first, you should plug in the USB flash drive to your computer, or use USB cable to connect the external hard drive to your Windows 10 computer.
If you don’t see the external hard drive in your Windows 10 computer, you can check this post for some solutions: Fix External Hard Drive Not Showing Up or Recognized.
Step 2. Access Command Prompt in Windows 10
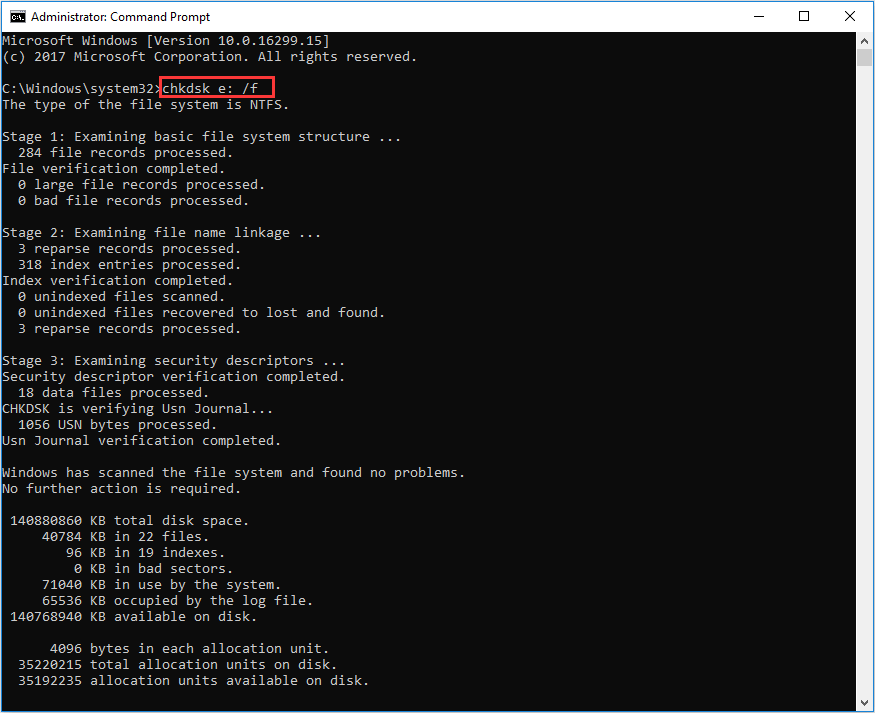
Next you can click Start, type cmd, right-click Command Prompt app, and choose Run as administrator to open elevated Command Prompt.
If you can’t open Command Prompt, you can check: [Fixed] Command Prompt Not Working/Opening Windows 10?
Step 3. Run CHKDSK on External Hard Drive or USB Flash Drive
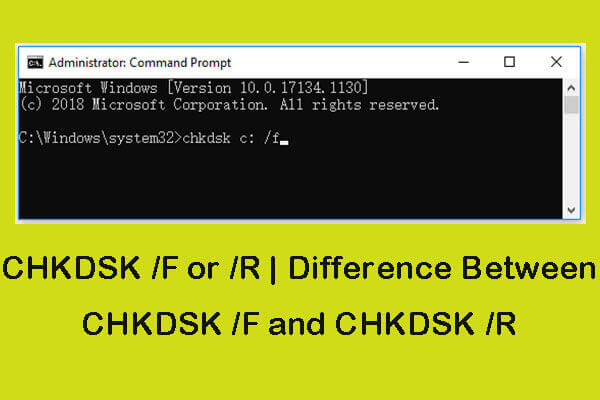
In Command Prompt window, you can type CHKDSK commands to run CHKDSK on external drive. You can type chkdsk *: /f command and press Enter to find and fix disk errors. If you need to check bad sectors on the external hard drive, you can type chkdsk *: /r command and press Enter. Please replace “*” with the exact drive letter of the external hard drive or USB drive. If you don’t know, you can click This PC on your computer screen to open File Explorer to check the drive letter.
How to Recover Deleted/Lost Files on External Hard Drive or USB
If the external drive has some problems and you lose some data, you can easily recover lost data from external hard drive or USB drive by using the professional data recovery software.
MiniTool Power Data Recovery is a free data recovery program compatible with Windows 10/8/7. You can use it to easily recover deleted files or lost data from various devices incl. Windows PC and laptop, external hard drive, USB flash/pen/thumb drive, SD card, etc.
Unless the drive is physically broken or is overwritten by new data (related: recover overwritten files), you can try to use MiniTool Power Data Recovery to retrieve the deleted/lost files.
Download and install MiniTool Power Data Recovery on your Windows 10 computer, and follow the guide below to recover lost data from USB pen drive or external hard drive.
Step 1. Connect the external hard drive or USB with your Windows 10 computer. Double-click MiniTool Power Data Recovery icon to launch it.
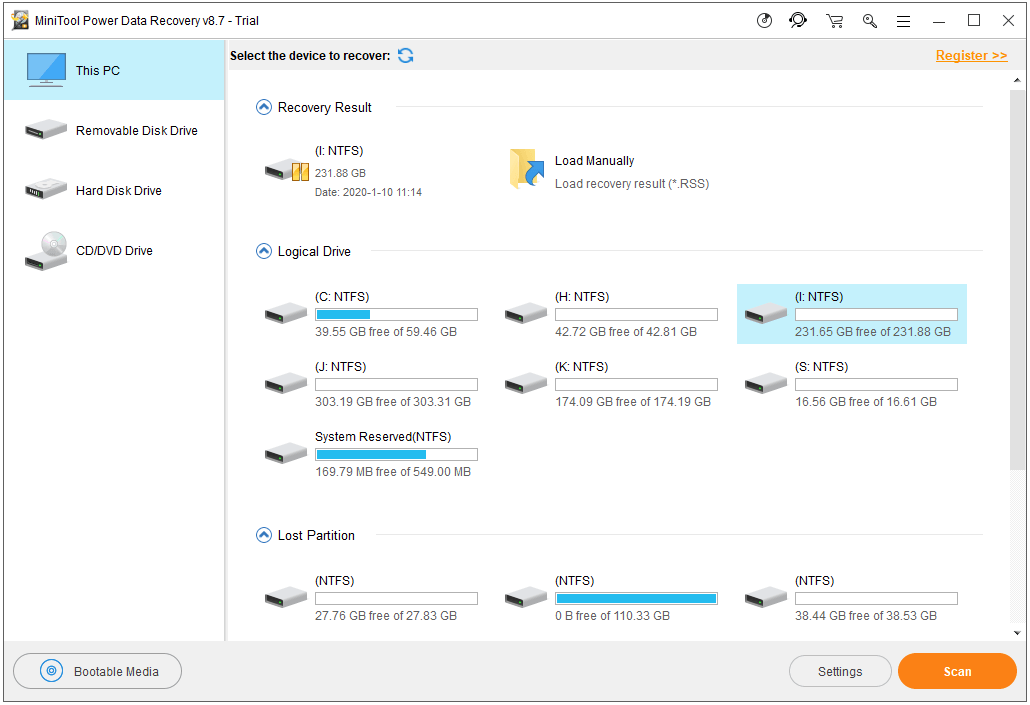
Step 2. In the main interface, you can click Removable Disk Drive in the left pane if you are gonna to recover data from USB drive. You can click Hard Disk Drive if you try to recover data from external hard drive.
After that, you can click the target USB or external hard drive in the right window. Rightly click Scan button, and MiniTool Power Data Recovery will start scanning the chosen drive.
Step 3. Wait until the scan process finishes. Then you can check the scan result to find your deleted or lost files. Check needed files and click Save button to choose a new place to save them.
Verdict
This is the guide for how to run CHKDSK on external hard drive Windows 10. An easy and free data recovery method is also available for your choice.
User Comments :