What does SharePoint Migration Tool do? How to free download, install and use it on your PC? Refer to this guide here written by MiniTool focusing on Microsoft SharePoint Migration Tool download, installation, & use and take action by following the given steps to get started.
What Is SharePoint Migration Tool?
SharePoint Migration Tool, also known as SPMT, is a free tool offered by Microsoft. It can help you to easily migrate content to Microsoft 365 from on-premises SharePoint sites in a secure manner.
To be specific, SPMT enables you to migrate content from SharePoint Foundation 2010 and 2013, SharePoint Server 2010, 2013 and 2016 to SharePoint, OneDrive and Teams. Besides, SharePoint Migration Tool supports the migration from local and network fileshares.
Want to download SharePoint Server 2010/2013/2016? Follow the guide here - What's SharePoint? How to Download Microsoft SharePoint.
File, folder, list items, content types, term stores, site navigation for out-of-box sites, SharePoint web part, site descriptions, etc. can be migrated. If you need to do the migration task, downloading SharePoint Migration Tool and installing it on your PC are required.
SharePoint Migration Tool Download & Install
How to download SharePoint Migration Tool? It is not difficult and Microsoft offers you an official website for downloading. See the instructions here:
Step 1: Visit the page of SharePoint Migration Tool free download.
Step 2: In the Download and install section, you can see three links for different editions – Public preview, First release, and General availability. Just click one link to go on. Here, we take downloading the first one as an example.
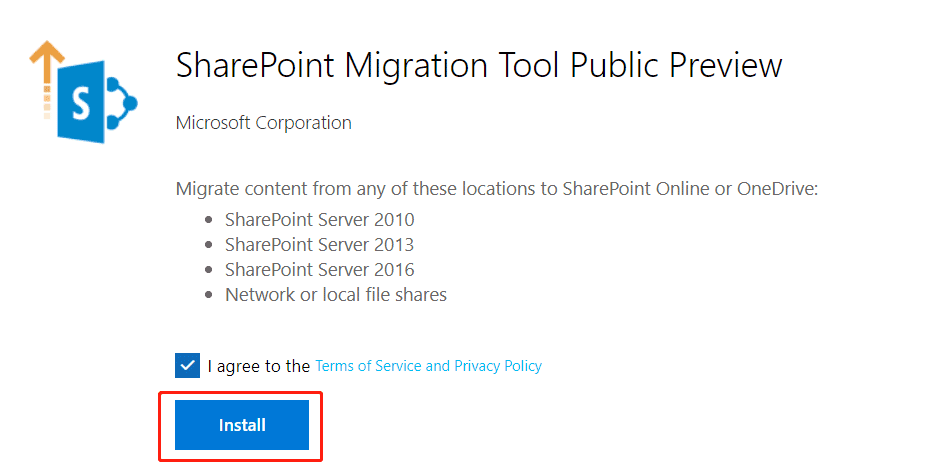
Step 3: In the popup, agree to the terms of service and privacy policy and click the Install button. Then, you will get the spmtsetup.exe file.
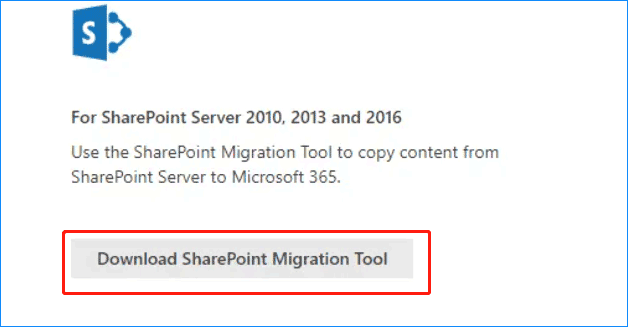
In addition to this way, you can try another method to get SharePoint Migration Tool. Go to sign in to Office.com, select the app launcher icon, click Apps > Admin, choose SharePoint from the admin center options, click Migration and click the Download SharePoint Migration Tool button. Then, save the file on your PC.
After downloading, install this tool on your PC. So, how to install SharePoint Migration Tool (SPMT)? Just double-click on the .exe file to start the installation. After that, sign in to this tool with your Microsoft account which should be an organization account.
How to Use SharePoint Migration Tool
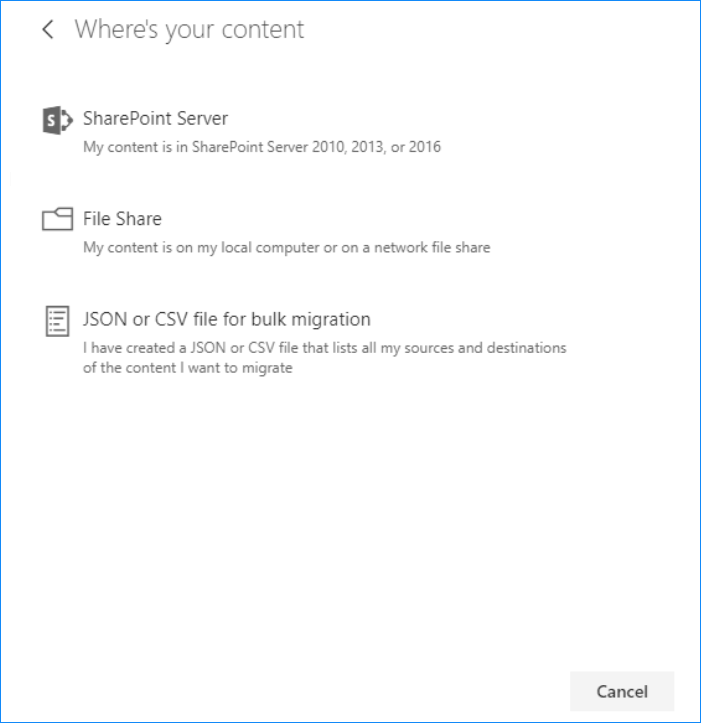
After login, now you can use this tool to start your migration. In the new popup, you can see three options on where to copy content from.
- SharePoint Server (your content is in SharePoint Server 2010, 2013, or 2016)
- File Share (your files are on your local PC or a network file share)
- JSON or CSV file for bulk migration (you have created a JSON or CSV file that shows a list of all the sources and destinations for migration)
Just choose one option and follow the on-screen instructions to finish the migration. Here, we take the second option as an example.
- Choose a folder that contains the file you want to migrate.
- Decide where you want to migrate the files to – Microsoft Teams, SharePoint, or OneDrive.
- Enter the SharePoint Online site where you want to migrate your content and choose the location or document library to migrate content to.
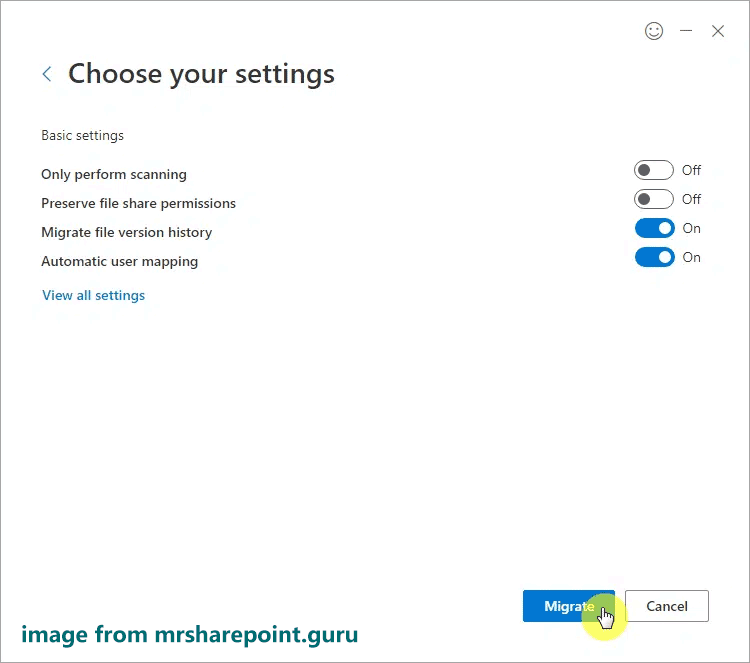
- Review your migration and configure some settings.
- Click the Migrate button to start the task.
Further Reading: SharePoint Migration Assessment Tool Download
SharePoint Migration Assessment Tool, also called SMAT, is a command-line tool. It can be used to scan SharePoint Server 2013 farm to identify potential issues with the content that you migrate to SharePoint in Office 365. This tool runs in the background.
If you are interested in it, download SharePoint Migration Assessment Tool from Microsoft.
Bottom Line
That’s the basic information about SharePoint Migration Tool download, installation, and use. If you need it, just follow the above guide to get this tool to migrate your content from on-premises SharePoint sites to Microsoft 365.
About The Author

Position: Columnist
Vera has been working at the MiniTool Team for over 10 years as a technical editor and content writer. She mainly focuses on disk and partition management, data recovery, Windows backup and restore, and PC troubleshooting. Through in-depth software testing and hands-on experience, she has helped users solve a wide range of computer problems and better protect their data on Windows devices.
User Comments :