Dell Windows 11 upgrade is a hot topic that you may focus on. If you are interested in the new operating system, how can you free upgrade the Dell computer to Windows 11? This step-by-step guide provided by MiniTool Solution shows you what you should do for Windows 11 Dell laptop/desktop update.
Windows 11, the successor of Windows 10, has come to the public for some time. Due to its new features and improvements, many users decide to upgrade to the new OS for a brand new experience and perhaps you are also not an exception.
![[6 Aspects] Windows 11 vs Windows 10: What Are the Differences?](https://images.minitool.com/minitool.com/images/uploads/2021/06/windows-11-vs-windows-10-thumbnail.png)
If you are running a Dell laptop or desktop, how can you perform Dell Windows 11 upgrade? The following step-by-step guide makes this work easy. Just look through it.
#1. Use PC Health Check to Run a Windows 11 Compatibility Test
Compared to Windows 10, Microsoft puts forward high system requirements to Windows 11:
- Memory: 4 GB RAM
- Storage: 64 GB or larger storage device
- System firmware: UEFI, Secure Boot capable
- TPM: Trusted Platform Module (TPM) version 2.0
- Graphics card: DirectX 12 compatible graphics / WDDM 2.x
- Display: greater than 9″ with HD Resolution (720p)
- CPU: 1 gigahertz (GHz) or faster with 2 or more cores on a compatible 64-bit processor or System on a Chip (SoC)
To install Windows 11, your PC should meet the above minimum system requirements. Before the Dell upgrade to Windows 11, you should run the PC Health Check app to check if your PC can run Windows 11.
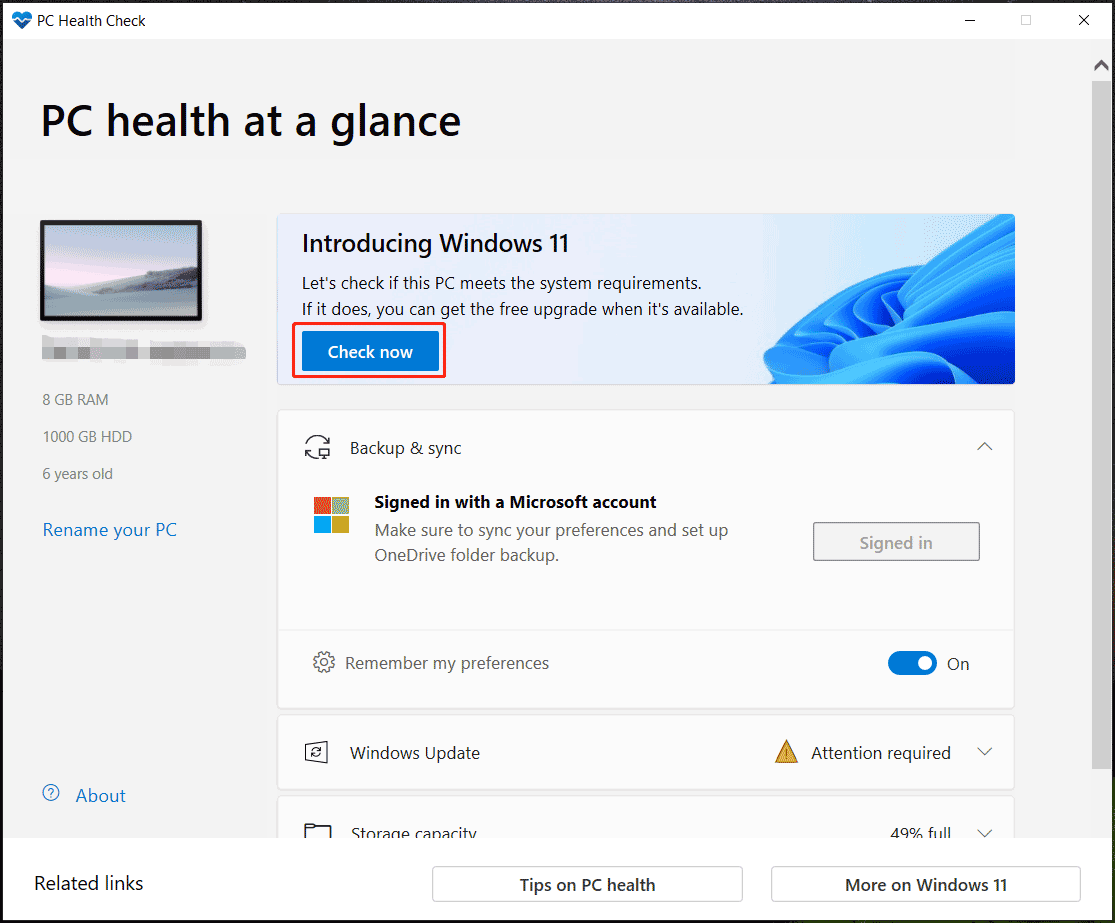
In addition, you can use some other useful tools for the compatibility check and refer to this post to know more – PC Health Check Alternatives: Check Windows 11 Compatibility.
#2. Check If Your Dell Device Is Tested for Windows 11 Upgrade
This step is of great importance before Dell Windows 11 upgrade.
On the official website, you can see many models of Windows 11 Dell laptops/desktops that have been tested for upgrade to Windows 11. Visit Dell computers tested for upgrade to Windows 11 and see if your Dell device is in the given list.
For the PCs that are not tested for Windows 11, Dell recommends not upgrading to the new system. This is mainly because Dell won’t offer Windows 11 drivers for those devices.
#3. Back up Files and Windows Operating System
Before beginning Dell Windows 11 upgrade, be sure to back up your PC including file backup and system backup. This is primarily because the update issues always happen suddenly, sometimes leading to data loss and system crashes. Remember – prevention is better than cure.
To do this work, you can try a backup tool in Windows, for example, File History or OneDrive for file backup in Windows 10, Backup and Restore for creating a system image or setting up files & folders. In addition, you can ask a professional third-party PC backup software for help. Here, we strongly recommend using MiniTool ShadowMaker.
MiniTool ShadowMaker is intended for files & folders, system, partitions, disks backup and recovery in Windows 11/10/8/7. During the backup process, the backup source can be compressed into an image file, which saves much disk space if you need to back up your PC (which has a large amount of data) regularly. Automatic backup and incremental & differential backup are also supported.
Besides, this backup tool enables you to sync files & folders and clone a hard drive to another disk for disk backup or hard drive upgrade.
Now before you start the Dell free upgrade to Windows 11, download MiniTool ShadowMaker via the following button and install it on your PC for file or system backup.
MiniTool ShadowMaker TrialClick to Download100%Clean & Safe
Step 1: Double-click the icon of this backup tool to launch MiniTool ShadowMaker.
Step 2: Click Keep Trial to continue. This edition allows you to free use for 30 days.
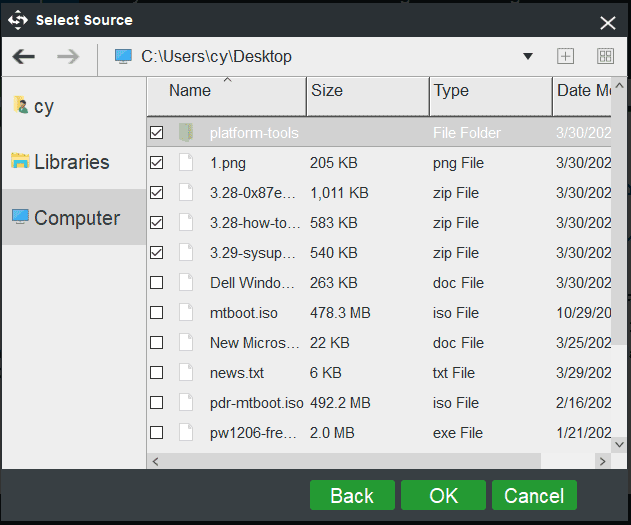
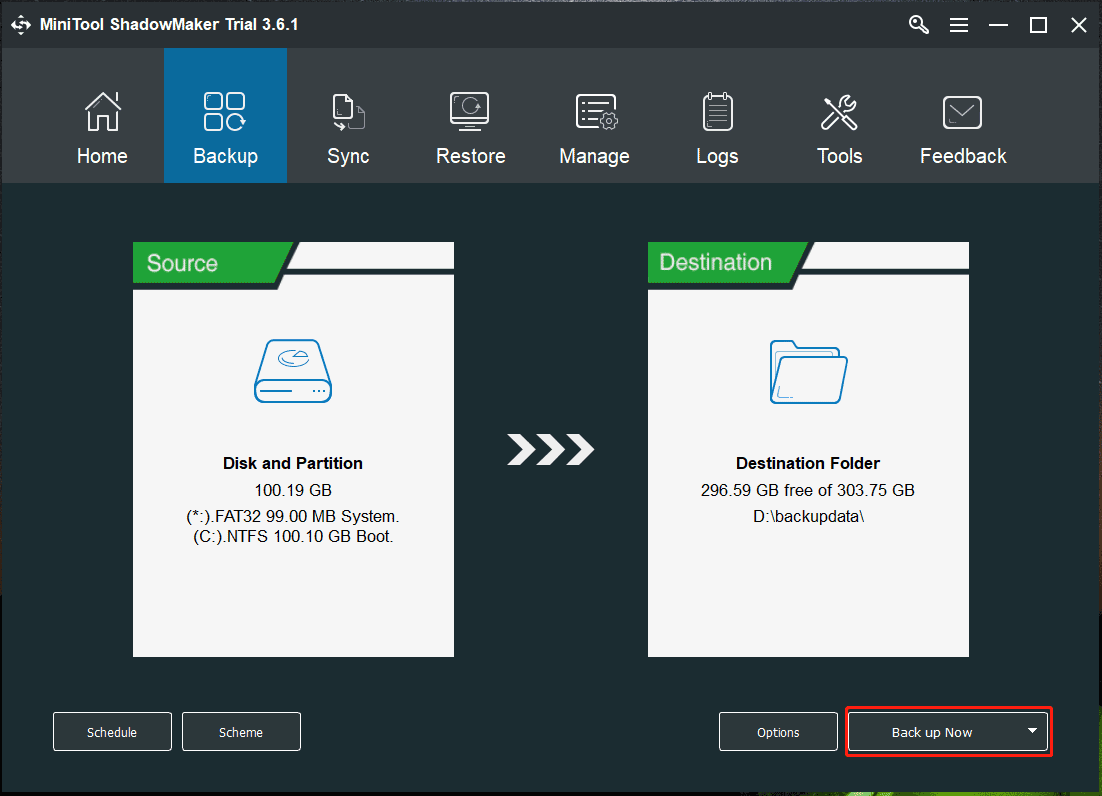
Step 3: Go to the Backup interface, you can find this backup software has chosen system partitions as the backup source by default. If you need to back up files, go to Source > Folders and Files, tick all the items you want to back up, and click OK.
Step 3: Click Destination to choose a path to save the backed-up image file.
Step 4: Click Back up Now to execute the backup task right now.
After file backup or system backup, it is recommended to create a USB drive or CD/DVD with Media Builder under Tools so that you can perform a recovery if the PC is unlucky and fails to boot after Dell Windows 11 upgrade.
After finishing the above three steps, now it is time to perform Windows 11 Dell laptop/desktop update. The operation is very easy as long as you follow the given methods below.
#4. Dell Free Upgrade to Windows 11
Microsoft offers multiple ways for you to upgrade to Windows 11 and let’s look through them one by one. Just choose one way based on your needs.
Option 1: Run Windows 11 Installation Assistant
If your Dell is running Windows 10, version 2004 or higher, you can download Windows 11 Installation Assistant to perform an upgrade. Of course, the precondition is that your PC meets the system specifications, as mentioned in #1. Besides, a Windows 10 license is required and 9GB of free disk space is also required to download Windows 11 during the update.
Step 1: Visit the Microsoft website and click Download Now under the Windows 11 Installation Assistant section.
Step 2: Run this Dell Windows 11 upgrade tool and grant admin permissions in the UAC prompt.
Step 3: Click Accept and Install to continue.
Step 4: This tool will start downloading Windows 11 and installing it on your PC.
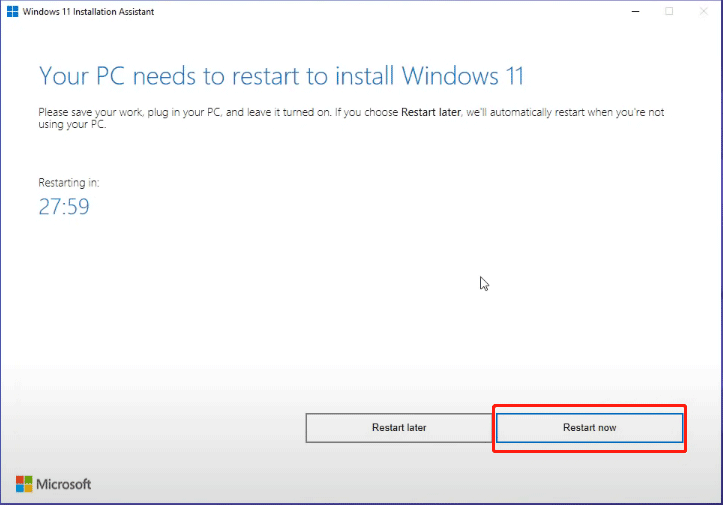
Step 5: After everything is ready, click Restart now. Then, the update process will finish during a reboot. Just wait patiently.
Option 2: Windows 11 Upgrade Dell via Windows 11 ISO
To perform an upgrade of your current operating system to Windows 11, you can use an ISO file of Windows 11. See what you should do to run a Dell free upgrade to Windows 11.
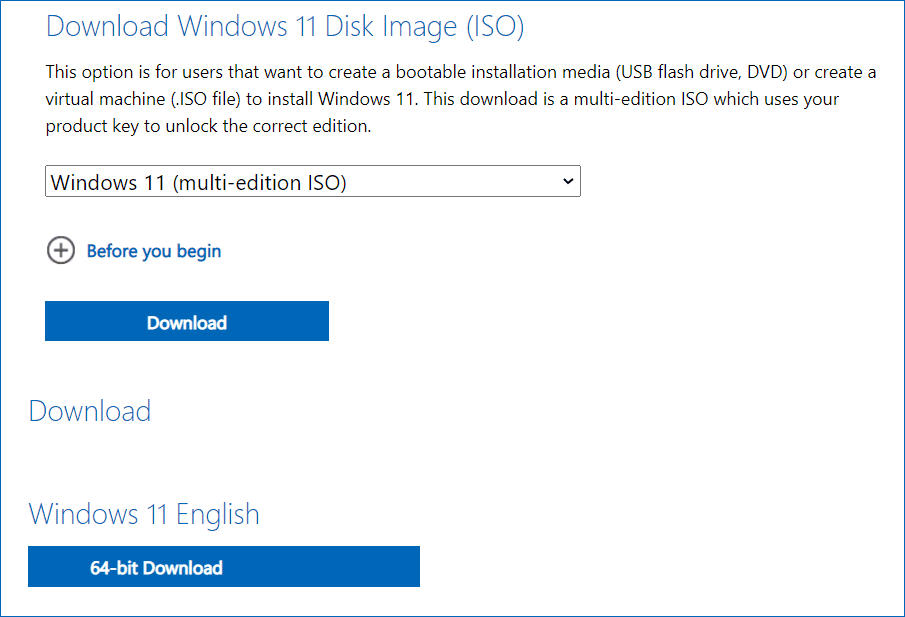
Step 1: On Microsoft’s website, go to Download Windows 11 Disk Image (ISO), choose Windows 11, and click Download.
Step 2: Choose a language and click Confirm.
Step 3: Click 64-bit Download to get the ISO file of Windows 11. This process may take several minutes.
Step 4: After downloading the Windows ISO file, right-click it and choose Mount. Then, you get a drive.
Step 5: In that drive, double-click the setup.exe file. Then, click Next to start Windows 11 setup.
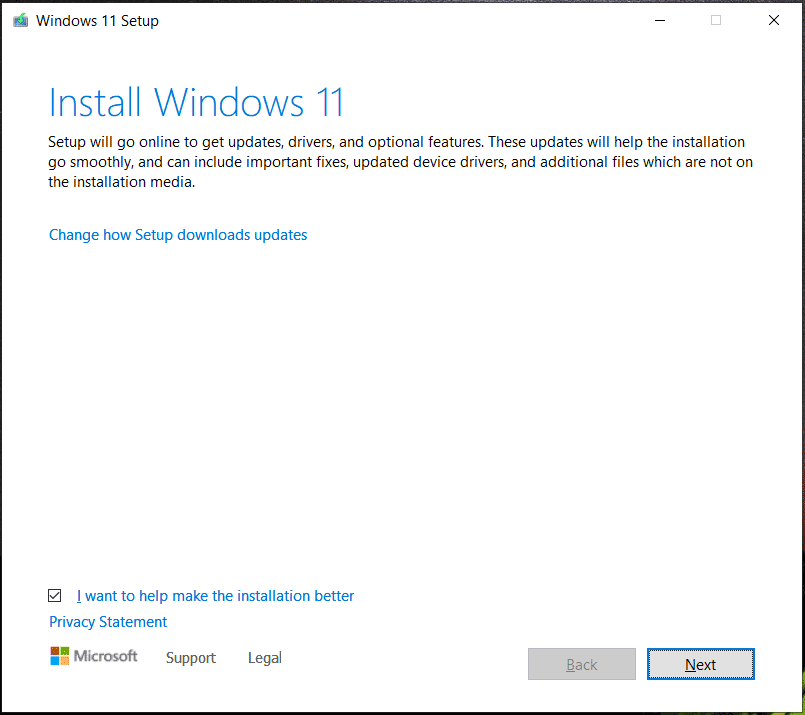
Step 6: The setup tool starts checking for updates. Follow the on-screen instructions to finish installing Windows 11.
Option 3: Dell Windows Upgrade via Windows 11 Media Creation Tool
Microsoft offers you a tool called Media Creation Tool which can help you to create a bootable USB or DVD to perform a reinstallation or clean install of Windows 11 on a used or new PC. Go to look through the guide below:
Create a Bootable USB Drive
Step 1: Download Windows 11 Media Creation Tool.
Step 2: Run this tool on your PC and accept notices & license terms.
Step 3: Choose language and edition to continue.
Step 4: Choose USB flash drive and click Next.
Step 5: Connect your USB drive to the PC and choose it.
Step 6: Follow the prompts to finish creating a bootable USB drive.
Install Windows 11 from USB
Now, it is time to install Windows 11 to achieve the aim – Dell free upgrade to Windows 11.
Step 1: Connect the USB drive from your PC and go to BIOS by pressing a specific key (it differs from different computers, e.g. – Del/F2, etc.).
Step 2: Configure the PC to start up from the drive in BIOS.
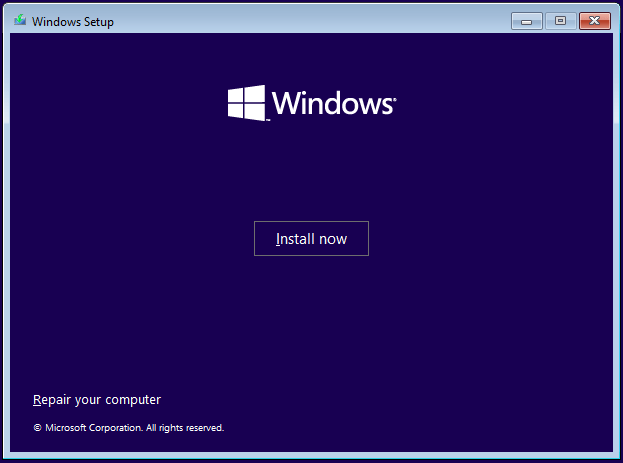
Step 3: After selecting a language, keyboard/input method, and time format, click Install now to continue.
Step 4: Click I don’t have a product key > Custom: Install Windows only (advanced).
Step 5: Choose a target partition to install Windows 11 on and begin the installation.
Now, the ways for Dell upgrade to Windows 11 are introduced here in detail. Just choose a proper way to install Windows 11 on your Dell laptop/desktop. After the update, you need to follow the on-screen instructions to finish Windows 11 setup.
#5. Update Your Dell with Windows 11 Drivers after the Upgrade
After everything is ready, there is another thing you should do – install Windows 11 drivers for your Dell. This is recommended by Dell.
As everyone knows, if the device drivers are not compatible with Windows operating system, the hardware related to the driver can fail to work. Thus, make sure the drivers on your Dell PC are new after Windows 11 update.
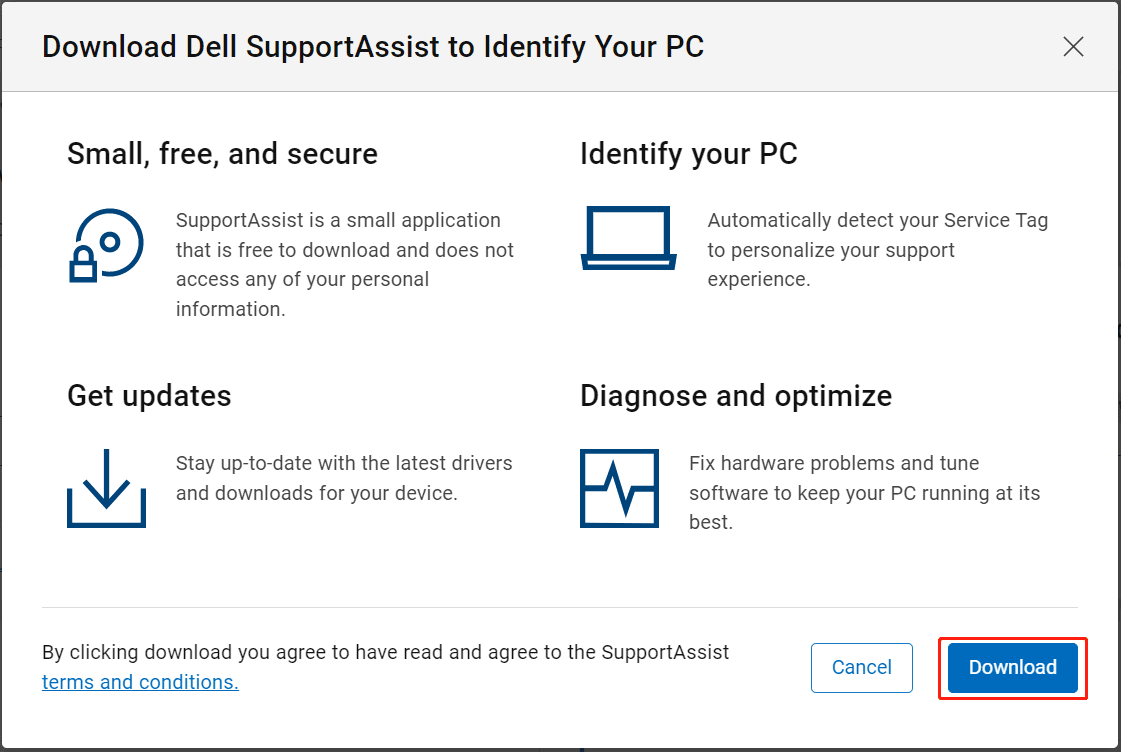
You need to go to the Dell driver website to get updated Windows 11 drivers that may not enter Windows Update. Just go to the Drivers & Downloads page to install the proper drivers for Windows 11. Or, download SupportAssist to stay up-to-date with the latest drivers and downloads for your device.

Bottom Line
Dell Windows 11 upgrade is not a difficult task. If you follow this guide, you can easily upgrade your Dell laptop/desktop to the new operating system for a good user experience.
Remember to follow the advice from Dell – back up your PC before Windows 11 upgrade Dell and install up-to-date drivers for Windows 11 after the update. If you have your own ideas on the Dell upgrade to Windows 11, share them with us in the following comment part.
About The Author

Position: Columnist
Vera has been working at the MiniTool Team for over 10 years as a technical editor and content writer. She mainly focuses on disk and partition management, data recovery, Windows backup and restore, and PC troubleshooting. Through in-depth software testing and hands-on experience, she has helped users solve a wide range of computer problems and better protect their data on Windows devices.
User Comments :