If your PC gets ready for Windows 11, a brand new operating system, you may choose to install it on your PC to enjoy the new user interface and new features. Then, a question comes: does upgrading to Windows 11 delete files? To get the answer, you can read this post and MiniTool will show you details, as well as how to install Windows 11 without losing data.
As a successor of Windows 10, Windows 11 has been introduced and released to the public for some time. This is a brand new operating system from Microsoft that offers a new UI design, including Settings, Taskbar, Quick Settings, Start Menu, and more, brings many new features and improvements.
To have experience with Windows 11, you may want to install this new operating system on your PC. Before you do, you may ask a question: does upgrading to Windows 11 delete files? Actually, it is not only the Windows 11 update. For someone who wants to use a new OS, a common question is – does installing a new OS delete everything?
As for this topic, we will show you the answer below. Now, let’s go to see it.
Does Installing Windows 11 Delete Everything?
The answer is not absolute. In specific, this depends on how you install Windows 11 on your PC. On the Microsoft website, this giant offers multiple ways for you to get Windows 11.
If you download an ISO file and burn it to a USB drive using Rufus, and then install Windows 11 from the USB drive, or you download Windows Media Creation Tool to make a bootable USB or DVD for Windows 11 installation, some files may be deleted.
When installing Windows through such a disk, a problem is that it needs an empty partition to store the Windows 11 system. (This way is called a reinstallation or a clean install.) You will lose all the data in that partition during the installation process unless you have already backed up your important files to a different drive or partition.
If you get an ISO file of Windows 11, mount it and double-click on the .exe file to run. After everything is ready, you can choose what to keep, for example, Keep personal files and apps, Keep personal files only, or Nothing. Depending on the option, the data you lose is also different. If you use Windows 11 Installation Assistant to perform a Windows 11 update, nothing will be deleted.
Of course, after installing Windows 11, some features are deleted, for example, Math Input Panel, Quick Status, Tablet Mode, Touch Keyboard, etc. These features are removed instead of the files.
Well then, here comes another question: how to upgrade Windows 10 to Windows 11 for free without losing data? The operation is easy and now let’s move to the next part.
How to Update to Windows 11 Without Losing Data via Installation Assistant
The best method to install Windows 11 without losing data (without performing a fresh install) is using the Installation Assistant tool. This tool is from Microsoft on its official website (mentioned in part one) and it can transform the currently existing Windows installation to the newer version. Any of the files or applications won’t be affected during the installation process of Windows 11.
That is, Windows 11 Installation Assistant can keep all the data intact and seamlessly transition your computer to the new OS.
This tool can run only when your PC meets some conditions:
- Your PC is running Windows 10 version 2004 or higher.
- You have a license for Windows 10.
- Your machine must meet the device specifications of Windows 11 for supported features and upgrade requirements.
- The PC should have 9 GB of free disk space to download Windows 11.
Here is how to update to Windows 11 without losing data:
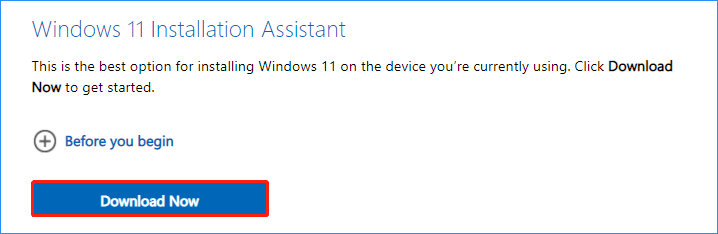
Step 1: Go to Windows 11 Download page and click Download now from the Windows 11 Installation Assistant section.
Step 2: Launch Windows 11 Installation Assistant on your Windows 10 PC. When getting the User Account Control interface, click Yes to continue.
Step 3: If this tool confirms your PC hardware is compatible, you need to accept the license terms by clicking the Accept and Install button.
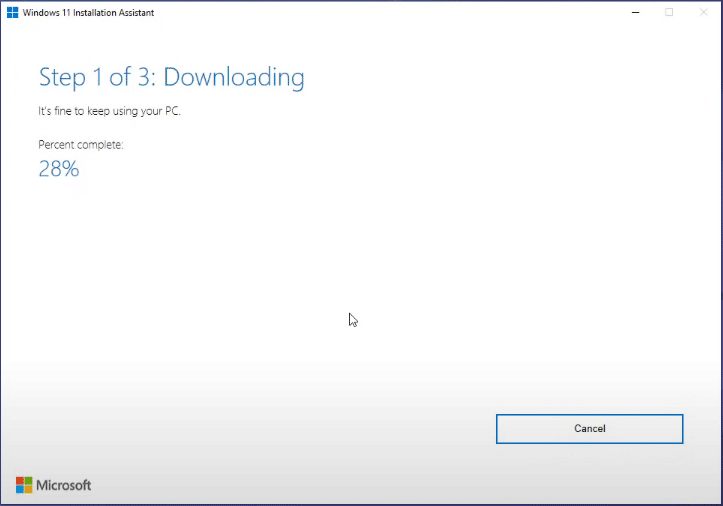
Step 4: Windows 11 Installation Assistant will start downloading and installing this new operating system on your PC. This can last for some time. During the process, you can keep using your Windows 10 computer as normal.
Step 5: After everything is ready, click the Restart now button. The PC can restart several times to finish the installation process. So, wait patiently.
Later, the system is switched to Windows 11. All the previous files and apps can be found on the PC after logging in to the new OS. In short, Windows 11 Installation Assistant is an excellent way for upgrading Windows without losing data.
In the following part, we will show you other indirect ways to install Windows 11 without losing data.
How to Update to/Install Windows 11 Without Losing Data
As mentioned in part 1 – does installing Windows 11 delete everything, using Windows 11 Media Creation Tool or running the Windows 11 Setup tool (got by mounting the ISO file) could delete something.
If you still want to try these two ways to install or update to the new system but don’t want to lose important data, that can be done. The precondition is that you back up the important files, photos, documents, and more before the installation.
Back up Crucial Data Before You Do
This is an important thing you should do. Well then, how to backup Windows 10 before installing Windows 11? Using a professional and free Windows backup software is a good option. Here, we recommend using MiniTool ShadowMaker.
This backup program is compatible with Windows 11/10/8/7 and you can install it on your PC to back up files, folders, disks, partitions, and Windows systems. Once something goes wrong, the backup can be used to perform a fast disaster recovery. For data backup, you can also choose to sync files & folders besides image backup.
Importantly, this tool supports scheduled backup, differential, and incremental backup for only changed or newly added data. Now, get MiniTool ShadowMaker Trial Edition by clicking the following button to have a try.
MiniTool ShadowMaker TrialClick to Download100%Clean & Safe
Step 1: Double-click on the desktop shortcut of this backup software to launch it.
Step 2: Click Keep Trial to continue.
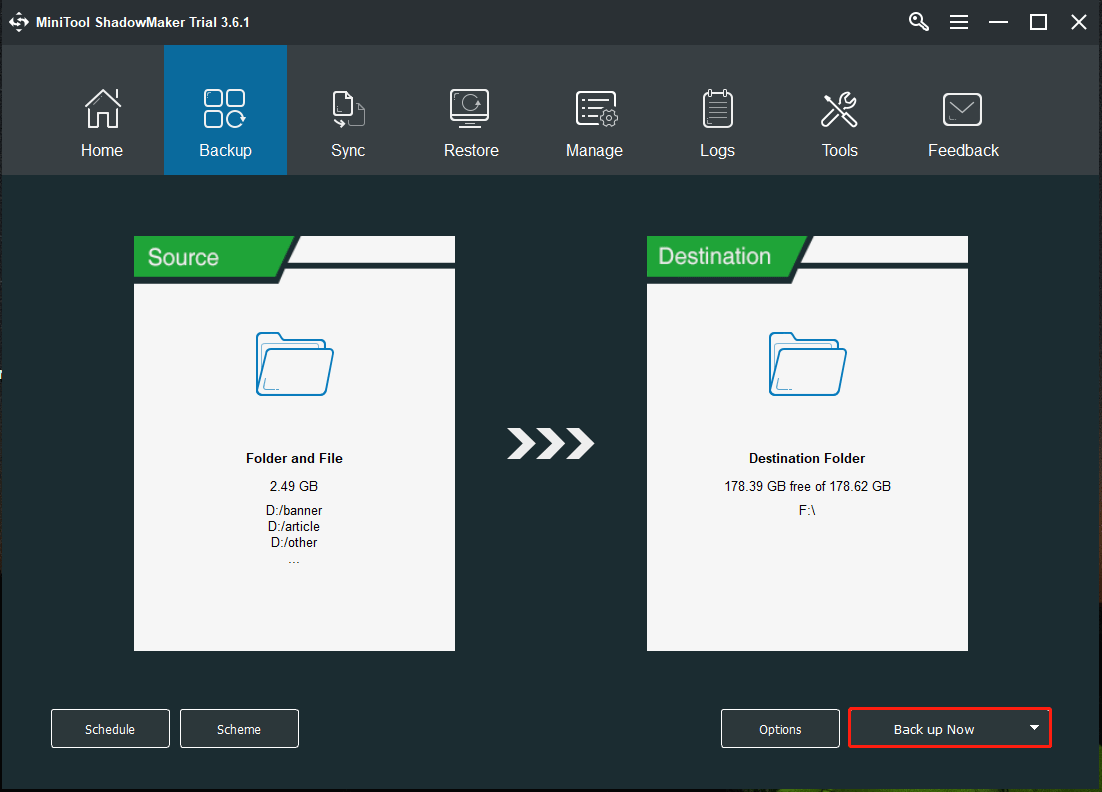
Step 3: Click Backup from the toolbar and choose the backup source & destination. By default, system backup is the option. To back up files, click Source > Folders and Files, choose items you want to back up, and click OK. Next, go to Destination to choose a path to store the backup.
Step 4: Click Back up Now to start the data backup at once.
After backing up your important data, now you can install Windows without worrying about data loss. Now, let’s see two indirect ways to install Windows 11 without losing data.
Run Windows 11 Setup (by Mounting ISO)
To update to Windows 11 without losing data, you can try this way by following the instructions below.
Step 1: Mount ISO
1. Go to Windows 11 download page, choose Windows 11, click Download, select a language, and click Confirm > 64-bit Download to get the ISO file. This downloading process can take some time.
2. Right-click on the Windows 11 ISO file and choose Mount to get a folder.
Step 2: Use the ISO File to Install Windows 11 Without Losing Data
1. Open the folder you get and double-click the setup.exe file.
2. Windows is preparing 100%.
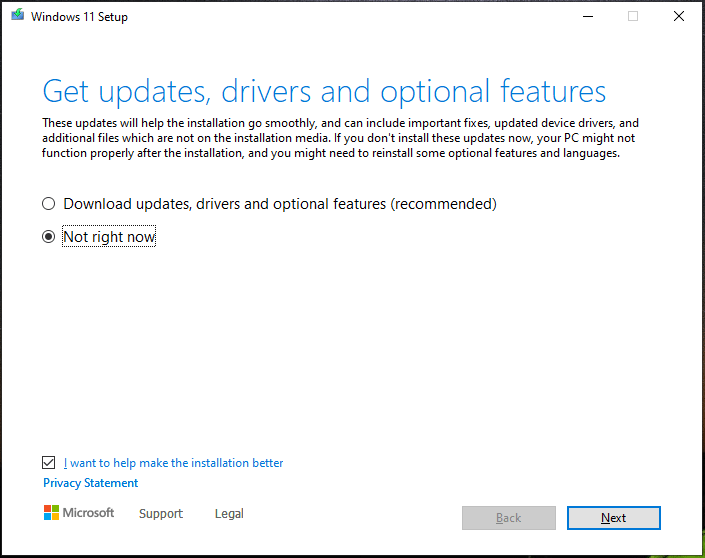
3. After that, click Change how Setup downloads updates and choose Not right now.
4. Click Next and accept applicable notices and license terms.
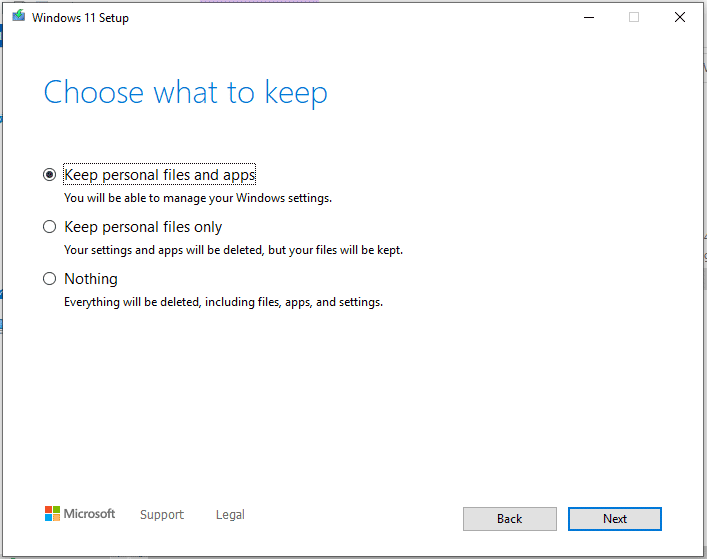
5. You will be told what version of Windows 11 will be installed and what data you will keep. If you want to make some changes, click the Choose what to keep link to get the following interface and select one according to your needs.
To install Windows 11 without losing data, the first two options are recommended. Of course, you can choose Nothing if you want to perform a completely fresh install after creating a backup for your important files.
6. This tool is installing Windows 11. This can take several minutes and wait patiently.
Clean Install of Windows 11 via a Bootable USB Drive
Besides, you can run a clean install using a bootable USB drive. After creating a backup of files, you won’t worry about data loss.
Step 1: You can get a Windows 11 ISO file, download Rufus, and burn it to your USB drive. Or download and run Windows 11 Media Creation Tool to create a bootable USB drive.
Step 2: Boot the PC to BIOS and change the boot order to run the PC from this USB drive.
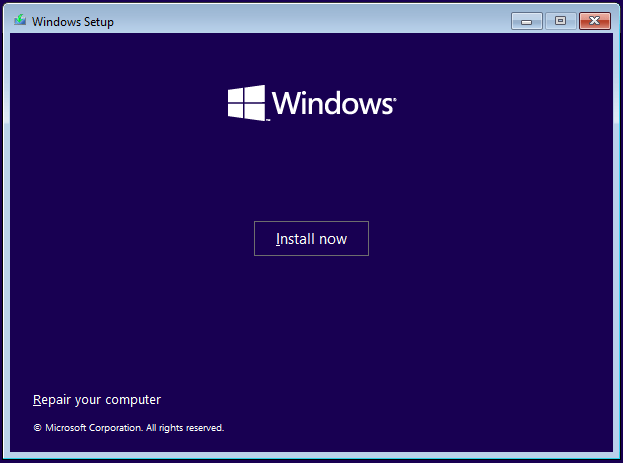
Step 3: After selecting a language, keyboard method, and time format, click Install now to continue.
Step 4: Choose I don’t have a product key, accept terms and click Custom: Install Windows only (advanced).
Step 5: Select the original system partition (Windows 10 is included) as the target path of Windows 11. Then, start installing the new OS to that drive for a clean install.
After reading so much information about how to install/upgrade to Windows 11 without losing data, make a decision and choose a proper way to get Windows 11 based on your needs. No matter which one you use, keeping your important data is important.
But sometimes files may get lost after upgrading to Windows 11 and it is not caused by the upgrade or installation way instead of Windows update issues. What if files are deleted after the Windows update? Refer to the next part to know how to get lost data back.
Recover Lost Files after Windows 11 Update
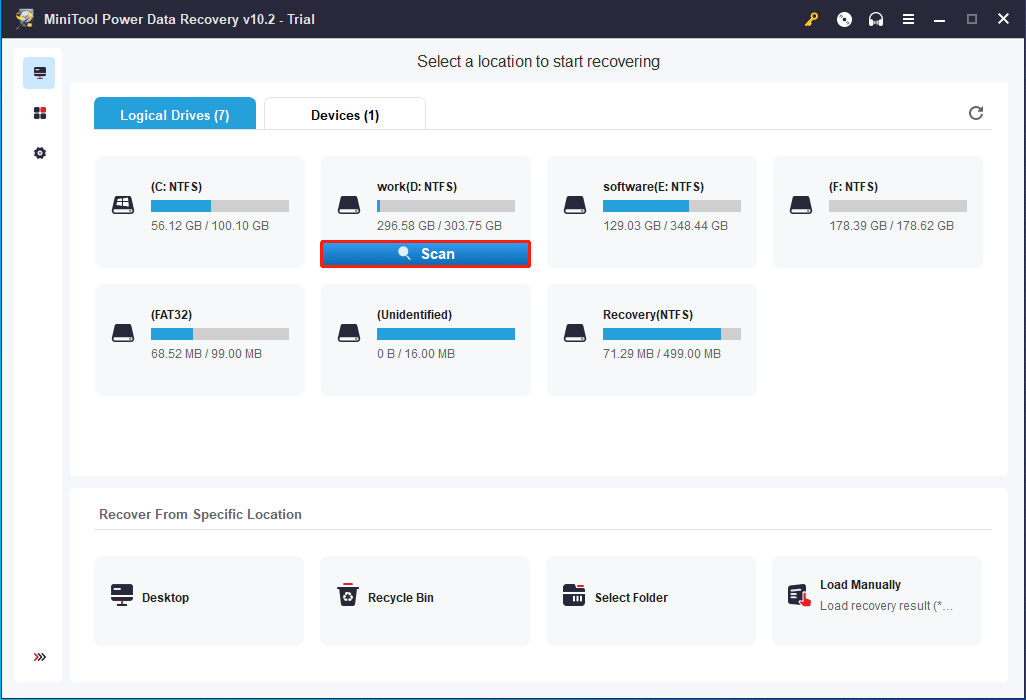
How can you recover lost or deleted data on your PC? A professional PC data recovery software – MiniTool Power Data Recovery is recommended strongly here. It is compatible with Windows 11/10/8/7 and can be used to retrieve files, pictures, photos, documents, videos, and more from SD cards, hard drives, USB drives, CDs/DVDs, and more.
You can try its Trial Edition to see if it can find the lost files after scanning. If yes, upgrade to a full edition to finish recovery.
MiniTool Power Data Recovery TrialClick to Download100%Clean & Safe
Bottom Line
Does installing Windows 11 delete everything? How to update to/install Windows 11 without losing data? This post gives you much information and you should take action to install the new OS using a proper way. If files are deleted unexpectedly, try to recover them with MiniTool Power Data Recovery. If you have any ideas, you can leave a comment below and we will reply to you as soon as possible.
About The Author

Position: Columnist
Vera has been working at the MiniTool Team for over 10 years as a technical editor and content writer. She mainly focuses on disk and partition management, data recovery, Windows backup and restore, and PC troubleshooting. Through in-depth software testing and hands-on experience, she has helped users solve a wide range of computer problems and better protect their data on Windows devices.
User Comments :