It is common to encounter various problems during computer use. But some issues, such as the cursor moving to the left when typing, are annoying and will lower your working efficiency. This mouse issue might be triggered by the misconfiguration of cursor settings, incompatible mouse drivers, software conflicts, etc. The following content will show you the exact methods to rectify this problem.
How to Stop Cursor Moving When Typing on Windows
Fix 1: Disable the Touchpad
If you work on your laptop and find that the cursor keeps moving to the left when typing, it is possible that you have pressed the touchpad so the cursor moves as well. You can disable the touchpad to see whether the mouse keeps moving.
Step 1: Press Win + I to open Windows Settings.
Step 2: Choose Devices > Bluetooth & other devices on Windows 10. If you are using Windows 11, you can directly choose Bluetooth & devices from the left pane.
Step 3: Look through the list to find and click on the Touchpad option, then turn the switch to Off to disable the touchpad.
Now, you can try to type as normal to check if the problem is solved. If not, go on to the next method.
Fix 2: Run Hardware and Devices Troubleshooter
Windows contains plenty of tools to help you resolve problems by yourself. To stop the cursor from constantly moving, you can run the hardware and devices troubleshooter to detect and fix problems.
Step 1: Click on the search icon and type Command Prompt into the search bar.
Step 2: Select Run as administrator on the right pane.
Step 3: Type msdt.exe -id DeviceDiagnostic and press Enter to open the troubleshooter.

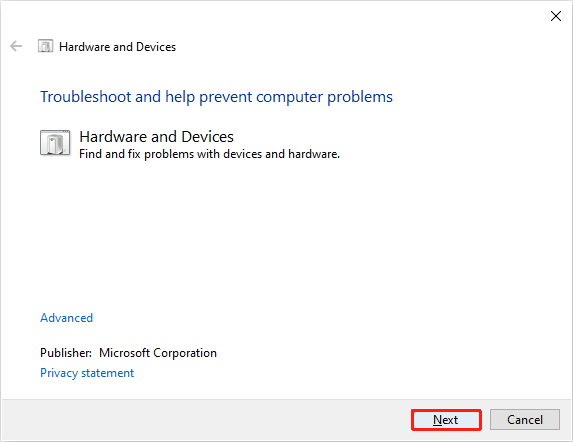
Step 4: Click on the Next button to run the Hardware and Devices troubleshooter.
Wait for the detecting process to finish, then you can choose to repair the found problems by yourself or not.
Fix 3: Change the Mouse Settings
In some cases, your cursor keeps moving to the left because of the Automatically move pointer option. Go to check whether you have enabled this option on your computer.
Step 1: Press Win + I to open the Settings window.
Step 2: Click on Devices > Mouse > Additional mouse options.
Step 3: Shift to the Pointer Options tab, then uncheck the Automatically move pointer to the default button in a dialog box selection.
Step 4: Click Apply and OK in sequence to apply this change.

Fix 4: Update/Reinstall the Mouse Driver
As mentioned earlier, the incompatible driver might be responsible for the cursor moving to the left when typing. You can follow the next steps to update/reinstall the mouse driver to fix the incompatible error.
Step 1: Right-click on the Windows logo at the right corner.
Step 2: Choose Device Manager from the context menu.
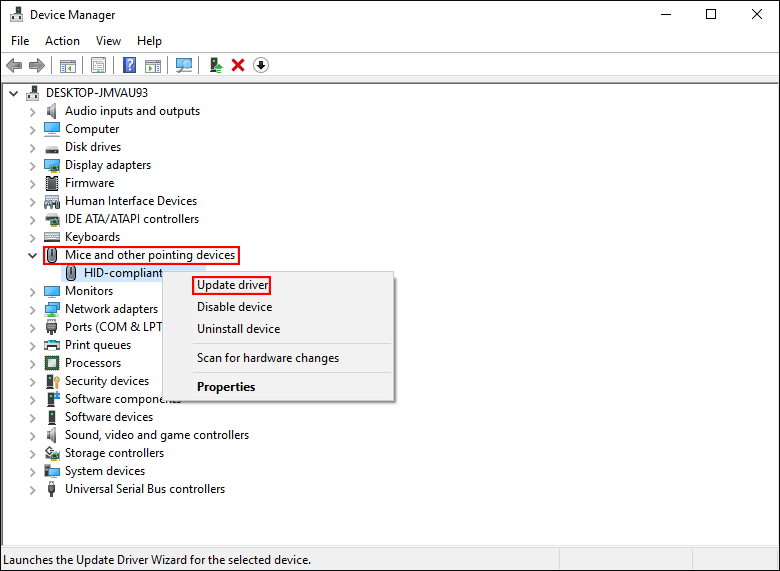
Step 3: Expand the Mice and other pointing devices selection.
Step 4: Right-click on the target device, then choose Update driver from the context menu.
Step 5: Choose Search automatically for drivers in the following window.
Windows will find and install the latest compatible driver for your computer. If this problem still exists after updating, try to reinstall the driver by selecting Uninstall device from the same menu.
Fix 5: Perform an In-Place Upgrade
An in-place upgrade can help you resolve plenty of problems, including the desktop icons keep moving, software conflicts, File Explorer not working, etc. The Windows in-place upgrade allows you to keep your files, settings, and downloaded apps. You can read this post to learn how to perform a Windows 10 in-place upgrade & Windows 11 in-place upgrade.
MiniTool Power Data Recovery FreeClick to Download100%Clean & Safe
Bottom Line
To sum up, it is not a serious problem that the cursor jumps to the left when typing but it is disturbing. Here are five methods above to help you fix this issue. Hope you can find one work on your problem.
User Comments :