Many people use Logitech devices like mouse, keyboard, headset, etc. The Logitech mouse driver makes your Logitech mouse work on your Windows 10 computer. The driver should be updated to the latest version so that it gets the best performance.
In this post, you can learn how to download and install Logitech mouse driver on Windows 10, how to update the driver for Logitech mouse, and fix Logitech mouse issues.
Logitech Mouse Driver Windows 10 Download
Way 1. You can visit Logitech official website and search for the driver for your Logitech mice to download and install.
Way 2. You can also install some free driver updater software on your Windows 10 computer and let them help check your computer peripherals for updated drivers and install the drivers automatically.
How to Update Logitech Mouse Driver on Windows 10
Way 1. Update the driver for your Logitech mouse with Device Manager.
- Press Windows + X and select Device Manager to open it.
- Expand Mice and other pointing devices
- Find and right-click your Logitech mouse and select Update driver.
- Click Search automatically for updated driver software, and Windows will search your computer and the Internet for the latest Logitech mouse software to install.

Tip: You can also follow the same operation to update drivers of other Logitech devices.
Way 2. If you have installed a driver updater program on your computer, it should be able to regularly scan and install the newer versions of your Windows 10 Logitech mouse driver.
Way 3. You can also go to Logitech website to download and install the latest version of your Logitech mouse driver.
How to Uninstall and Reinstall Logitech Mouse Driver on Windows 10
If you want to uninstall and reinstall the Windows 10 Logitech mouse driver, you can follow the steps below.
- Press Windows + X and select Device Manager.
- Expand Mice and other pointing devices.
- Right-click your Logitech mouse and select Uninstall device to remove the driver of the Logitech mouse.
- Then restart your computer and Windows should automatically reinstall the Logitech mouse software.
Fix Logitech Mouse Not Working on Windows 10 – 6 Tips
Fix 1. You can unplug and plug your Logitech mouse, plug the mouse into another USB port on your computer, use the mouse on another computer to check if the Logitech mouse can work.
Fix 2. Restart your Windows 10 computer can sometimes fix small glitches of your computer.
Fix 3. You can run a virus scan for your PC to check if your computer has some malware or viruses.
Fix 4. Fix Logitech mouse driver issues. If your Logitech mouse is not working properly, it might because the mouse driver is outdated, missing, or incompatible with Windows 10. You can follow the step-by-step guide above to update or reinstall the Logitech mouse driver on your Windows 10 computer.
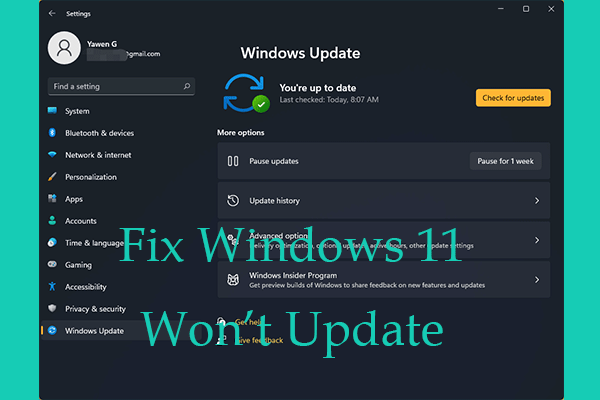
Fix 5. Update Windows 10. You can also perform a Windows OS update to fix the driver incompatibility issue. Click Start -> Settings -> Update & Security -> Windows Update, and click Check for updates button to install the latest updates on your Windows 10 computer. Then check if your Logitech mouse can work well.
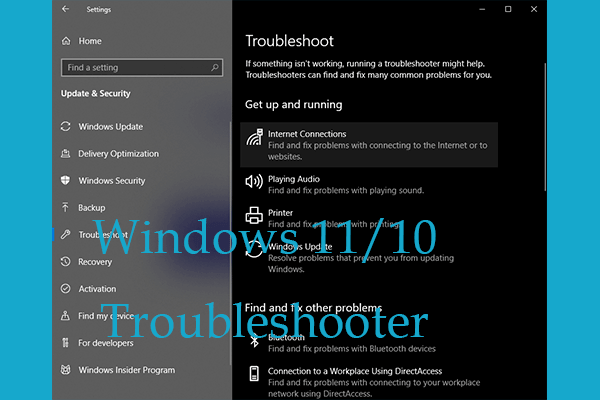
Fix 6. Run Windows Hardware and Devices troubleshooter to fix hardware issues. Press Windows + R, type msdt.exe -id DeviceDiagnostic in the Run dialog to open Windows Hardware and Devices Troubleshooter, select your Logitech mouse to troubleshoot and fix the possible issues.


User Comments :