What if you receive Van Restriction 2 while playing Valorant on Windows 10/11? If you are looking for solutions at the moment, this guide from MiniTool might help you out. In this guide, we will figure out why this error occurs and how to fix it with detailed instructions.
Van Restriction 2 in Valorant
Developed by Riot Games in 2020, Valorant is still one of the hottest tactical hero shooter video games on the market. As with other titles, you may experience minor faults during gameplay. Van Restriction 2 is one of the most unpleasant errors you may encounter these days. The full error message reads:
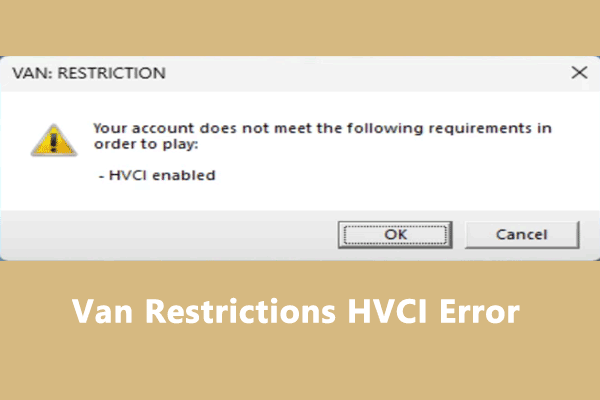
Van Restriction: Your account does not meet the following requirements in order to play:
- TPM 2.0 Enabled
- Secure boot enabled
- Windows build 19045
Van Restriction 2: Secure boot verification boot failure.
This error indicates that Riot Client finds your account is too cheat-capable, so it restricts the access of your computer or account. Here are some causes for Valorant Van Restriction 2:
- Incorrectly configuring BIOS settings.
- Faulty Vanguard.
- Outdated firmware.
- Conflicts with Windows 11 24H2.
MiniTool System Booster TrialClick to Download100%Clean & Safe
Preparation: Check Your System Information
As you can see, the error message tells you what settings are necessary to remove Van Restriction error 2 in Valorant. In this case, you can check if your TPM 2.0 and Secure Boot are enabled. Also, your Windows version should be more advanced than Windows build 19045.
Step 1. Press Win + R simultaneously to open the Run box.
Step 2. Type msinfo32 and hit Enter to launch System Information.
Step 3. Now, you can check if your Windows version and Secure Boot Status meet the game’s requirements.
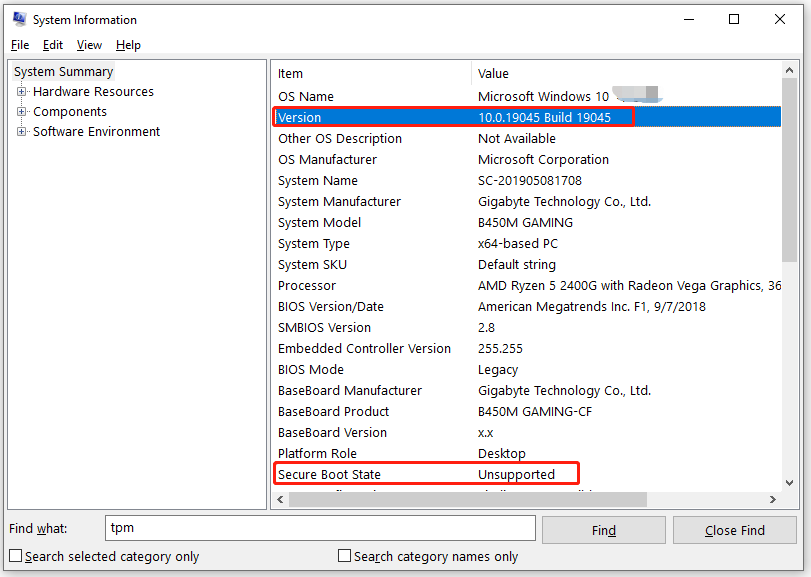
To check your TPM status, run tpm.msc in an elevated Command Prompt.
Solution 1: Re-enable Secure Boot
At times, Secure Boot doesn’t apply correctly even if you have enabled it. As a result, you can consider re-enabling this feature on your computer. Follow these steps:
Step 1. Shut down your computer and then reboot it.
Step 2. To enter the BIOS menu, press the BIOS key repeatedly before the manufacturer logo appears on the screen.
Step 3. In the Boot or Security tab, find Secure Boot and then check its status. If it is off, enabled it and save the change. If it is enable, you need to disable it and then re-enable it again.

Solution 2: Repair Riot Vanguard
Riot Vanguard is designed to uphold the highest levels of competitive integrity of games. Once it is corrupted, it might lead to the occurrence of Van Restriction 2. Luckily, you can repair it easily in Riot Games. To do so:
Step 1. Run Command Prompt with administrative rights.
Step 2. In the command window, run the commands below and don’t forget to hit Enter.
sc delete vgk
sc delete vgc
Step 3. Once done, reboot your computer and launch Riot Client.
Step 4. Click on the Profile icon to select Settings from the context menu > locate Valorant > hit the Repair button. After that, run Valorant once more to inspect if secure boot verification failure still remains.
Solution 3: Disable Core Integrity and VBS
Hyper-V is a virtualization technology that might conflict with certain games, especially when using emulators or anti-cheat software. Also, you need to disable Core Integrity to free up more system resources for the game. Here’s how to do it:
Step 1. Type cmd in Windows Search to locate Command Prompt and select Run as administrator.
Step 2. Copy and paste the command below. Then, don’t forget to hit Enter to disable Hyper-V.
bcdedit /set hypervisorlaunchtype off
Step 3. After completion, go to Windows Settings > Update & Security > Windows Security > Device security > Core isolation details > switch off Memory integrity.
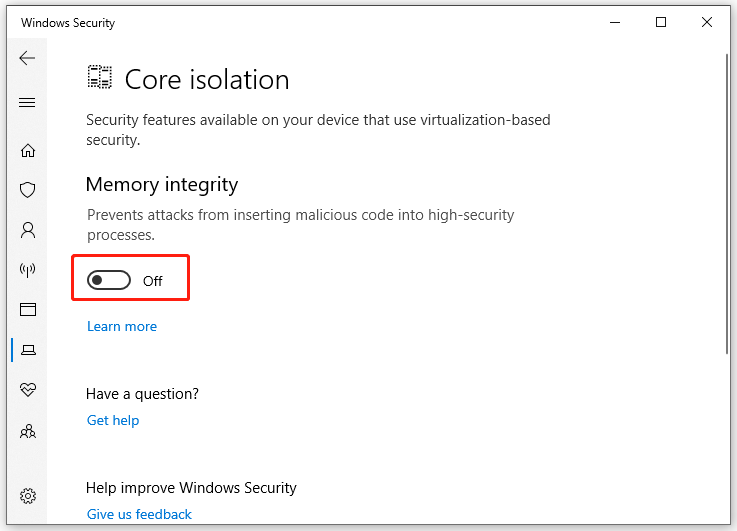
Step 4. Restart your computer to make these changes effective. Finally, launch the game again to see if Valorant TPM 2.0 error still exists.
Solution 4: Switch to Another Account
Chances are that the account you currently use is blocked temporarily by Riot Games due to cheating or something else. In this case, switching to another account might do the trick.
Solution 5: Update BIOS Firmware
When your BIOS settings are not configured correctly, Van Restriction Valorant secure boot failure error might also crop up. Resetting your BIOS can address bugs and compatibility issues with your specific hardware. To do so:
MiniTool ShadowMaker TrialClick to Download100%Clean & Safe
Step 1. Run Command Prompt as an administrator.
Step 2. Paste the command below into the command window and hit Enter to check your motherboard model.
wmic baseboard get product,Manufacturer
Step 3. Open your browser and search for the latest BIOS version. Download it from the manufacturer’s website. Unzip and copy it to a USB flash drive.
Step 4. Enter the BIOS menu and select Start Flash in the Advanced tab.
Final Words
That’s all the information about Van Restriction 2. After applying these solutions, we sincerely hope that you can free from this error and enjoy a smoother gaming experience. Have a nice day!
User Comments :