Changing or replacing the original hard drive in a PC is a common situation, mainly aiming to use more disk space and enjoy optimal performance. The PC can be full of accumulative fragmented data or generate tear and wear, resulting in decreased system performance. After switching to a new disk, the device takes on an altogether new aspect.
Usually, you replace an HDD with a new SSD or change a smaller SSD with a larger SSD. By comparison, it is hard to overlook the merits of a solid-state drive, for example, no noise, fast read & write speed, durability, etc. To know more, see this guide on SSD vs HDD.
Then, here comes a question: what to do before replacing a hard drive? If you first do a hard drive replacement in a computer and don’t have technical skills, pay attention to some tips to prevent unnecessary trouble afterward. Let’s explore them below.
What to Do Before Changing a Hard Drive
Which Hard Drive to Choose
When choosing a hard drive, it is not just deciding between an SSD and an HDD. You should take other factors into consideration, such as the storage capacity, form factor, your budget, and more.
The capacity of an SSD ranges from 256GB to 4TB or larger. Select a proper one as per your situation. Besides, consider the form factor. Check your laptop or desktop to know which SSD slot it uses. The SSDs include 2.5-inch & 3.5-inch SATA SSDs, M.2 2280/2230/2242 SSDs, etc. Make sure the new SSD you use is compatible with your computer.
What’s more, purchase the SSD as per your budget. Compared to an HDD, it is more expensive.
Initialize Your New SSD
Before using a new disk, you need to initialize it first.
To do that:
Step 1: Connect the SSD to your computer via a cable or an adapter.
Step 2: Right-click on the Windows button and choose Disk Management.
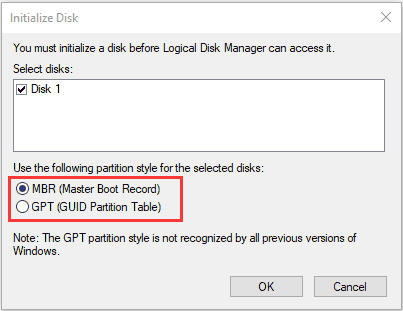
Step 3: Locate the new SSD, right-click on it, and select Initialize Disk.
Step 4: Pick MBR or GPT and click OK.
Back up Important Files
Data backup is necessary. Even though data loss during the replacement of a disk is rare, it is always better to act with caution. So, create a full backup for your crucial files and folders.
As for file backup, we recommend using MiniTool ShadowMaker, one of the best backup software. It features system backup, disk backup, partition backup, file backup, and folder backup. Moreover, scheduled backup, differential backup, and incremental backup are supported. Install this tool to your Windows 11/10/8/7 PC to begin data backup.
MiniTool ShadowMaker TrialClick to Download100%Clean & Safe
Step 1: Launch MiniTool ShadowMaker Trial Edition.
Step 2: On Backup, select the backup source and target.
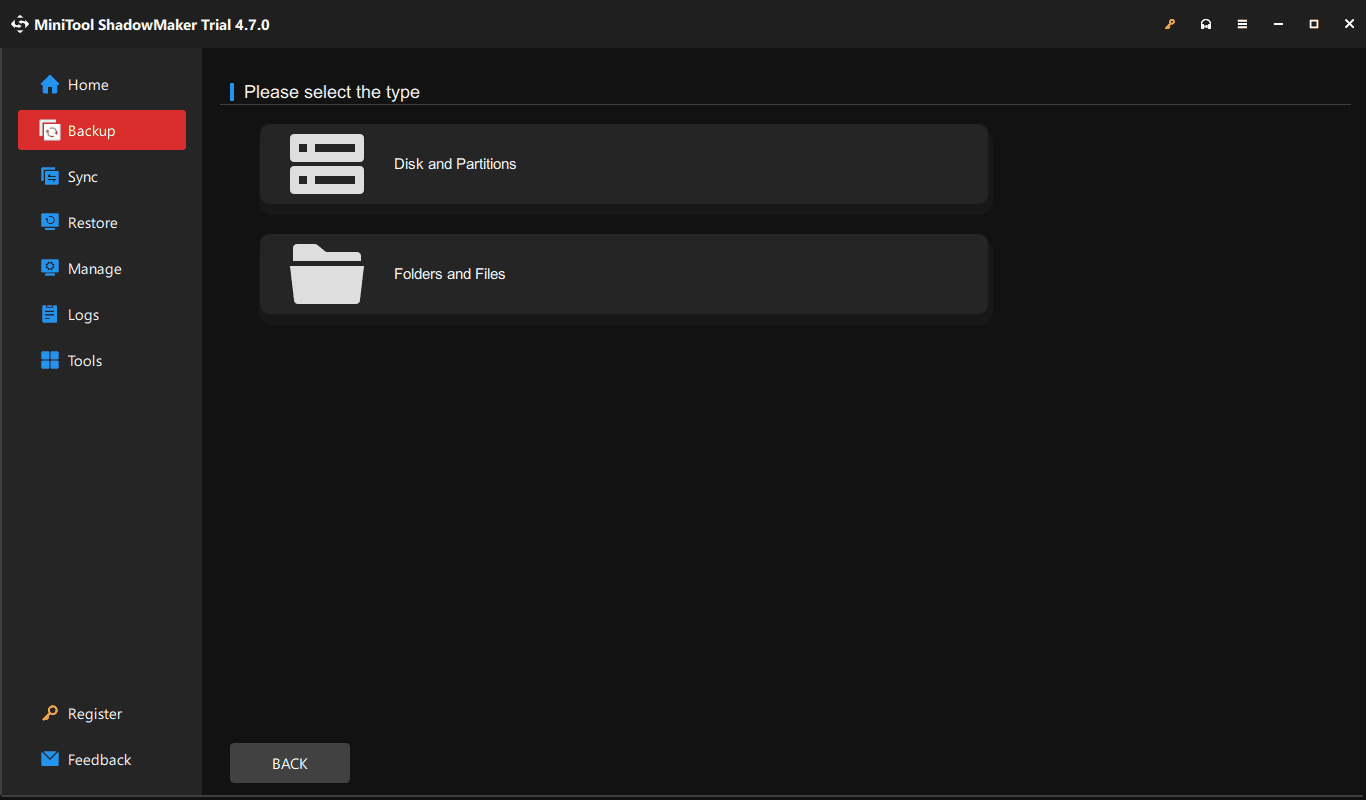
Step 3: Click Back Up Now to execute the backup task.
Organize and Clean Your PC
Before upgrading the HDD with SSD via disk cloning, you can choose to clean the PC, for example, delete unnecessary files, uninstall unwanted apps, etc. This way, the cloning process may get smooth and it saves the disk space of the new SSD.
Replace Your Hard Drive
After knowing what to do before replacing a hard drive, now it is time to change it. To replace the old HDD without reinstalling the Windows operating system and keep all data, cloning is a good choice.
By moving all the data including apps, system files, registry items, settings, personal data, etc. to a new disk, you won’t need to reinstall the system and apps. The cloned SSD can be directly used to boot the device after the replacement.
For this thing, use MiniTool ShadowMaker. It has a feature to clone your hard drive to another within several steps.
MiniTool ShadowMaker TrialClick to Download100%Clean & Safe
Step 1: After launching this disk cloning software, navigate to Tools > Clone Disk.
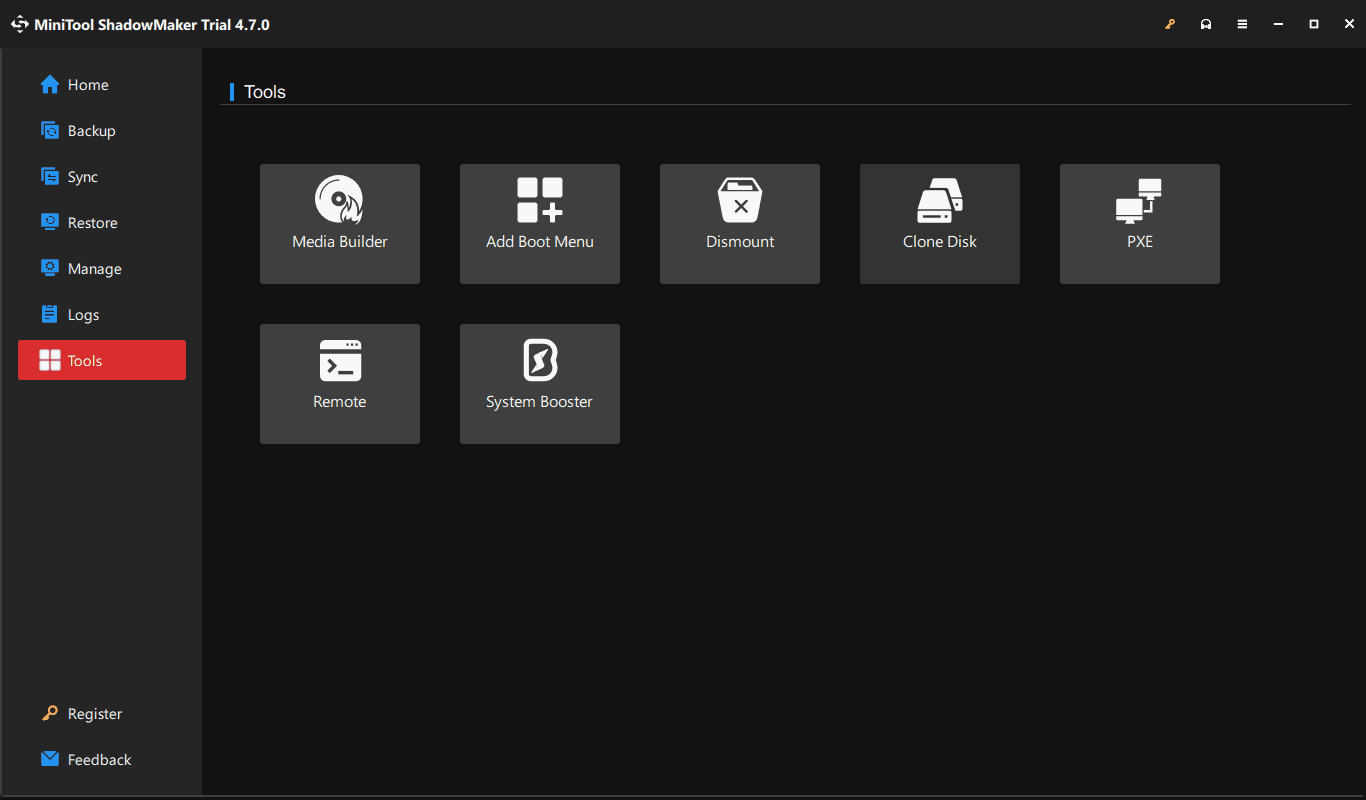
Step 2: Choose the HDD as the source drive and the new SSD as the target drive.
Step 3: Register the software (for system disk cloning) and begin cloning.
The End
What to do before replacing a hard drive? Multiple tips can be found in this post. Take those steps, clone your disk to an SSD, then replace it in the PC for optimal performance.
About The Author

Position: Columnist
Vera has been working at the MiniTool Team for over 10 years as a technical editor and content writer. She mainly focuses on disk and partition management, data recovery, Windows backup and restore, and PC troubleshooting. Through in-depth software testing and hands-on experience, she has helped users solve a wide range of computer problems and better protect their data on Windows devices.
User Comments :