Cannot Update Windows After Replacing an SSD
Due to some reasons (such as SSD upgrade), you use a new SSD to replace your old hard drive or SSD via disk cloning. Everything seems to function properly. However, you may notice this issue – Windows Update not working after installing an SSD. You may find many discussions in some forums like Microsoft, Reddit, Tomshardware, etc.
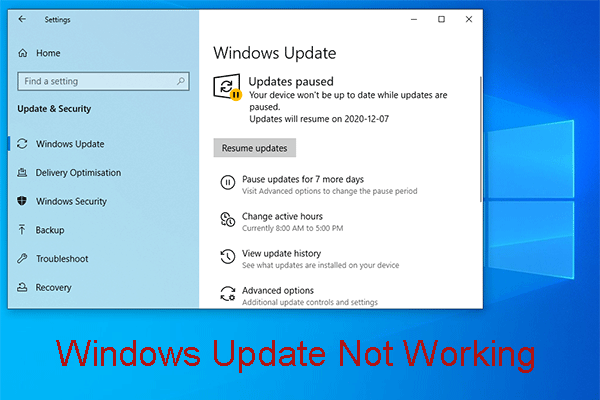
When viewing the update history in Windows 11/10, the message “Failed to install” shows and you see the error code 0x800f0922. Every time you attempt to install Windows updates, a failure always occurs.
Is there any effective way to address this issue? Of course, we will walk you through the exact steps in this full guide. Try them one by one until you find the way that works for you.
Way 1: Run Some Commands
Here is a way from a Microsoft user. Take these steps now:
Step 1: Press Win + R, type Notepad, and click OK.
Step 2: In the new Notepad, copy and paste the following commands.
SC config trustedinstaller start=auto
net stop wuauserv
net stop bits
cd %windir%
Ren SoftwareDistribution SoftwareDistribution.old
dism /online /cleanup-image /restorehealth
Step 3: Go to File > Save As.
Step 4: Choose Desktop as the path, name it Wufix.bat, choose All Files under Save as type, and then click Save.

Step 5: Right-click on this .bat file and choose Run as administrator.
Step 6: Wait until the end of the process. Then, restart your computer and check if you are still unable to update Windows after installing an SSD.
Way 2: Try Windows Update Assistant
In case of Windows Update not working after installing an SSD, some users recommend using Windows Update Assistant. This tool downloads and installs feature updates to offer the device new functionality and keep the system safe. So, have a try.
Step 1: Download Windows Update Assistant from the official website of Microsoft.
Step 2: Run this tool and click Update Now or Restart Now to complete the installation on your computer.
Way 3: Uninstall Third-Party Antivirus Software
At times, antivirus software can interfere with the Windows update process, as a result, you cannot update Windows after replacing an SSD.
Which antivirus tool do you use? If you don’t use Windows Defender but run third-party antivirus software, uninstall it via Control Panel first, update Windows again, and reinstall it.
Way 4: Clean Install Windows 11/10
If none of these methods solve your issue, resort to the last way – clean install the Windows operating system.
That way, you get a fresh system and you need to reinstall all the applications. All the data stored in the C drive will be lost. If you save some data to that drive, be sure to make a backup for the important files.
To back up files and folders, MiniTool ShadowMaker, one of the best backup software comes in handy. With it, data backup, system backup, partition backup, and disk backup are just a piece of cake. Install it on your PC and then begin PC backup.
MiniTool ShadowMaker TrialClick to Download100%Clean & Safe
Next, clean install Windows.
Step 1: Download Windows 11/10 ISO from Microsoft’s website.
Step 2: Download and run Rufus, connect your USB drive to the device, choose the downloaded ISO, and burn it to your USB drive.
Step 3: Restart the system, set the USB drive as the first boot order, boot the machine, and enter the setup window.
Step 4: Configure your preferences such as language and keyboard, then click Install now to continue.

Step 5: Accomplish the installation according to the instructions.
The End
Windows Update not working after installing an SSD is not hard to fix on your computer. These ways above could get you out of trouble. So, take action!
About The Author

Position: Columnist
Vera has been working at the MiniTool Team for over 10 years as a technical editor and content writer. She mainly focuses on disk and partition management, data recovery, Windows backup and restore, and PC troubleshooting. Through in-depth software testing and hands-on experience, she has helped users solve a wide range of computer problems and better protect their data on Windows devices.
User Comments :