Overview of Entry Point Not Found
What Is Entry Point in Windows PC?
The entry point refers to the point where the software takes over the control of certain resources from the operating system and executes the startup operation.
For example, when you start a software application, such as a game, your system must reach the entry point of that application and hand over control to it.
Entry Point Not Found Error
Error point not found is a common Windows issue caused by damaged, missing, or deleted DLL files in the application directory. The complete error message is as follows:
The procedure entry point could not be located in the dynamic link library.
This error message indicates the app directory path, the missing file location, or the problematic file’s name.
Usually, this file plays a crucial role during the application startup process. When it fails, your OS cannot access the application.
Here are the possible reasons for encountering an entry point error.
- Interference from antivirus software blocking DLL files.
- Corrupted or damaged system files.
- Accumulation of junk files.
- Virus and malware infections.
- Missing or problematic application files.
In the following section, you can find and try several helpful fixes to solve the entry point problem.
Solutions to Entry Point Not Found in Windows 11/10
1. Check Windows Security System for DLL Files
Legitimate security software is designed to scan for and block digital threats, such as unauthorized access, data theft, and system compromise. It aims to protect your computer from malicious intrusions.
However, in some cases, it may mistakenly quarantine or remove some DLL files. This is because these DLL files often do not have a clear development source, which may pose a threat to system security.
Thus, you can check your security software to fix the entry point error. Follow the steps:
Step 1. Disable Windows Protection
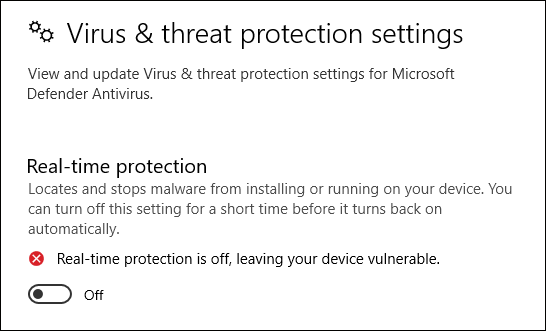
1. Launch Windows Security via the search bar > select Virus & threat protection from the left pane.
2. Tap Manage settings under Virus & threat protection settings > turn off Real-time protection > hit Yes to confirm.
Step 2. Check and Recover the Quarantined DLL Files
Windows Security will quarantine or delete suspicious DLL files, and you can check in Protection history.
1. In the Virus & threat protection section, click Protection history under Current threats.
2. Expand the Filters option, select Quarantined items and Cleaned items in turn to check if there is the DLL file you need. If so, restore it immediately.

Step 3. Exclude the DLL Files
After recovering, you can add it to the exclusion list to prevent it from being isolated again.
1. Go to Manage settings under Virus & threat protection.
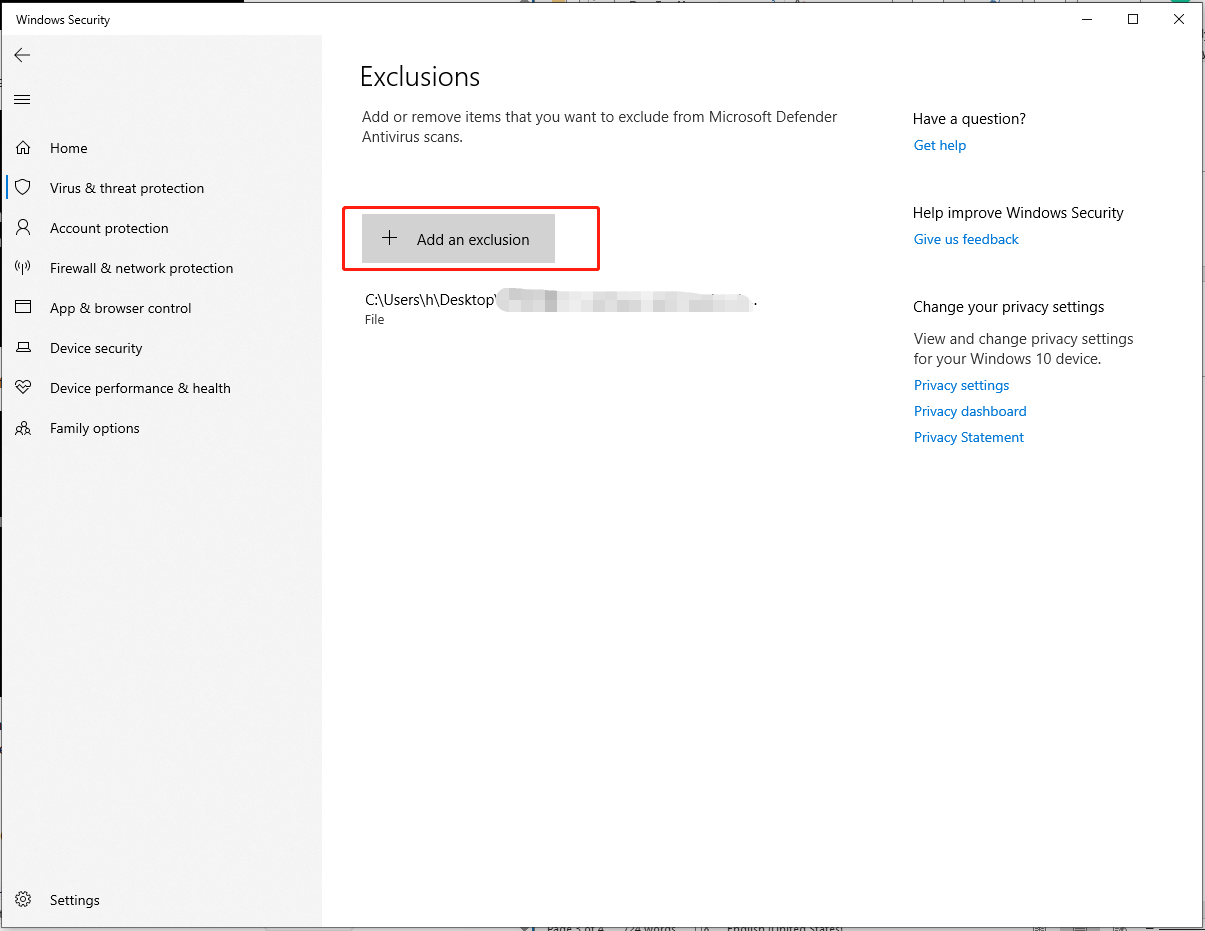
2. Scroll down to find the Exclusions > choose Add or remove exclusions.
3. Hit Add an exclusion to add the DLL file that you want to exclude from Microsoft Defender Antivirus scans. Follow the wizard to complete the operation.
Finally, remember to activate protection on your PC again.
2. Run System File Checker
System File Checker is a useful tool in the Windows system. It can identify and fix damaged system files. If your faulty DLL file is one of the system files, you can repair it by using SFC.
Here is a guide on how to do it:
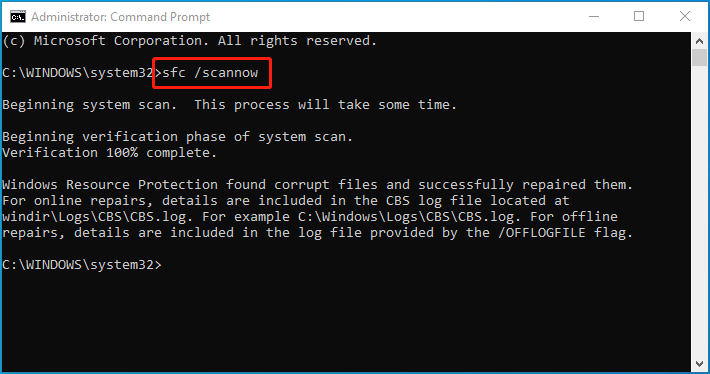
Step 1: Type Command Prompt in the search bar > choose Run as administrator > select Yes in the User Account Control window.
Step 2: Input the sfc /scannow command and press Enter to run. Windows will start to scan all system files and then repair the corrupt ones.
Step 3. When this check is done, restart your computer and see if you can launch the problematic application.
3. Perform a Full Virus Scan
Sometimes, malicious software or viruses hidden in your computer may cause the entry point not found error. To troubleshoot this issue, you can use the built-in antivirus component of Windows – Windows Security – to conduct a comprehensive scan of your system.
Here are the instructions:
Step 1. Open Settings by pressing Win + I > click Update & Security > Windows Security.
Step 2. Select Virus & threat protection.
Step 3. In the Windows Security window, choose Scan options > select Full scan > hit the Scan now button.
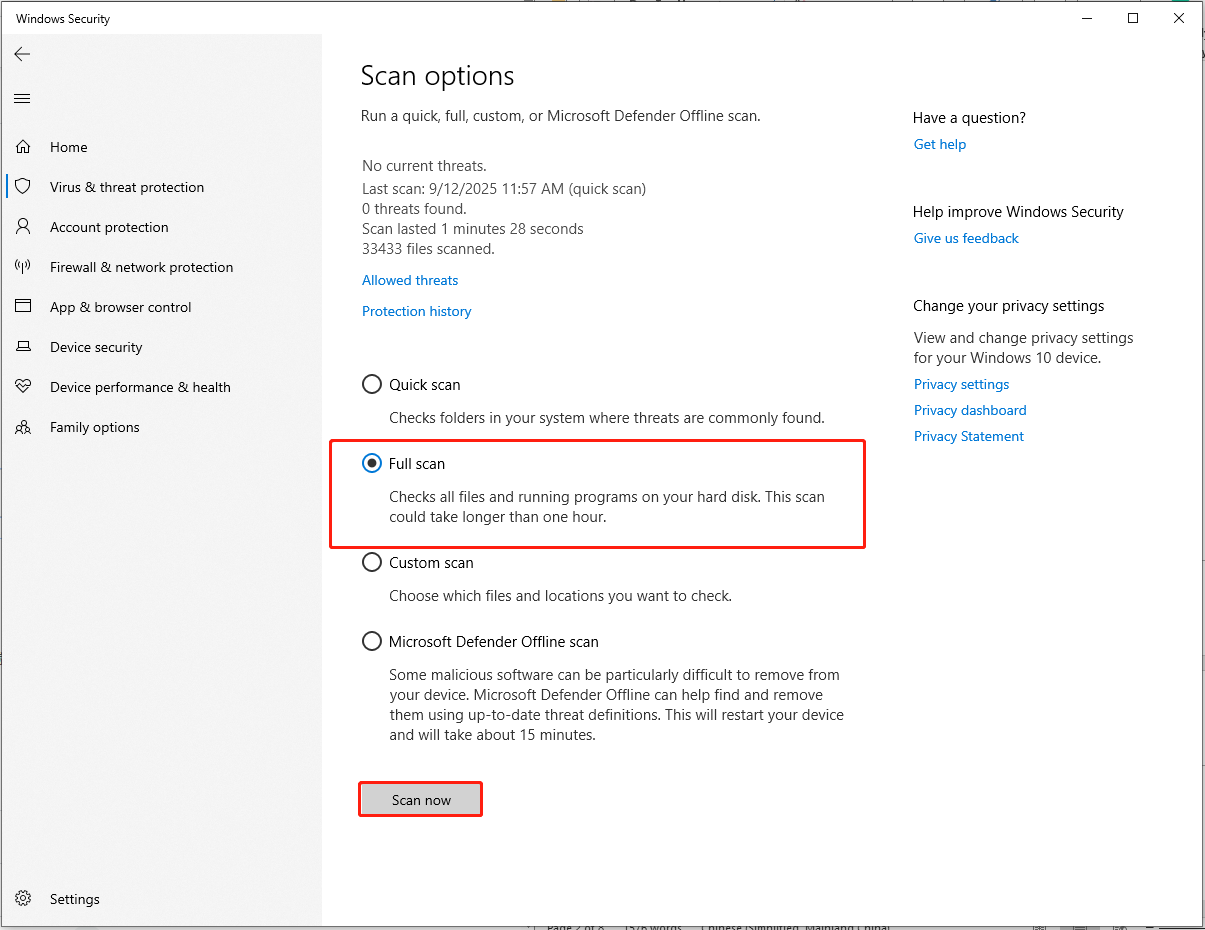
Wait for the scan to finish. Upon the scan, you can remove the viruses or malware according to Windows Security’s report.
4. Manually Install the DLL File
If the specific damaged DLL file can be identified, it’s easier to resolve the entry point error. That’s because you can download and manually install the same one according to its name.
However, when searching for DLL files online, you must be cautious because hackers can hijack DLLs to execute their malicious code.
If you don’t know how to avoid these potential risks, then we recommend that you use the DLL-files.com Client tool. It’s designed to help you find and repair missing or corrupted DLL files.
Now, follow the steps below to install the correct DLL file:
Step 1. Access the DLL-files.com website.
Step 2. Enter the name of the DLL file in the navigation bar and click Search DLL file beside.
Step 3. Click the DLL file you want > hit the Download option to download the file.

The DLL file will be downloaded in the form of a RAR file.
Step 4. Extract the RAR file and copy its contents > paste them inside the folder of the problematic app. Or, if you know the path from where the DLL file is defective, then paste it at the same location.
5. Reinstall the Problematic App
If replacing the faulty DLL file in the program with a good one still doesn’t solve the problem, you can try reinstalling the application.
Here’s how to do that:
Step 1. Press Win + I to open Windows Settings > Choose Apps.
Step 2. Locate & click the problematic app from the list of apps > hit the Uninstall button.
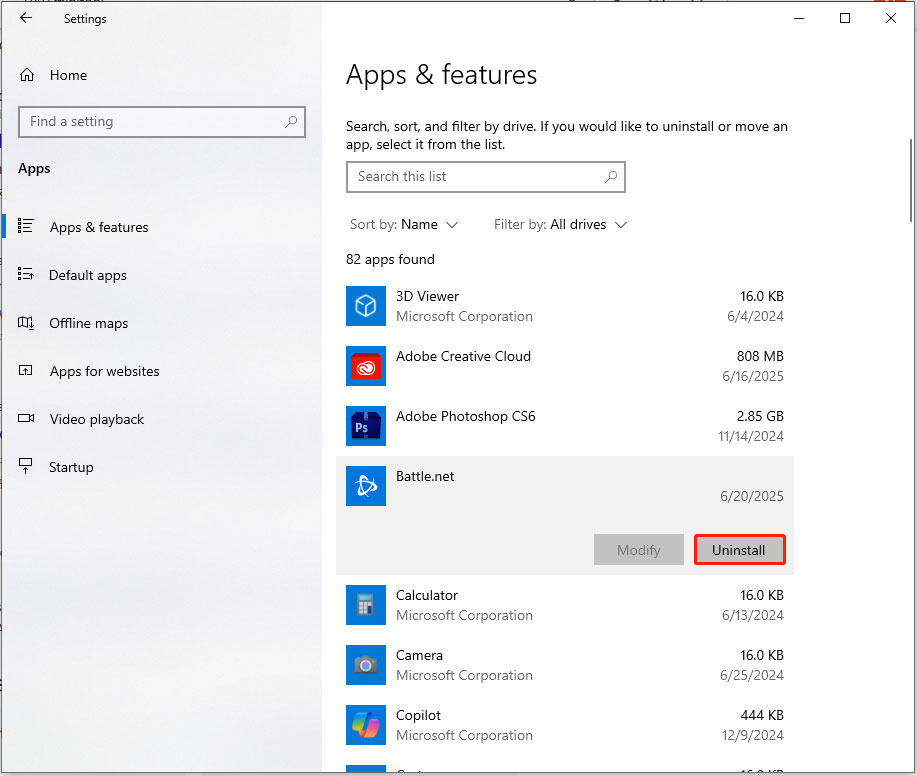
Step 3. A prompt saying “This app and its related info will be uninstalled” will pop up. If you are sure to do that, then tap Uninstall to continue.
Step 5. Follow the on-screen instructions to remove this troublesome app.
After the uninstallation, reinstall the app to see if the entry point issue is solved.
6. Perform a System Restore
System Restore works by using restore points. It is particularly useful when resolving issues caused by recent changes, such as software installations or driver updates.
With the System Restore feature, you can undo the changes without affecting your personal files and avoiding the loss of important data.
The restore points can be automatically created by the system during important events. Also, you can manually create them before major changes.
Therefore, you can check if there are restore points on your computer that existed before the problem occurred.
If so, now, let’s see how to fix entry point not found by running System Restore.
Step 1. Open Control Panel from the search bar > set View by to Large icons > select Recovery > Open System Restore.
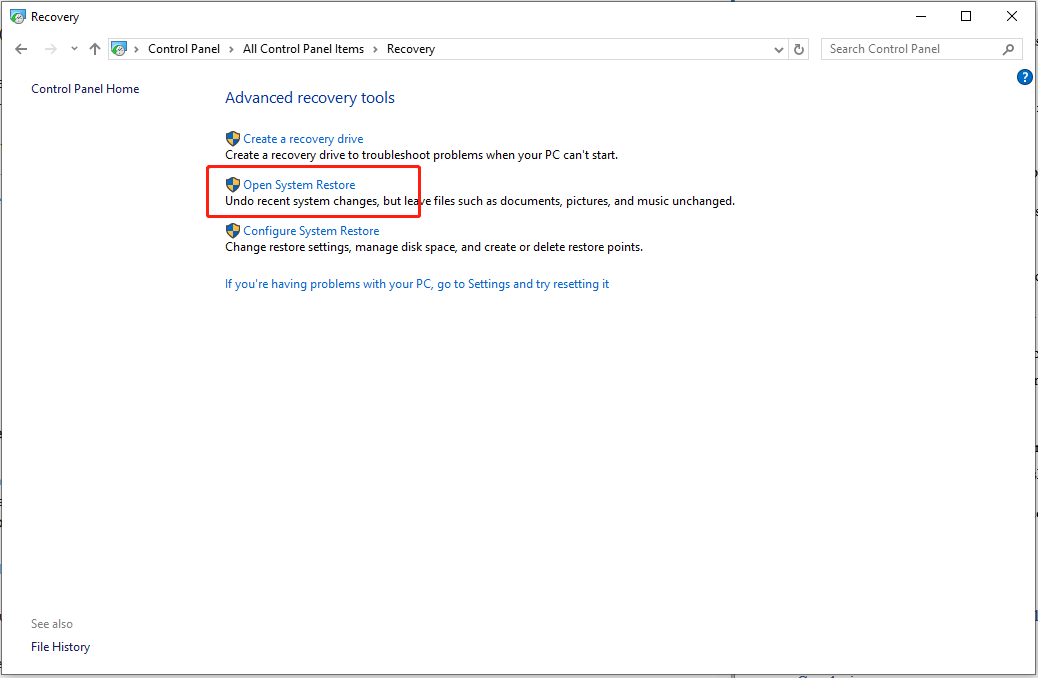
Step 2. In the Restore system files and settings box, hit Next.
Step 3. Select the restore point that you want to revert your system to and click Next.
Step 4. Once you find the proper restore point, tap on Next > Finish.
After the restore point is applied, Windows restarts automatically. You can open the problematic app again and check if the error message still pops up.
Importance: Back up Data Periodically
Data loss, corrupted DLL files, malware infection, and so forth can happen on your computer at any time. All you need to do is to take preventive measures before the accident occurs, such as making backups and creating restore points.
As for data backup and recovery, it’s highly recommended that you try a free backup software – MiniTool ShadowMaker. This tool enables you to back up files, folders, partitions, disks, or the system with a few clicks.
Thus, it will be much easier to restore your data and system in the event of severe issues in your system. In addition, you can clone an HDD to an SSD or move Windows to another drive to optimize system performance.
Now, let me show you how the backup solution works:
Step 1. Launch MiniTool ShadowMaker and hit Keep Trial to enter its main interface.
MiniTool ShadowMaker TrialClick to Download100%Clean & Safe
Step 2. Go to the Backup page > hit the SOURCE section > choose what to back up> hit OK to confirm.
Then click the DESTINATION section to pick a storage path. Here, an external hard drive or a USB flash drive is more preferred.
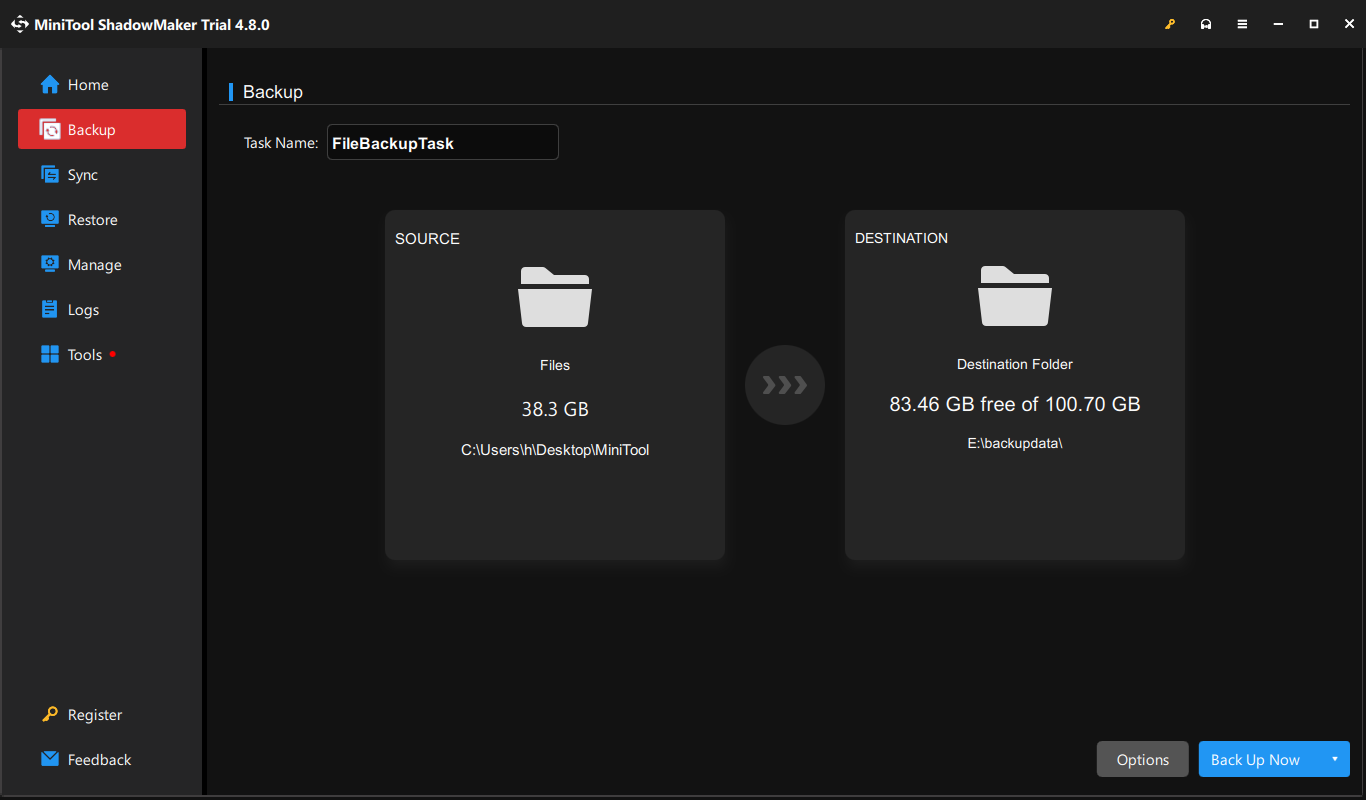
Step 3. Click on Back Up Now to start the process at once.
Conclusion
In summary, this guide helps you to get to the bottom of the entry point not found error and solve it in 6 ways. Hope you will be able to get over the annoying issue.
Do you have any suggestions about our product? Welcome to send your ideas to [email protected]. We are always looking forward to receiving your feedback!
User Comments :