If your system clogs up frequently, then it’s time to consider a KIOXIA SSD upgrade. Here comes the question, how to migrate all the contents from the old drive to the new one? In this guide from MiniTool, we will walk you through how to clone the whole disk with KIOXIA SSD clone software.
Why Do You Need a KIOXIA SSD Upgrade?
The KIOXIA solid-state drives are primarily known for their high performance, unmatched reliability, and amazing speeds. In this case, KIOXIA SSDs are ideal for those who intend to upgrade their current HDD or SSD.
Why do you need to upgrade KIOXIA SSD? There are numerous benefits to it, including:
- Better durability – SSDs have a longer lifespan and a significantly lower failure rate compared to traditional HDDs. Since there are no moving parts inside SSDs, they are less likely to wear out, enabling them to more effectively prevent data loss caused by physical wear.
- Longer battery life –SSDs can effectively extend the battery life of your computer because they consume significantly less energy during operation compared to traditional storage devices.
- Performance improvement – Compared with traditional hard disk drives, SSDs can significantly shorten the device startup time, enhance the system response speed, and reduce the loading time of applications.
KIOXIA SSD Upgrade
KIOXIA SSDs have no official cloning software. Therefore, to ensure that the data and the entire system can be safely and efficiently migrated to the new SSD, it is particularly important to choose a high-performance and user-friendly cloning tool.
In this way, it is recommended to use third-party professional software to effectively reduce the risks of data loss or failure of the new hard drive, especially when dealing with complex configurations or large-scale data processing.
Preparations Before KIOXIA SSD Upgrade
- Create backups of important files with MiniTool ShadowMaker before carrying out any hardware or software modifications.
- Prepare a SATA-to-USB adapter, an external hard drive enclosure, and screwdrivers.
- Since the cloning process might take quite a while, you need to make sure your computer or laptop is fully charged, avoiding an accidental power outage, especially for laptop users.
- Ensure the new KIOXIA SSD has enough capacity to store the data on the old disk.
After everything is prepared, it’s time to choose a piece of reliable cloning software and conduct KIOXIA hard drive replacement.
Step 1. Connect the KIOXIA SSD to your PC
In the first place, you need to connect the new KIOXIA SSD to your computer. Follow the steps:
1. Power off your computer and unplug the power cord.
2. Press and hold the Power button for a moment to drain remaining electricity.
3. Find your current hard drive and connections If you do not know where they are, please refer to the user manual of your computer.
4. Insert your KIOXIA SSD into the SSD slots on PC. There are 2 cases for you:
- If your computer only has a single drive bay, connect your KIOXIA SSD into your computer via a USB-to-SATA adapter.
- If your computer has 2 disk slots, you can use an available SATA connector and then insert the new SSD into another available slot.
5. Check all the preparations are properly set up and then power on your computer.
Step 2: Initialize the New KIOXIA SSD
An important thing you should know is the newly installed KIOXIA SSD is not usable if it has not been initialized or partitioned. To do that, you can go to Disk Management to initialize the new SSD:
1. Right-click on the Windows icon and select Disk Management in the drop-down menu.
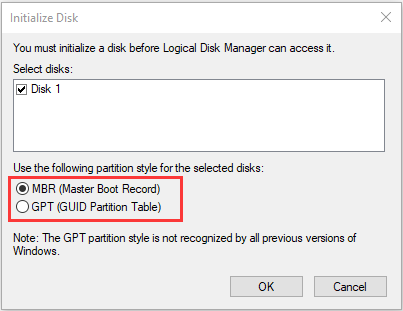
2. Usually, there will be a Initial Disk window to pop up automatically. You need to choose a partition style and tap on OK.
Step 3. Perform KIOXIA SSD Upgrade
When it comes to KIOXIA SSD cloning software, MiniTool ShadowMaker is a go-to choice for most Windows users. This PC backup software is easy to use with a user-friendly interface and guided operation.
This tool supports cloning HDD to SSD and cloning SSD to larger SSD. With its Clone Disk feature, everything on the old disk, including personal files, installed applications, customized settings, and the operating system, can be transferred to the new KIOXIA SSD. Apparently, this saves more time and effort than a fresh installation, since you can directly boot from the new disk.
Apart from that, MiniTool ShadowMaker also supports both sector by sector cloning and used sector cloning, allowing you to choose according to your situation.
Here’s how to migrate your hard drive with this KIOXIA SSD clone software:
1. Click on the button below to get MiniTool ShadowMaker Trial Edition.
MiniTool ShadowMaker TrialClick to Download100%Clean & Safe
2. After installation, open it and click Keep Trial on the lower right corner to enter its home page.
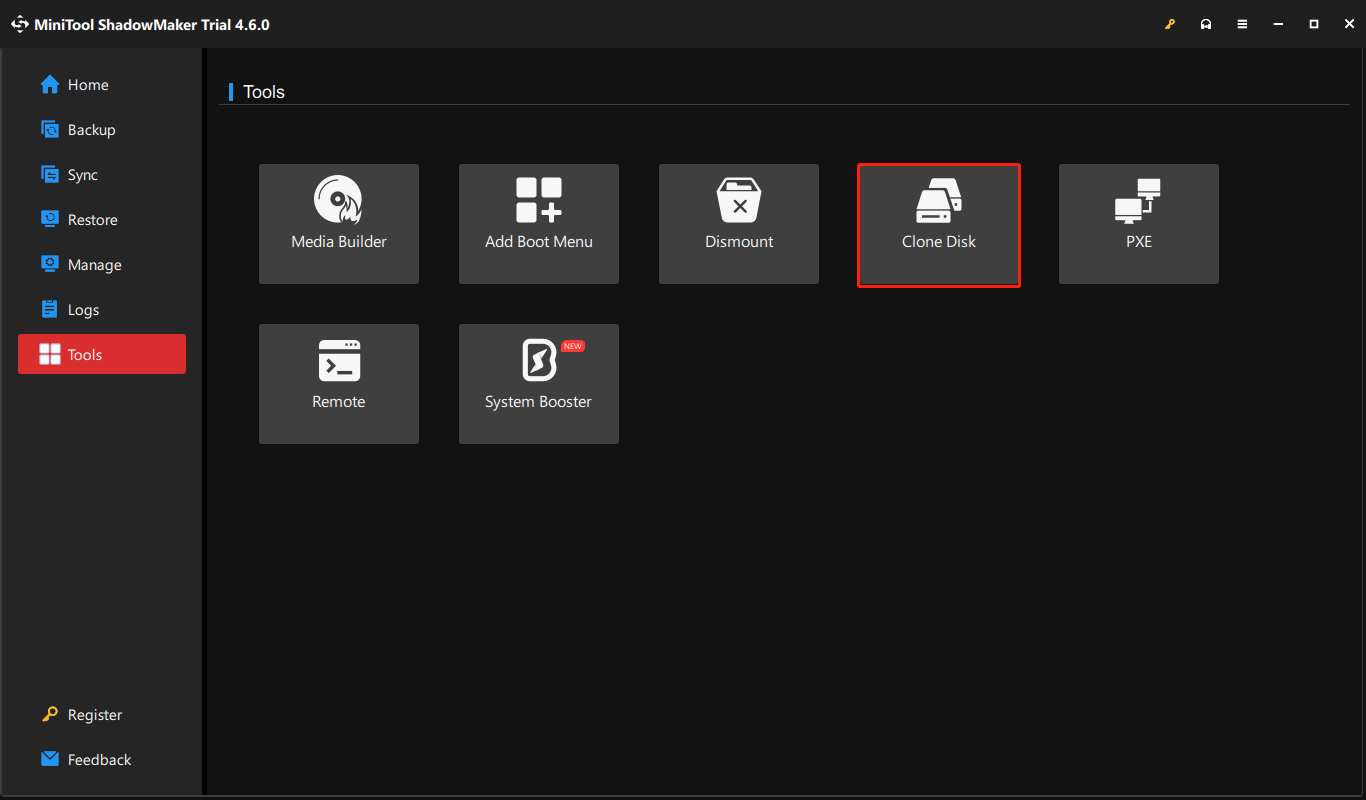
3. Select the Tools tab from the left pane and then choose the Clone Disk option.
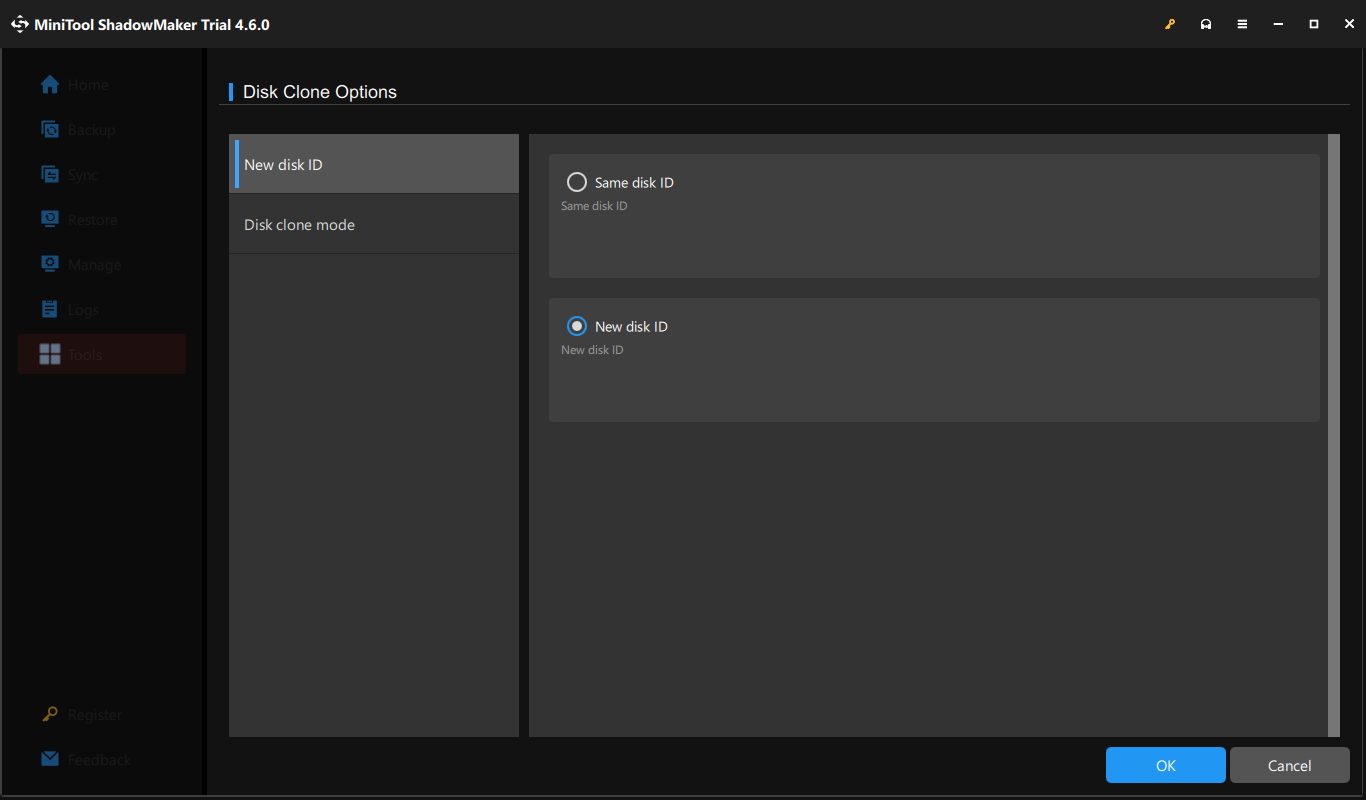
Step 4. Tap on Options in the lower left corner to modify disk parameters like disk ID for the KIOXIA SSD and disk clone mode. If you are a computer beginner, just skip this step to keep the default options.
5. Next up, it’s time to specify your source disk and target disk.
- Source disk – a system disk or a data disk. If you are cloning a system disk, you need to register the software to unlock more powerful features.
- Target disk – your new KIOXIA SSD. It’s important to know that all the data on this disk will be wiped out during the process, so make sure there’s nothing important on it.
6. Click on Start to start the process.
Step 4. Set the New KIOXIA SSD as the First Boot Device
After cloning a system disk, you can directly boot your system from the new disk. Before that, you need to set the new KIOXIA disk as the first boot device.
# Case 1: Some of your computers might only have one drive slot. Therefore, you need to manually remove the old disk and install the new disk in the slot. This also saves you some steps since you can directly boot from the new disk without changing the boot order.
# Case 2: As for computers with two slots, please refer to the following steps to change the first boot device. To do so:
1. Shut down the computer by pressing the Power button, and then turn it on.
2. Before the manufacturer logo appears on the screen, press the BIOS key repeatedly until entering the BIOS menu.
4. In the BIOS interface, locate the Boot option by hitting the Up or Down arrow key on the keyboard, and hit Enter to continue.
5. Then you can set the cloned KIOXIA SSD as the first boot device.
6. Follow the prompt to save the change and exit. Start up your computer and check if your settings are correct.
MiniTool System Booster TrialClick to Download100%Clean & Safe
Step 5: Deal with the Old Hard Drive
After the KIOXIA hard drive replacement, you may want to keep your old disk or sell it. No matter how you cope with it, you had better format and partition it. This is because disk format can prevent boot issues or conflicts with the new system.
To format and repartition your old disk, you can employ MiniTool Partition Wizard. This tool boasts many powerful features in managing your partitions on your computer, such as resizing partitions, formatting partitions, extending partitions, converting file systems, and so on. Here’s how to work with this PC manager:
1. Download, install, and launch MiniTool Partition Wizard.
MiniTool Partition Wizard FreeClick to Download100%Clean & Safe
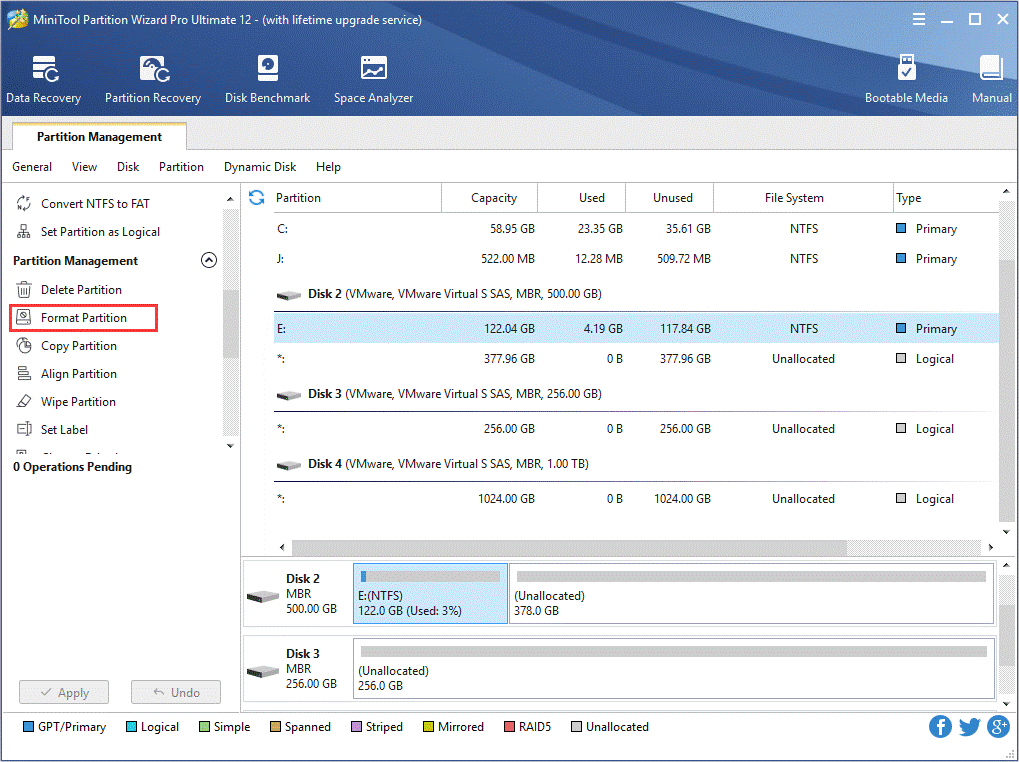
2. In the right-hand pane, right-click on the partition you want to format and select Format Partition.
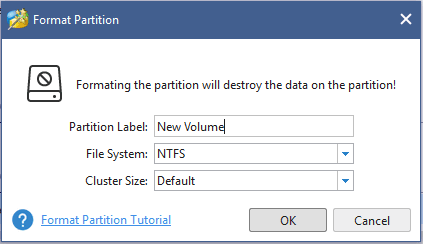
3. Enter the Partition Label, File System, and Cluster Size. Then you can preview the settings and hit Apply to begin the process.
4. When finished, right-click on the unallocated space and choose Create from the drop-down menu.
5. Check the following parameters:
- Partition Label
- Partition Type
- Drive Letter
- File System
- Cluster Size
- Partition Volume
- Partition Location
- Partition Alignment Method
6. Click on Apply confirm these changes.
Final Words
This guide acquaints you with the steps of KIOXIA SSD upgrade. No matter you’re replacing with a faster SSD or upgrading to a larger drive, MiniTool ShadowMaker ensures that all your data, settings, applications, and operating system can be seamlessly migrated.
The best thing is that this program simplifies the cloning process, allowing you to effortlessly clone your drive without requiring extensive computer knowledge.
MiniTool ShadowMaker TrialClick to Download100%Clean & Safe
If you have any constructive advice for our product, you can contact our support team directly via [email protected]. We will appreciate your feedback!
KIOXIA SSD Upgrade FAQ
2. High Reliability: With no moving mechanical parts, KIOXIA SSDs minimize the risk of hardware failure.
3. Energy Efficiency: KIOXIA SSDs consume considerably less power than HDDs, contributing to improved energy savings.
Most computers and some laptops allow for the replacement or addition of a larger-capacity SSD, while the SSDs in MacBooks or mobile devices may be soldered onto the motherboard and cannot be upgraded. If internal an upgrade is not possible, an external SSD is also a solution.
However, if the performance bottleneck of your computer lies in the CPU or memory, upgrading only the SSD will have a limited effect.
As a result, the computer runs slowly, with decreased read and write performance, program lagging, and even crashes. Being in a full state for a long time will also accelerate the wear of the SSD and shorten its lifespan.
User Comments :