Kernel PnP Event ID 411
Kernal PnP (also known as Kernel Plug and Play) is a Windows inbuilt technology that interacts with drivers & components to manage, configure, and maintain devices. Sometimes, when you encounter some connection issues you might receive Kernel-PnP Event ID 411 in Event Viewer.
Kernel-PnP Event ID 411 indicates that the device driver fails to load during the Plug and Play process. After that, you might suffer from internet connection issues, USB ports not working or Blue Screen of Death. In the following part, we will show you how to fix Kernel-PnP Event ID 411 Windows 10/11 step by step.

How to Fix Kernel-PnP Event ID 411 on Windows 10/11?
Fix 1: Perform a Clean Boot
Performing a clean boot can help to exclude the interference of third-party applications or services. To do so:
Step 1. Press Win + R altogether to open the Run box.
Step 2. Type msconfig and hit OK to open System Configuration.
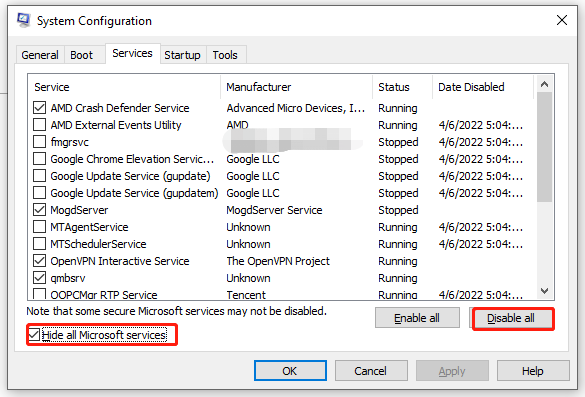
Step 3. Under the Services tab, tick Hide all Microsoft Services and hit Disable all.
Step 4. Under the Startup tab, hit Open Task Manager.
Step 5. Right-click on each enabled item and choose Disable.
Step 6. Quit Task Manager and hit Apply & OK in System Configuration.
Step 7. Reboot your computer.
If Kernel-PnP Event ID 411 disappears in the clean boot system, you need to uninstall the suspicious applications or services.
Fix 2: Run SFC & DISM
Another cause for Kernel-PnP Event ID 411 might be faulty system files. If this is the case, you can run the combination of SFC and DISM to fix the corrupted system files.
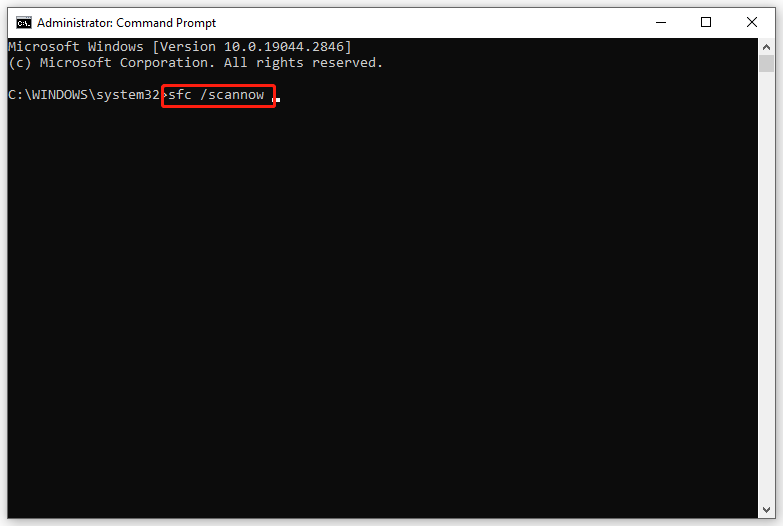
Step 1. Type cmd in the search bar to locate Command Prompt.
Step 2. Right-click on it to choose Run as administrator.
Step 3. Type sfc /scannow and hit Enter.
Step 4. After the scanning is done, run the following commands one after another:
dism /online /cleanup-image /scanhealth
dism /online /cleanup-image /checkhealth
dism /online /cleanup-image /restorehealth
Step 5. Reboot your system.
Fix 3: Disable Fast Startup
Fast Startup allows Windows to startup quicker but it is also known to trigger many issues. Therefore, check if this utility is enabled. If so, try disabling it.
Step 1. Type control panel in the search bar and hit Enter.
Step 2. Click on the inverted triangle icon beside View by and select Large icons.
Step 3. Go to Power Options > Choose what the power buttons do > Change settings that are currently available.
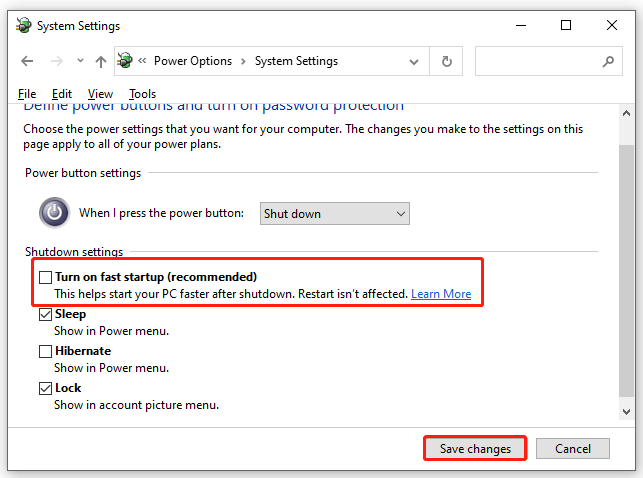
Step 4. Uncheck Turn on fast startup and hit Save changes.
Fix 4: Check for Updates
The latest Windows update might fix most glitches in the former version and contain some powerful features. Thus, updating your Windows to the latest version can help to get rid of error Kernel-PnP Event ID 411.
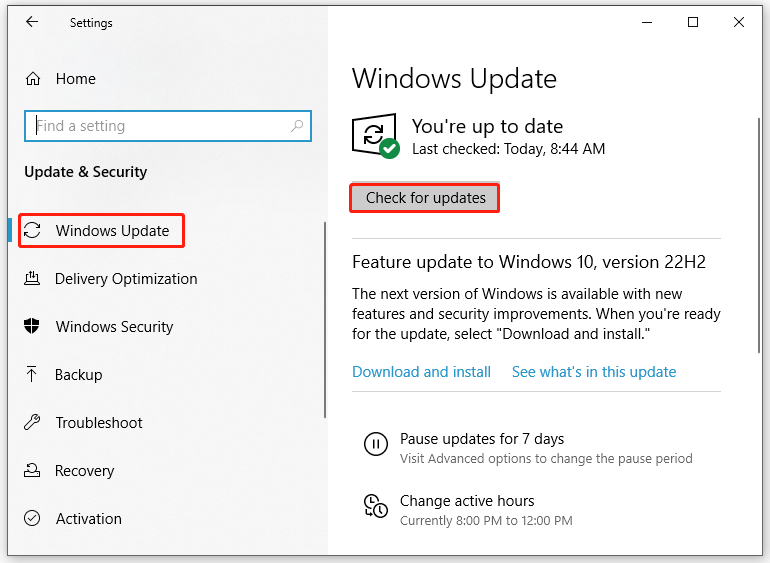
Step 1. Press Win + I to open Windows Settings.
Step 2. Go to Update & Security > Windows Update > Check for updates.
Fix 5: Place an In-place Upgrade
If everything fails to solve Kernel-PnP Event ID 411, you can try performing an in-place upgrade. Although your data will probably not be erased during the process, you still need to back up your data as a precaution.
Move 1: Back up Your Files
Step 1. Download and install MiniTool ShadowMaker.
MiniTool ShadowMaker TrialClick to Download100%Clean & Safe
Step 2. Click on Keep Trial and go to the Backup page.
Step 3. In this page, you can go to SOURCE > Folders and Files to choose the files you want to secure. As for choosing a storage path for the backup image, go to DESTINATION.
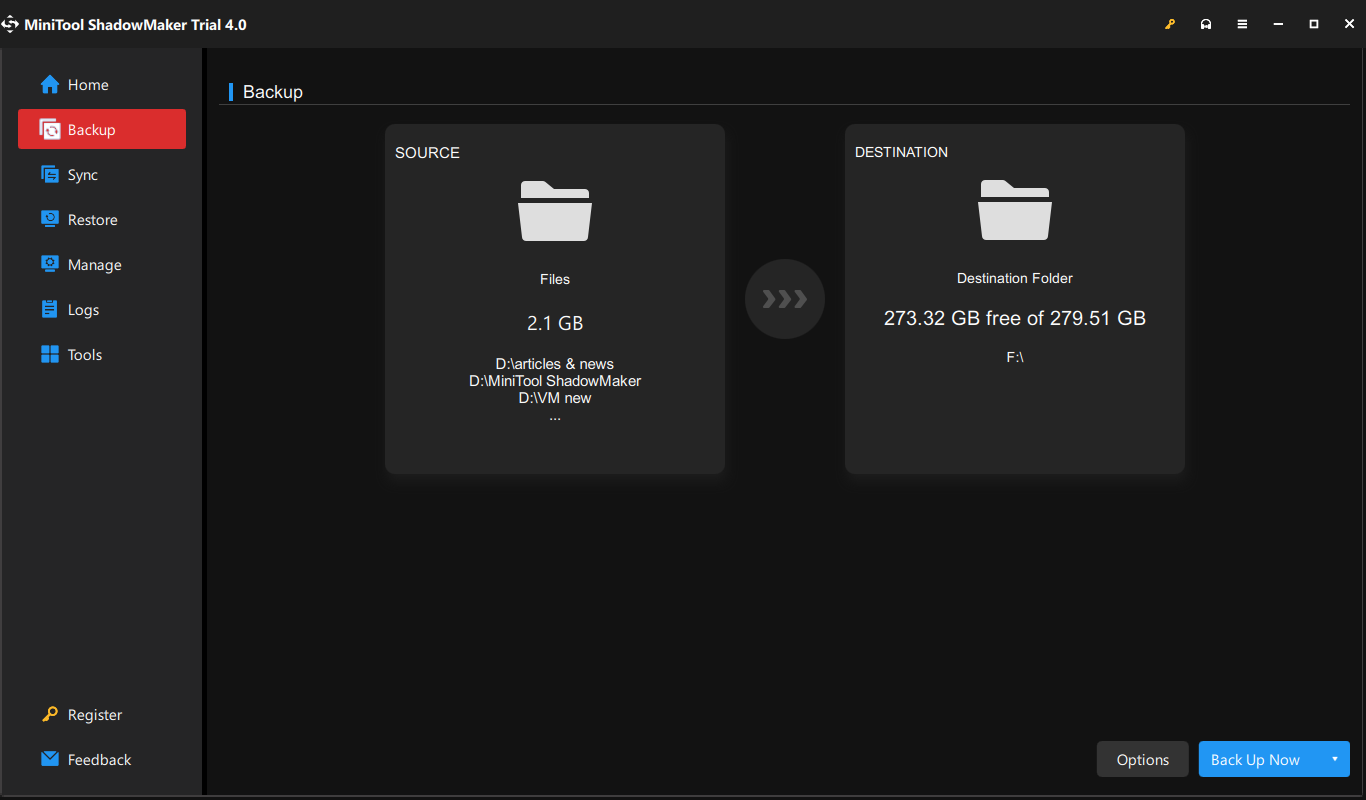
Step 4. Click on Back Up Now to start the backup task immediately.
Move 2: Perform an In-Place Upgrade
Step 1. Go to the Microsoft’s Software Download page and choose the Windows version.
Step 2. Click on Download now to download Windows 10/11 Installation Media.
Step 3. After downloading it, run the setup file and choose Upgrade this PC now to perform an in-place upgrade.
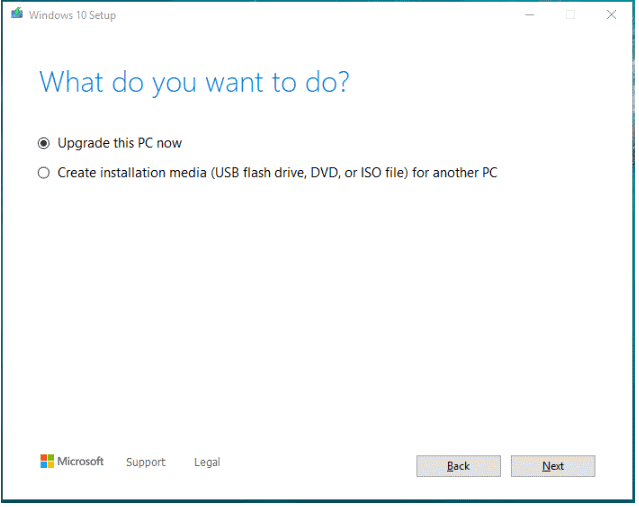
Step 4. Click on Next and then follow the on-screen instructions to complete the process.

User Comments :