Windows update error code is one of the most commonly encountered Windows issues. Targeting this “Windows update encountered an unknown error”, this article on MiniTool Website has delivered a series of solutions to get rid of the error code 800700C1. If you are struggling with this issue, please read this post.
What Is the Windows Update Error 800700C1?
When you try to update Windows but the Windows installation failed for some reasons, you may receive the error code 800700C1. This error can be triggered by multiple reasons.
For example, corrupted system files that are related to Windows Update can make the error 800700C1. A weak Internet connection can interrupt the Windows update service. If your computer is infected with viruses or malware, Windows update error 800700C1 can happen.
Then please follow the next moves to get rid of the error code 800700C1.
How to Fix the Error 800700C1?
Before you try the following methods, you can follow some easy tips to check if that work.
- Restart your Windows computer.
- Try to temporarily disable your antivirus.
- Check your Internet connection.
Method 1: Run Windows Update Troubleshooter
To check and fix your Windows Update service, you can follow the next steps to run the Windows Update troubleshooter.
Step 1: Open Settings by pressing Win + I and go to Update & Security > Troubleshoot.
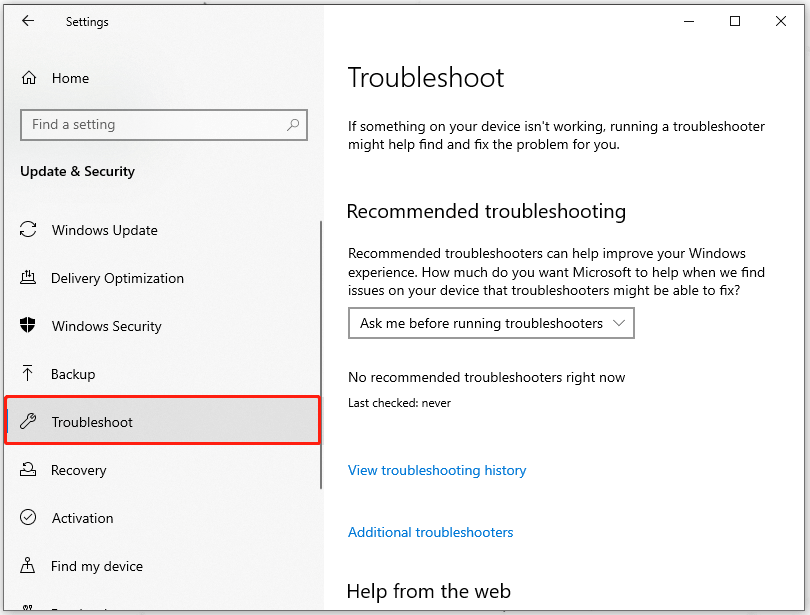
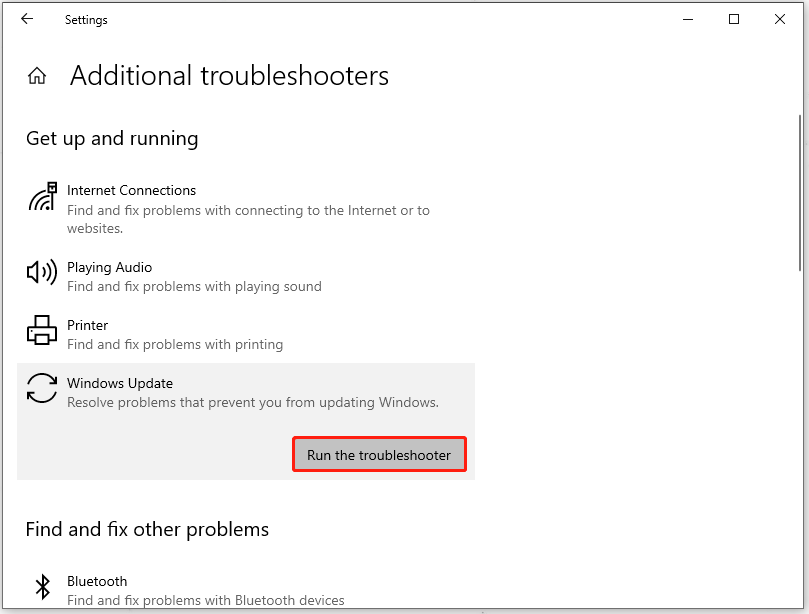
Step 2: Click Additional troubleshooters from the right panel and then choose Windows Update to click Run the troubleshooter.
Follow the onscreen process to complete and when it finishes, please check if the error occurs again.

Method 2: Run SFC and DISM Scans
In case damaged system files stop the normal functioning of the Windows Update feature, you can run SFC and DISM scans to check and fix the issues.
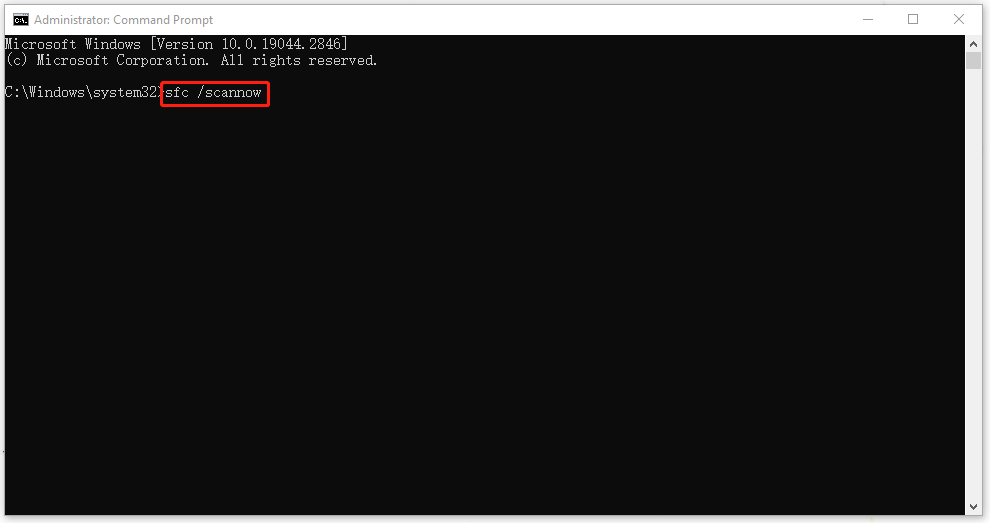
Step 1: Input cmd in Search and run Command Prompt as an administrator.
Step 2: When the window pops up, input sfc /scannow and press Enter to execute the command.
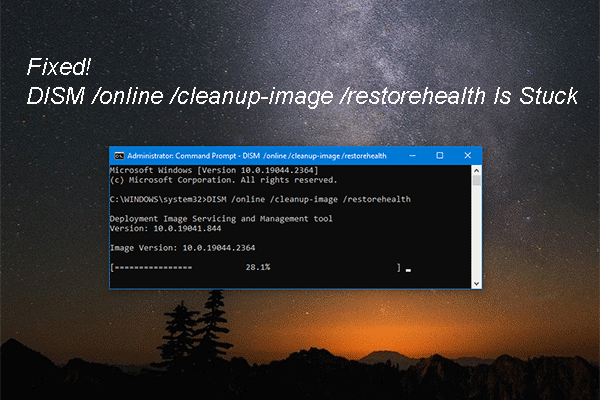
Step 3: Once it completes, copy and paste this command and press Enter to restore the corruptions.
DISM /Online /Cleanup-Image /RestoreHealth
After all of that finishes, restart your computer and check the error.
Method 3: Configure Windows Installer Service
Go to check and change the startup type of the Windows Installer service and see if this method can resolve your issue.
Step 1: Open Run by pressing Win + R and type regedit to enter Registry Editor.
Step 2: Then please follow the next path to find the right location.
HKEY_LOCAL_MACHINE\SYSTEM\CurrentControlSet\Services\msiserver
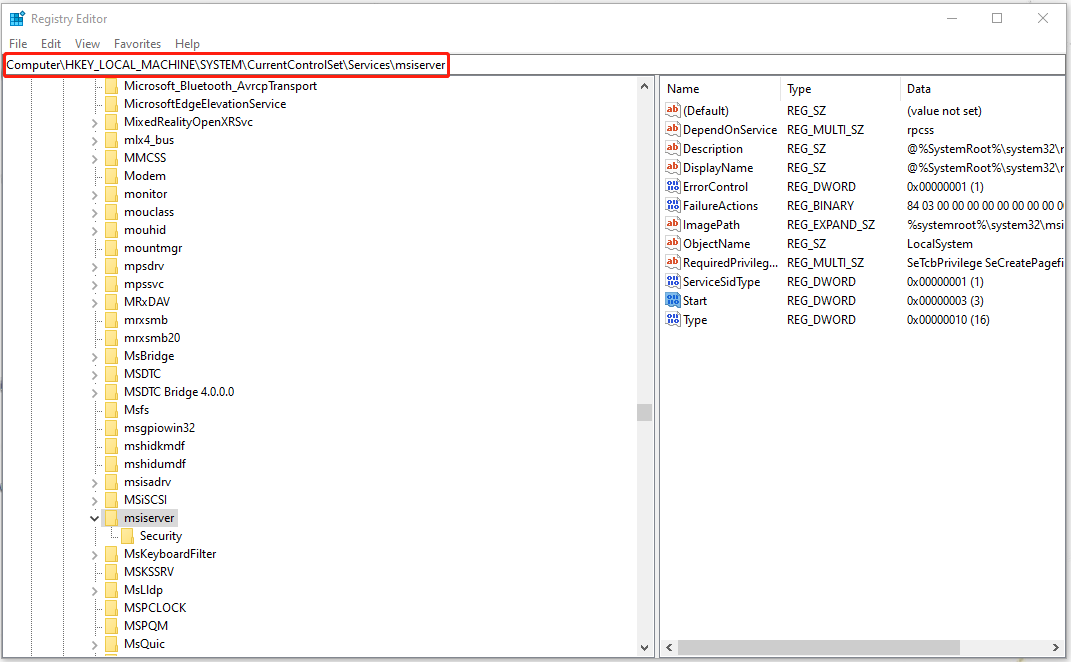
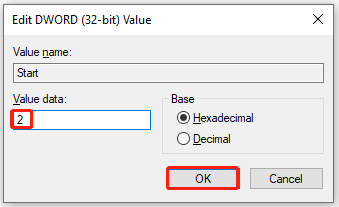
Step 3: From the right panel, locate and right-click on the Start option to choose Modify…. Then change the Value data to 2 and click OK to save the changes.
Method 4: Delete the Temporary Windows Update Files
Another possible culprit is your corrupted Windows Update files. To fix this issue, you can delete all the temporary Windows Update items presented in the Downloads folder located inside the SoftwareDistribution folder.
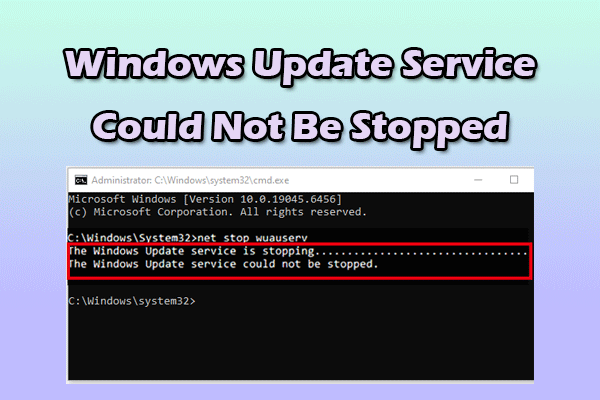
Step 1: Open Services and locate and right-click on Windows Update.
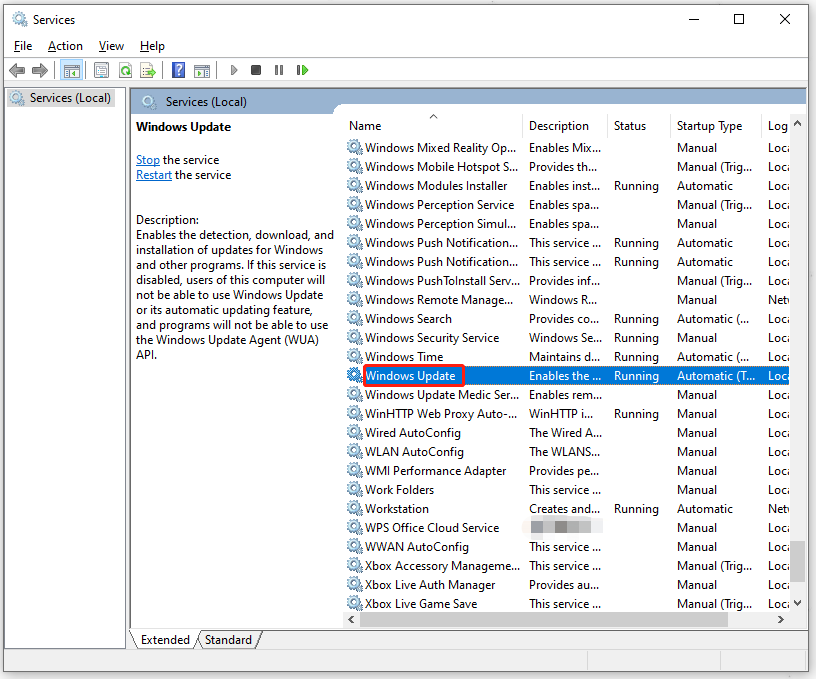
Step 2: Choose Stop from the drop-down menu and close the window.
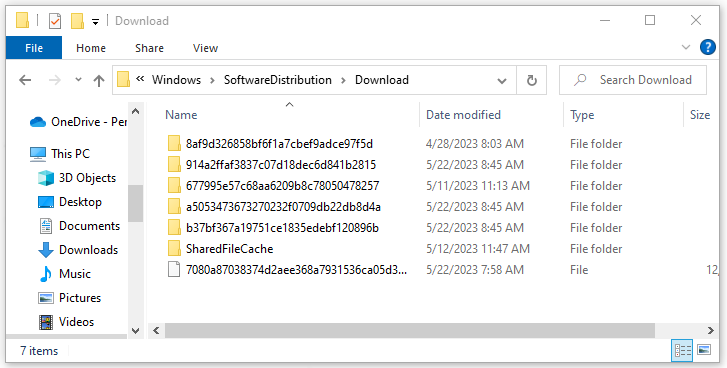
Step 3: Open File Explorer and access C drive to open the Windows folder and then SoftwareDistribution folder.
Step 4: Open the Downloads folder and delete all available files and folders in it.
Step 5: Reopen Services to start the Windows Update service.
After that, you can try Windows Update again to check if the error happens.
Method 5: Use System Restore
If all the above methods can’t resolve your issue, you can try to restore your system to the normal state by using the system restore point you have created in advance.
If you have never prepared a restore point for your system, you may jump to the next move.
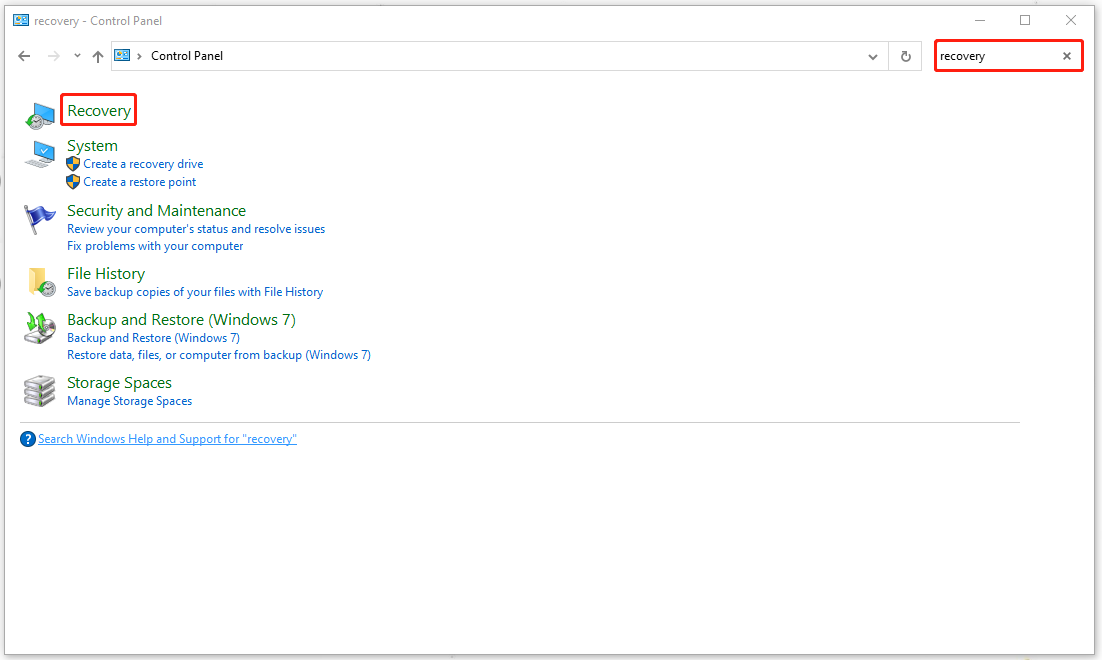
Step 1: Input Control Panel in Search and open the program.
Step 2: In the window, input recovery in the Search box and click Recovery from the results.
Step 3: Then click Open System Restore.
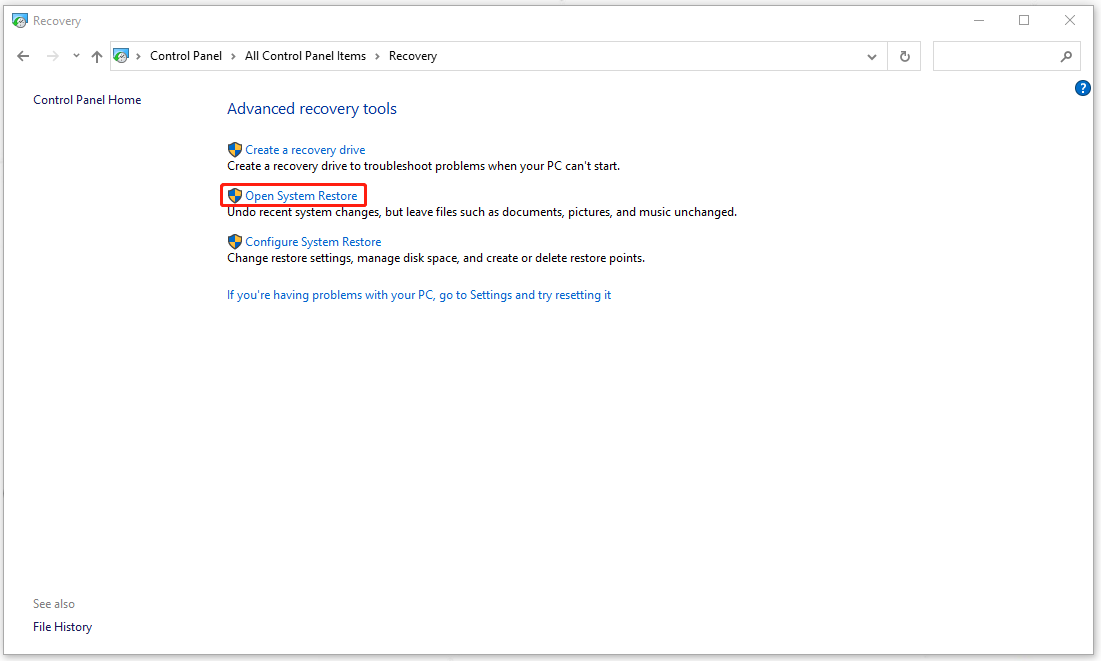
When a window pops up, please click Next. Choose the restore point and then select Next > Finish.
Method 6: Reset Your Computer
If your computer is still stuck in the error 800700C1, you can try to reset your computer.
Step 1: Go to Start > Settings > Update & Security > Recovery.
Step 2: Under Reset this PC, choose Get started.
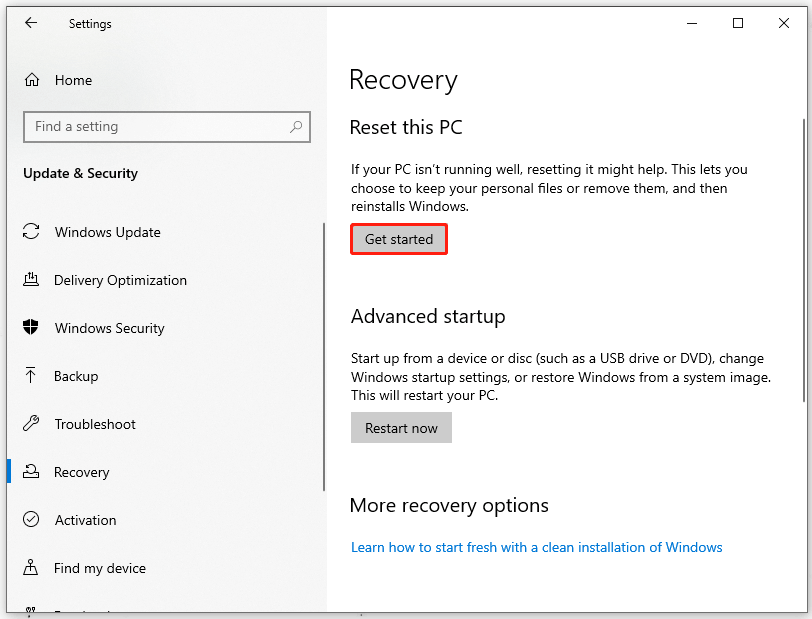
Then please follow the on-screen instructions to finish the work.
Protect Your Data Before Windows Update
Why do you need to prepare a data backup before you perform a Windows Update?
By default, all your files and data will transfer when you attempt to update Windows but accidents can happen once you meet the update failure. We find some users reported that they encountered data loss when Windows update errors happen.
So, it is highly recommended to back up your important data before you start the Windows update. This trustworthy backup tool – MiniTool ShadowMaker can meet all your backup demands.
For example, you can perform a scheduled backup and choose your backup schemes. Besides, NAS backup and remote backup are also available. Multiple backup sources and destinations are provided to choose from.
More features and options wait for your try! Download and install the program to enjoy a 30-day free trial version.
MiniTool ShadowMaker TrialClick to Download100%Clean & Safe
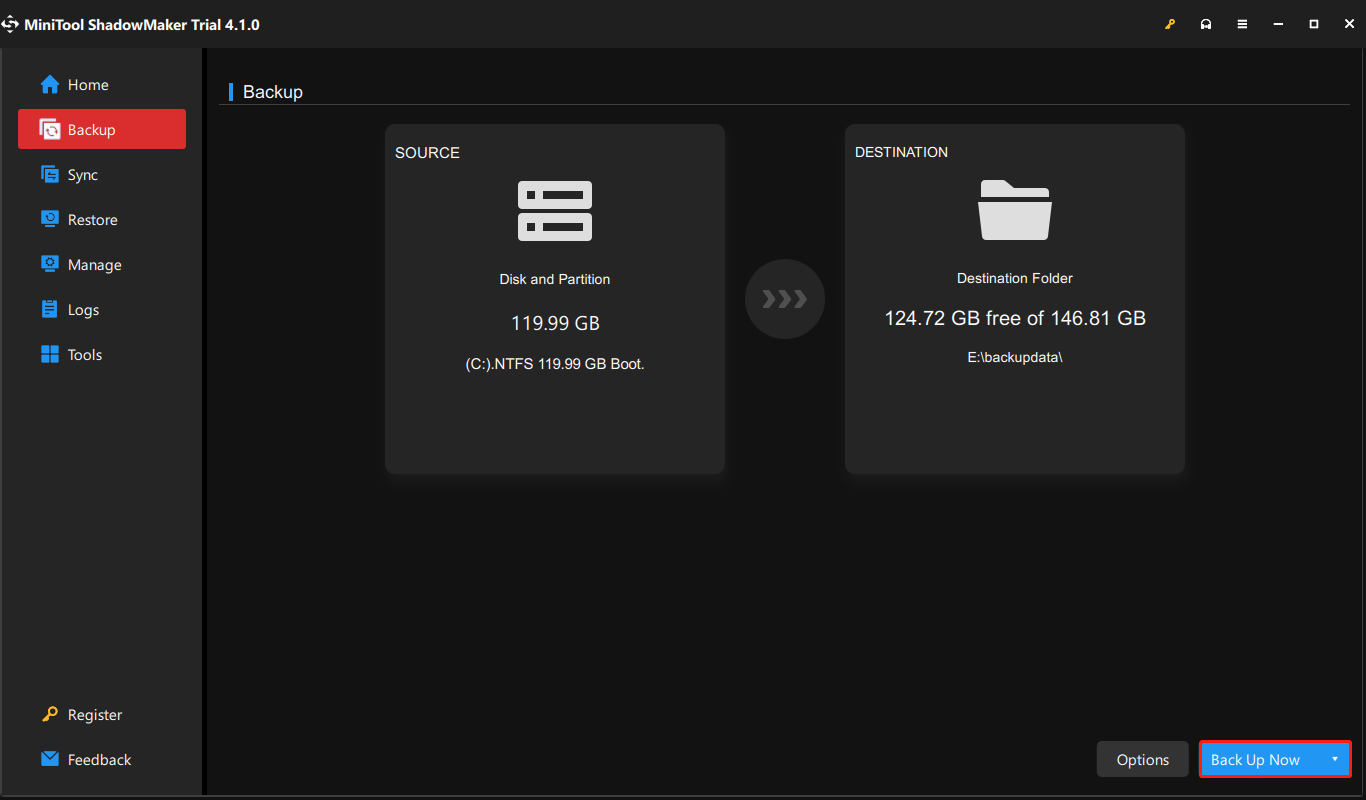
Step 1: Open the program and click Keep Trial.
Step 2: In the Backup tab, you can choose systems, folders & files, and partitions & disks as your backup source; the backup destinations include User, Computer, Libraries, and Shared.
Step 3: When you set all of that, you can click Back Up Now to execute the task.
This article has shown you some methods to get rid of the Windows update error code 800700C1. If you like this post, you can share it on Twitter.
Bottom Line:
To fix the Windows update error code 800700C1, you just need to follow the above methods and in most cases, your Windows update issue can be fixed.
If you have any other questions about this issue, you can leave your message below or contact us via [email protected]. Hope this article can resolve your issue.
User Comments :