Windows Error Recovery Windows 7
Although Microsoft has ended the support of Windows 7 since January 14, 2020, there are still many users running Windows 7 on their PCs since its ease of use and reliability.
But, Windows boot problems always occur no matter which operating system you are using (Windows 7, 8, or 10). During the startup of the Windows operating system, a blue screen or black screen appears along with an error message. Today, we will discuss a Windows 7 black screen error – Windows error recovery.
When booting up Windows 7, the Windows error recovery screen comes out of the blue and you see an error message “Windows failed to start. A recent hardware or software change might be the cause”, as shown below. Sometimes, you get another interface of Windows error recovery with different options.
The reasons behind this error are various, such as a recent hardware or software change, damaged system files, missing or corrupted Boot Configuration Data (BCD), compromised file system integrity, etc. When you come across the issue, how can you fix it?
You can get some solutions from the screen: use an installation disc to repair your computer in WinRE, or perform Startup Repair and start Windows normally by using the arrow keys.
So, you can follow the suggestions of Windows. If these simple tips couldn’t help, some other solutions are described here.

How to Fix Windows Error Recovery Loop
Method 1: Choose Start Windows Normally
When seeing the Windows 7 error recovery interface, the first thing you can do is to use the arrow keys to choose Start Windows Normally. Sometimes this can let your Windows boot to the desktop normally. Just have a try. If this won’t help, try other ways.
Method 2: Remove Recently Added Hardware
On the Windows error recovery screen, you know a recent hardware change may be the reason behind the system error. The hardware change may generate Windows instability problems, making your laptop like HP, Dell, Toshiba, etc. fail to reboot.
In this case, we strongly recommend removing recently added hardware.
The following are the instructions:
Step 1: Turn off your laptop, remove the battery and unplug the power cord.
Step 2: Disconnect all the newly added peripherals including a printer, webcam, zip drive, scanner, network cable, and other devices. Leave only the keyboard, monitor cable and mouse attached.
Step 3: Press and hold the power button for 5 seconds and release it.
Step 4: Put the battery back to the laptop and reconnect the power cord.
Step 5: Turn on the laptop and see if Windows error recovery still appears. If yes, go to the next solution to troubleshoot.
Method 3: Boot into Last Known Good Configuration
In Windows 7, there is a feature called Last Known Good Configuration, also known as LKGC. You can boot your PC to this mode if you are having trouble starting the system normally. Last Known Good Configure can load a previous configuration in Windows (including drivers, registry data, etc.) that was working properly.
Step 1: Restart your computer.
Step 2: Repeatedly press the F8 key until you see the Advanced Boot Options window.
Step 3: Select Last Known Good Configuration (advanced) and press Enter.
After the process finishes, your PC will boot to the desktop properly. However, if Windows fails to start twice in a row, you need to move to the next solution.
Method 4: Perform Startup Repair
When experiencing Windows error recovery during the startup of Windows 7, one solution given by the black screen is to perform Startup Repair (also known as Automatic Repair in older versions of Windows). It can scan your system and attempt to fix damaged or missing system files.
In the error recovery screen, sometimes you may have two options and one of them is Launch Startup Repair (recommended), as shown in the following figure.
Just use the arrow keys to highlight this option and press Enter on your keyboard to run Startup Repair. But if you cannot see this option (just like the first picture), how can you do this job? An installation disc is helpful.
Step 1: Go to download an ISO file of Windows 7 online and then create an installation disc with a USB drive or DVD.
Step 2: Insert this disc and restart your computer. Note that you should change the BIOS settings so that the disc is the first boot order.
Step 3: Choose your language, keyboard, and time settings, click Next.
Step 4: In the pop-up window, click Repair your computer.
Step 5: Choose your system to repair.
Step 6: You will get the following interface. Click Startup Repair to automatically fix problems that are stopping Windows from starting.
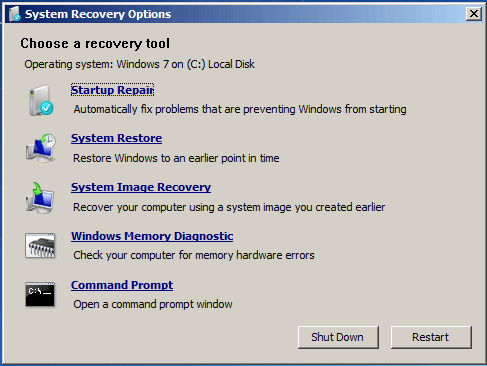
Then, the repair process starts. This may take 15 to 45 minutes to complete, so wait patiently. Also, it may require the system to restart.
If you get the error message saying “Startup Repair cannot repair this computer automatically”, you need to go to the next method to fix the Windows error recovery issue.
Method 5: Run System Restore to Fix Windows Error Recovery Safe Mode
If there is a restore point created by you on the computer, you can use it to take your PC back to the settings that previously worked.
When getting the Windows error recovery issue, you can directly choose Safe Mode, Safe Mode with Networking or Safe Mode with Command Prompt from the computer screen if you see these options. If you cannot see it, go to Safe Mode by following these steps.
Step 1: Reboot your computer.
Step 2: Press F8 to enter the Advanced Boot Options window.
Step 3: Select Safe Mode with Command Prompt by using the arrow keys.
Step 4: After the Command Prompt opens, type rstrui and press Enter to open the System Restore window.
Step 5: Choose a restore point from the list and click Next.
Step 6: Click Finish and the restore process will start. After that, the Windows error recovery issue should be fixed.
Method 6: Rebuild BCD
Missing or corruption of BCD files can cause Windows error recovery Windows failed to start. To get rid of the error screen, you can use bootrec.exe to rebuild BCD in Command Prompt (CMD).
You can go to Safe Mode to open Command Prompt or use an installation disc to enter the CMD window. These two ways are described in the above contents. Then, in CMD, type these commands and press Enter after each command.
bootrec.exe /fixmbr
bootrec.exe /fixboot
bootrec.exe /rebuildbcd
Method 7: Run CHKDSK
If the file system gets corrupted, the Windows 7 error recovery issue may appear. So, you should perform a disk check using CHKDSK to fix file system errors and solve your problem/
Also, open Command Prompt, type chkdsk C: /f /x /r and press Enter. After the process is finished, restart your computer and see if Windows error recovery is disappeared.
Method 8: Reinstall Windows 7
If all of these solutions above fail to fix Windows error recovery and your Windows still fails to start, what should you do? The last resort is reinstalling the operating system.
Back up Files
How can you back up files when Windows fails to boot? MiniTool ShadowMaker, a piece of professional PC backup software, is designed to back up your files via imaging and sync.
It allows you to create a bootable USB drive, boot the PC and perform the backup operation in WinPE when Windows cannot boot. Just get MiniTool ShadowMaker from the download button.
MiniTool ShadowMaker TrialClick to Download100%Clean & Safe
Step 1: On a normal PC, run MiniTool ShadowMaker and go to the Tools tab.
Step 2: Click Media Builder and follow the on-screen to finish the bootable drive creation.
Step 3: Insert the drive to your PC with Windows error recovery, reboot the PC from this drive and enter the MiniTool Recovery Environment.
Related articles:
- How to Build Boot CD/DVD Discs and Boot Flash Drive with Bootable Media Builder?
- How to Boot from Burned MiniTool Bootable CD/DVD Discs or USB Flash Drive?
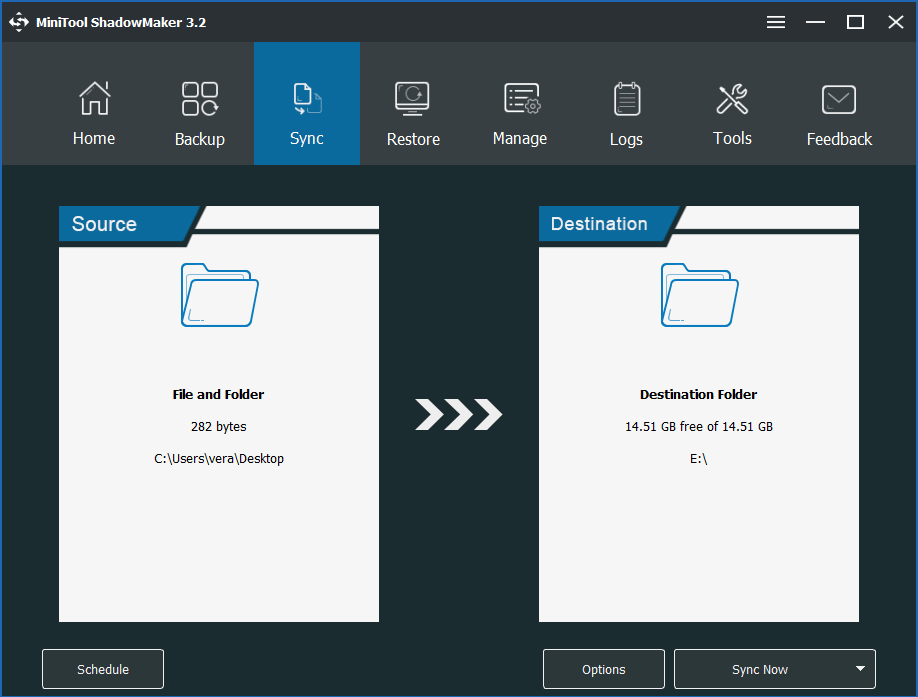
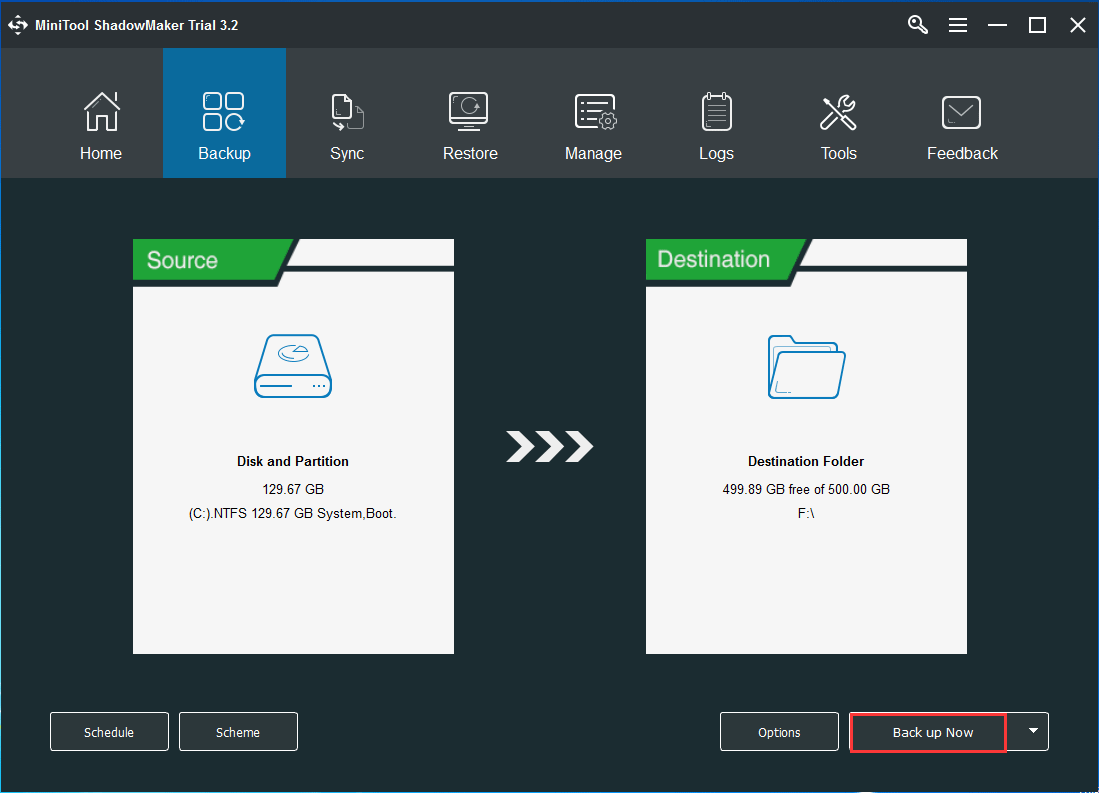
Step 4: Launch MiniTool ShadowMaker and go to the Backup or Sync tab.
Step 5: Choose files on the desktop as the backup source and select a destination.
Step 6: Click Back up Now or Sync Now to execute the backup task.
Clean Install
After finishing the backup, now you can follow the guide to perform a clean install of Windows 7 to fix Windows error recovery.
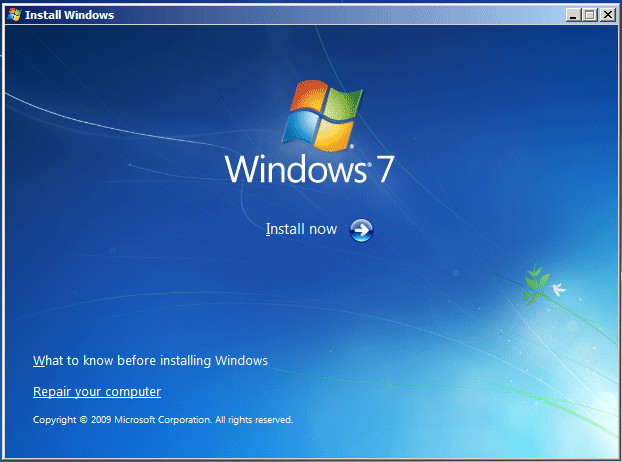
Step 1: Boot your computer from the installation disc that you have prepared.
Step 2: After choosing the language, time and keyboard, click Install now to start the system reinstallation.
Step 3: Accept the license terms and choose Custom (advanced).
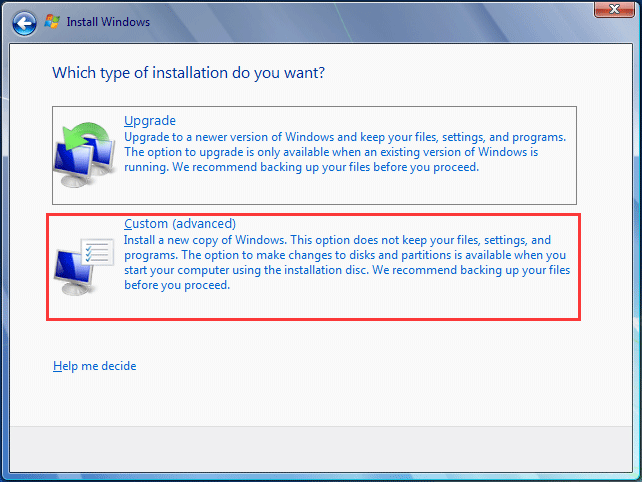
Step 4: Decide where to install Windows and then the setup tool will start installing Windows.
Suggestion: Back up Windows Operating System
Now, you should have resolved the Windows error recovery issue that happens in Windows 7 PCs. To restore your PC to a normal state instead of spending much time fixing the problem when it appears next, creating a system image is recommendable.
To do this work, MiniTool ShadowMaker can be also helpful. It can be used to back up Windows operating system, files & folders, disks and partitions in Windows 7/8/10. By default, system backup is selected.
MiniTool ShadowMaker TrialClick to Download100%Clean & Safe
Step 1: Launch MiniTool ShadowMaker.
Step 2: Go to the Backup page, system-related partitions are selected and you can go to Destination to choose a destination.
Step 3: Execute this backup task by clicking Back up Now.
Bottom Line
Are you bothered by Windows error recovery while you start up your Windows 7? Now, try these solutions mentioned above and you can easily get out of the trouble. Also, a suggestion is introduced.
Besides, if you have any methods to fix the Windows 7 error recovery issue, you can tell us by leaving a comment below or contacting [email protected]. Also, any questions during using MiniTool Software are also appreciated.
Windows Error Recovery FAQ
- Choose Start Windows Normally
- Remove recently added hardware
- Boot into Last Known Good Configuration
- Run Startup Repair
- Rebuild BCD
- Run CHKDSK
- Reinstall Windows
- Rebuild BCD
- Run CHKDSK
- Perform a system restore
- Delete the problematic file
- Disable Automatic Startup Repair
- Restore Windows Registry
- Check device partition and osdevice partition
- Reset this PC
About The Author

Position: Columnist
Vera has been working at the MiniTool Team for over 10 years as a technical editor and content writer. She mainly focuses on disk and partition management, data recovery, Windows backup and restore, and PC troubleshooting. Through in-depth software testing and hands-on experience, she has helped users solve a wide range of computer problems and better protect their data on Windows devices.
User Comments :