This post discussed by MiniTool includes two parts. On the one hand, it teaches you solutions for how to open Windows 11 System Configuration app ordered by easiness. On the other hand, this essay offers you several ways to check your system information/specs.
How to Get to Msconfig in Windows 11?
The following will provide multiple methods for getting access to MSConfig (system configuration) in Windows 11.
#1 Open Windows 11 System Configuration Through Search
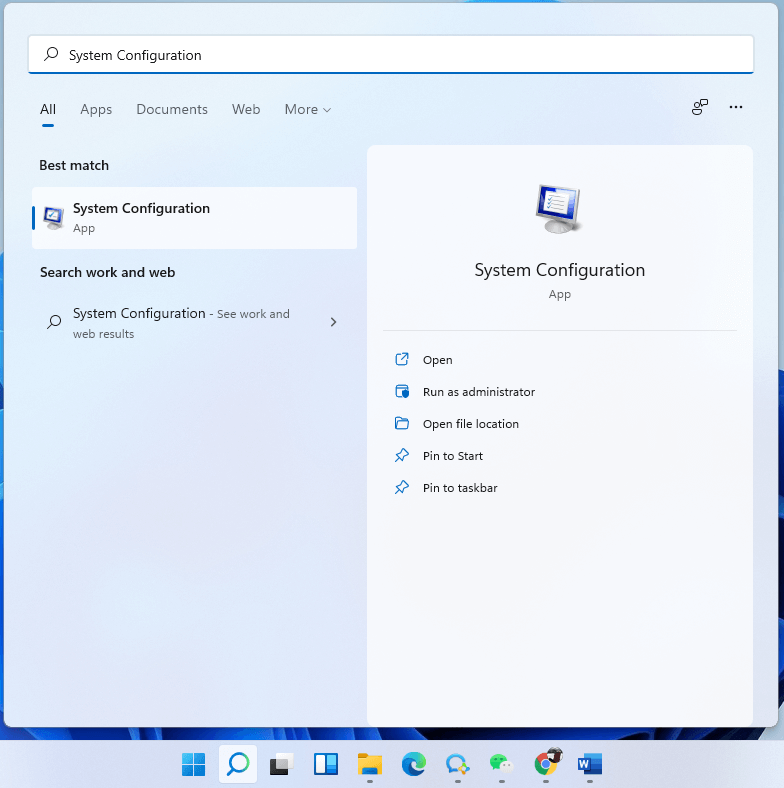
First of all, you can launch the System Configuration application in Windows 11 by searching. Generally, type “system configuration” or “msconfig” in Windows Search and click the result (or click the Open option) to start the app. If you want to open an elevated version, just select Run as administrator.
#2 Launch System Configuration Windows 11 with Windows Run
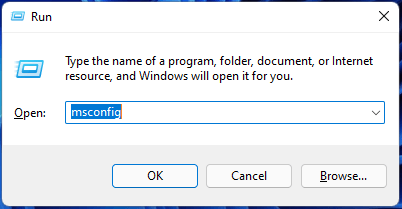
Secondly, you can start System Configuration relying on the Run box. Open Windows 11 Run dialog, input “msconfig” and press Enter key or click OK.
#3 Start Windows 11 System Configuration Within CMD
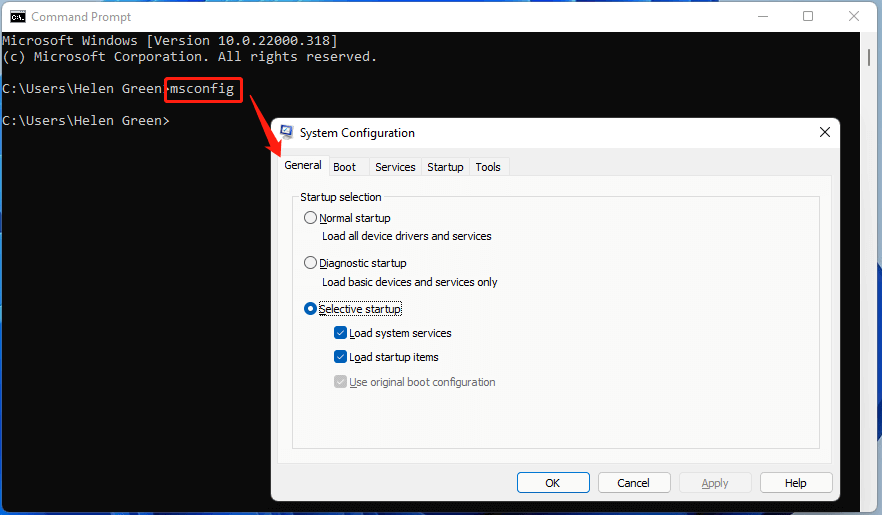
Thirdly, you are able to trigger the System Configuration program with the help of a command prompt (CMD). Launch CMD in Win11, key in “msconfig” or “start msconfig”, and press Enter.
#4 Trigger System Configuration Win11 via PowerShell
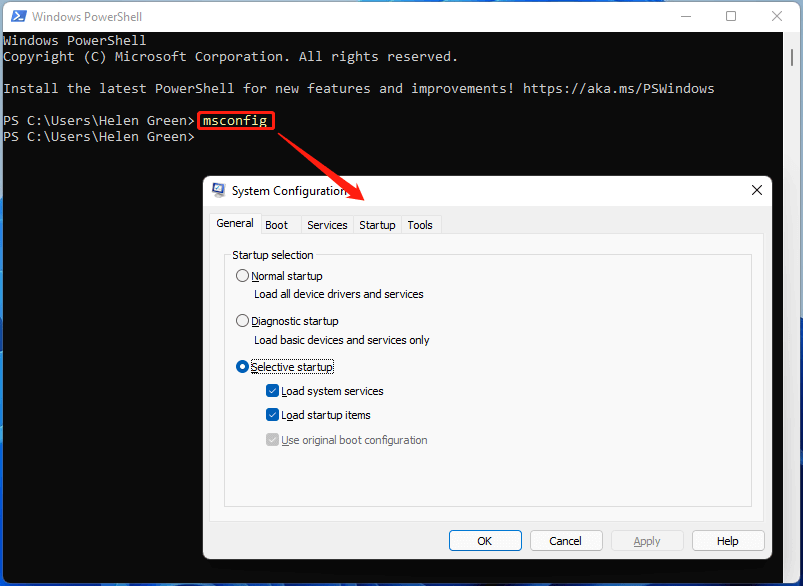
Also, you can open Windows 11 System Configuration using a specific command in PowerShell. Start Win 11 PowerShell, type “msconfig” or “start msconfig”, and press Enter key.
#5 Open System Configuration Windows 11 in File Explorer
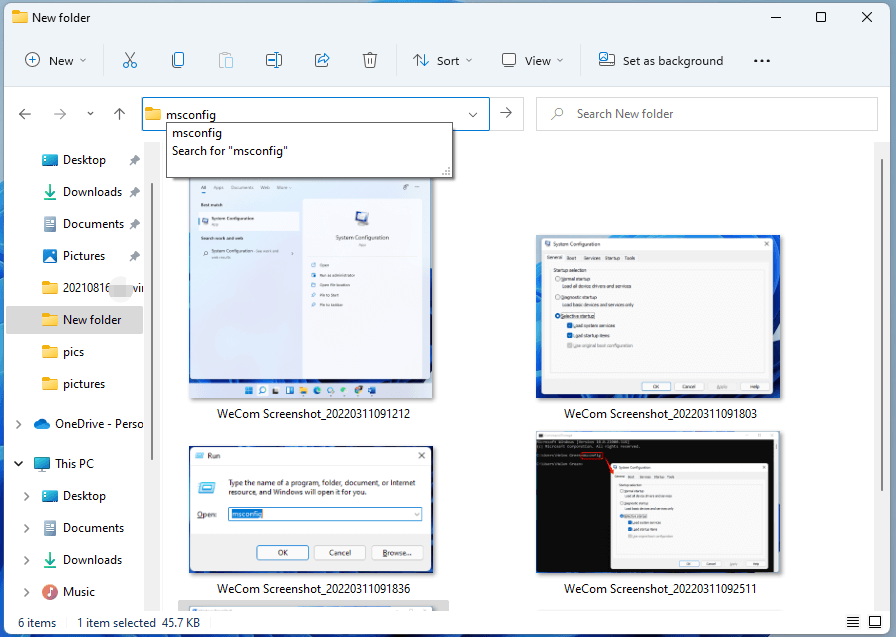
Besides, you can initiate System Configuration in Windows eleven under Windows Explorer. Open any Windows File Explorer, input “msconfig” into the address bar, and press Enter.
#6 Launch Windows 11 System Configuration by Windows Tools
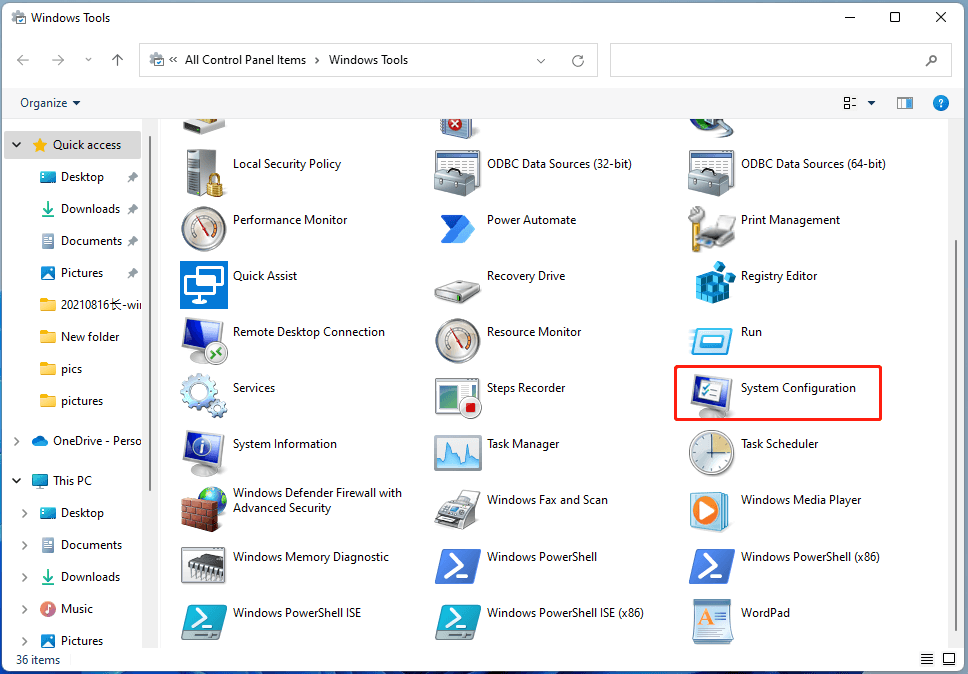
Next, you can get access to System Configuration from Windows Tools. Open Windows 11 Tools, find and double-click System Configuration there.
#7 Open Windows 11 System Configuration by Creating Shortcut
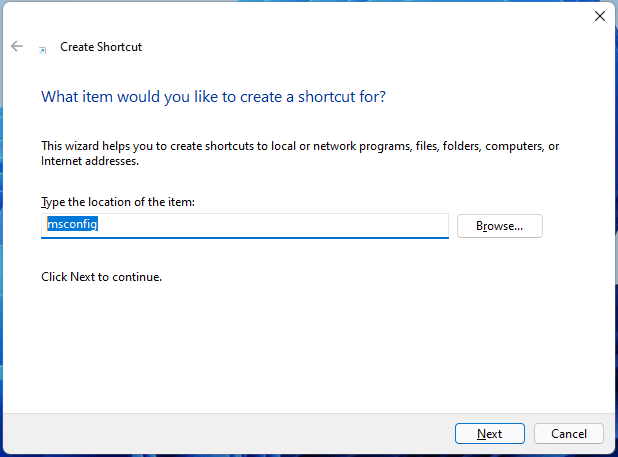
Finally, you can launch Win11 System Configuration with its desktop shortcut. Right-click on your desktop and choose New > Shortcut. In the popup, input “msconfig” and click OK > Finish.
How to Check System Configuration in Windows 11?
Usually, the purpose that we open System Configuration software is for checking for the current computer’s system information or properties. Yet, you can directly view system information with the below solutions.
#1 Check System Information in Windows Settings
To view system info, just go to Windows 11 Start > Settings > System > About.
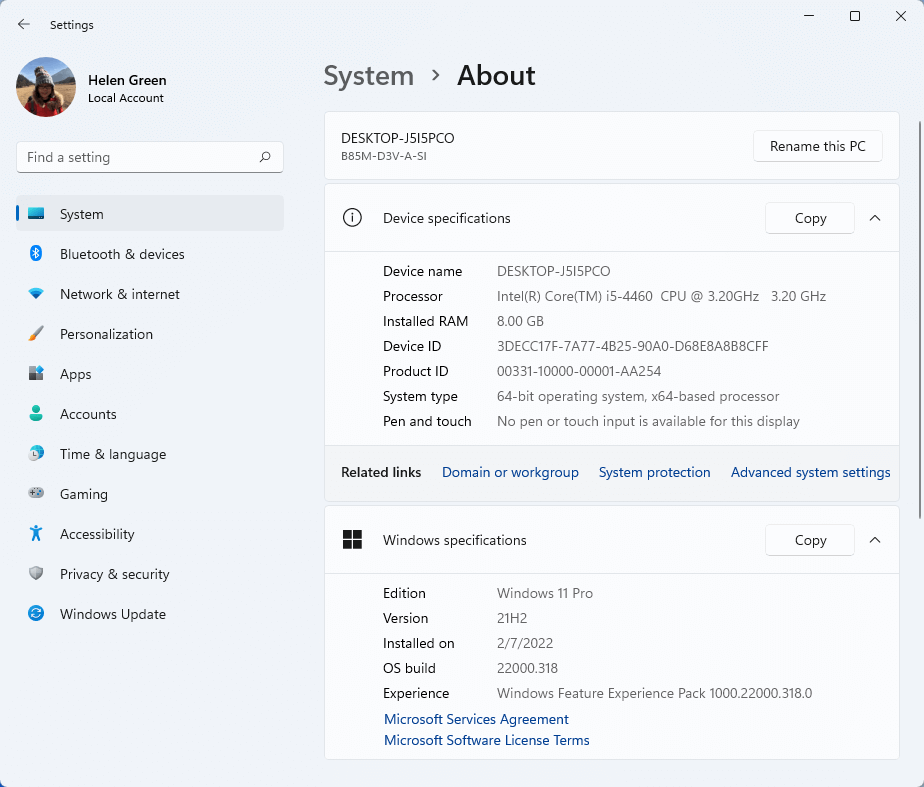
You can also access the above page by right-clicking on This PC and choosing Properties.
#2 View System Information with Its App
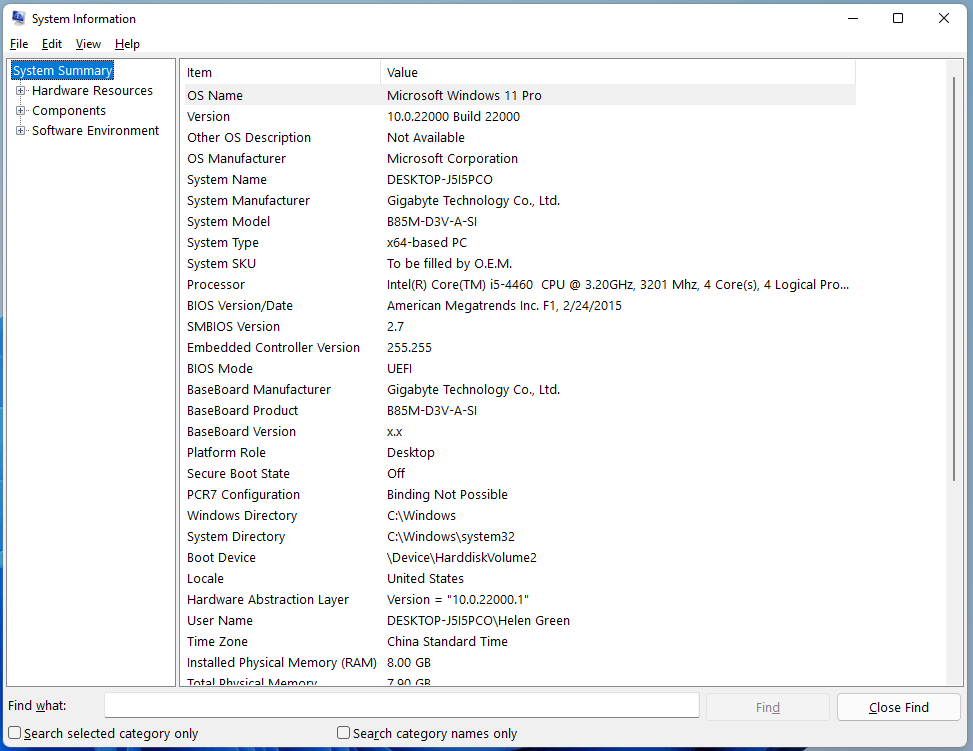
Or, you can take advantage of the System Information app to look at the details.
#3 Find Windows 11 System Information by Command
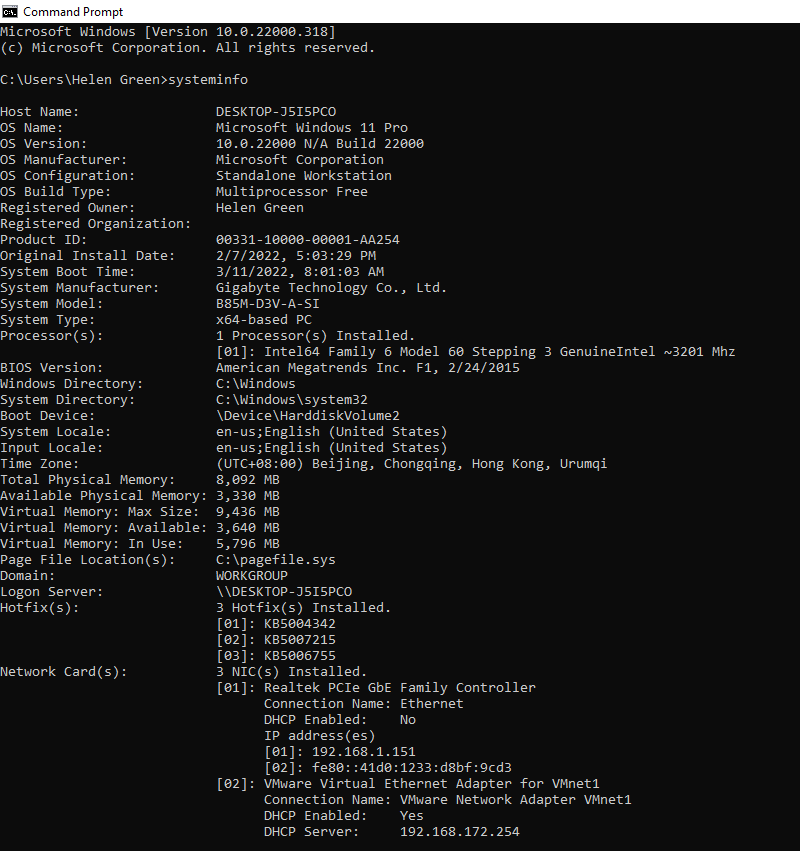
Also, you can rely on a command platform, CMD or PowerShell, to check your OS information. Just make use of systeminfo command.
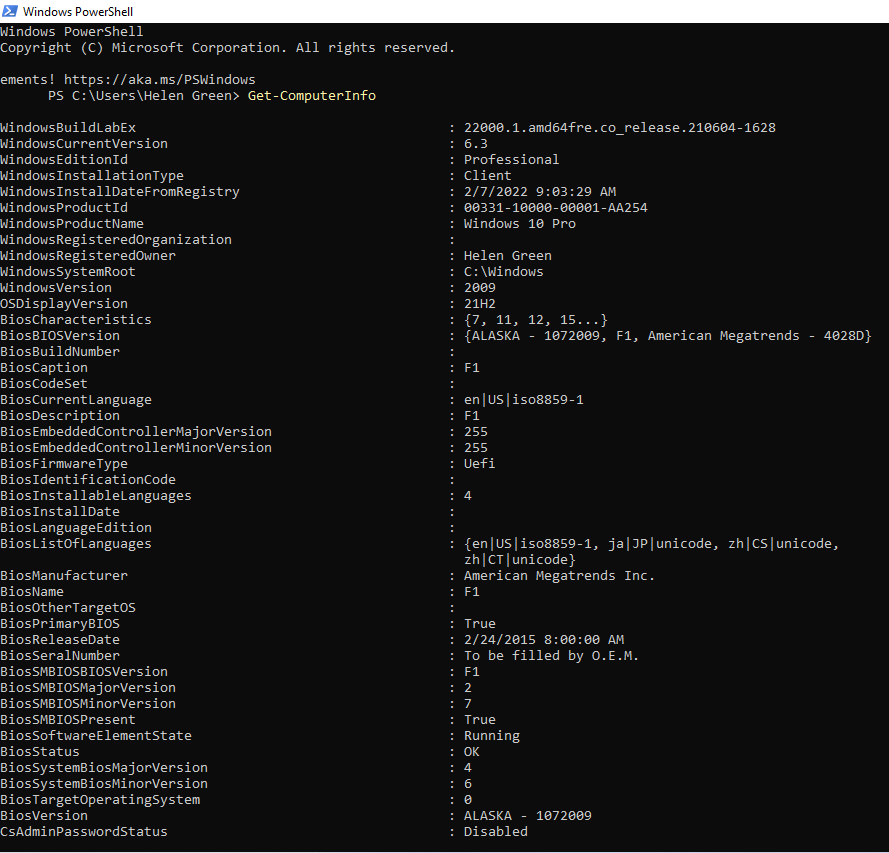
Or, input get-computerinfo command in PowerShell.
#4 Check System Info by DirectX Diagnostic Tool
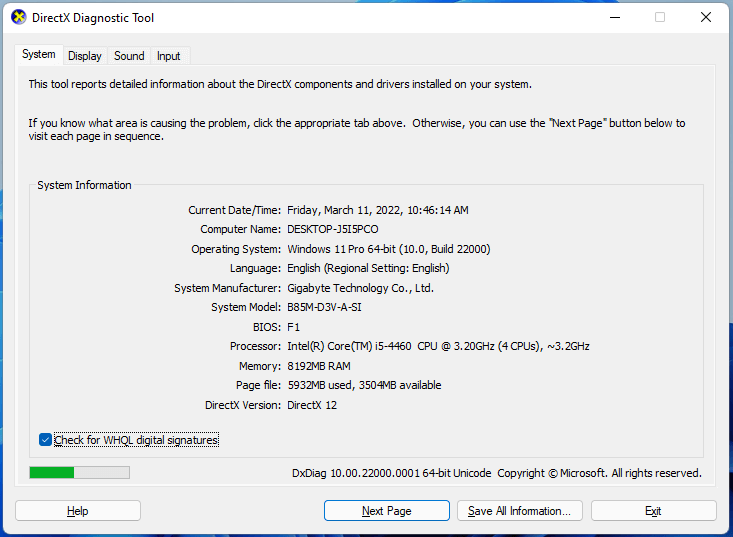
Besides, you are able to view your system information with the DirectX Diagnostic Tool.
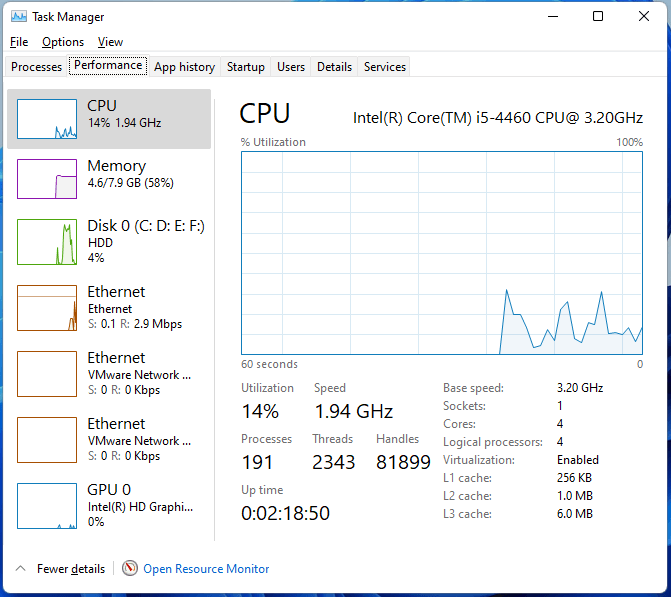
#5 View System Information Within Task Manager
Moreover, you can view your hardware information including CPU, memory, disk, Ethernet, and GPU specifics in the Performance tab in Task Manager.
#6 View System Information with Third-Party Apps
Finally, you can make use of third-party tools to check Windows 11 information like CPU-Z, Speccy, HWiNFO, etc.
Windows 11 Assistant Software Recommended
The new and powerful Windows 11 will bring you many benefits. At the same time, it will also bring you some unexpected damages such as data loss. Thus, it is strongly recommended that you back up your crucial files before or after upgrading to Win11 with a robust and reliable program like MiniTool ShadowMaker, which will assist you to protect your increasing data automatically on schedules!

User Comments :